It's as easy as two button presses.
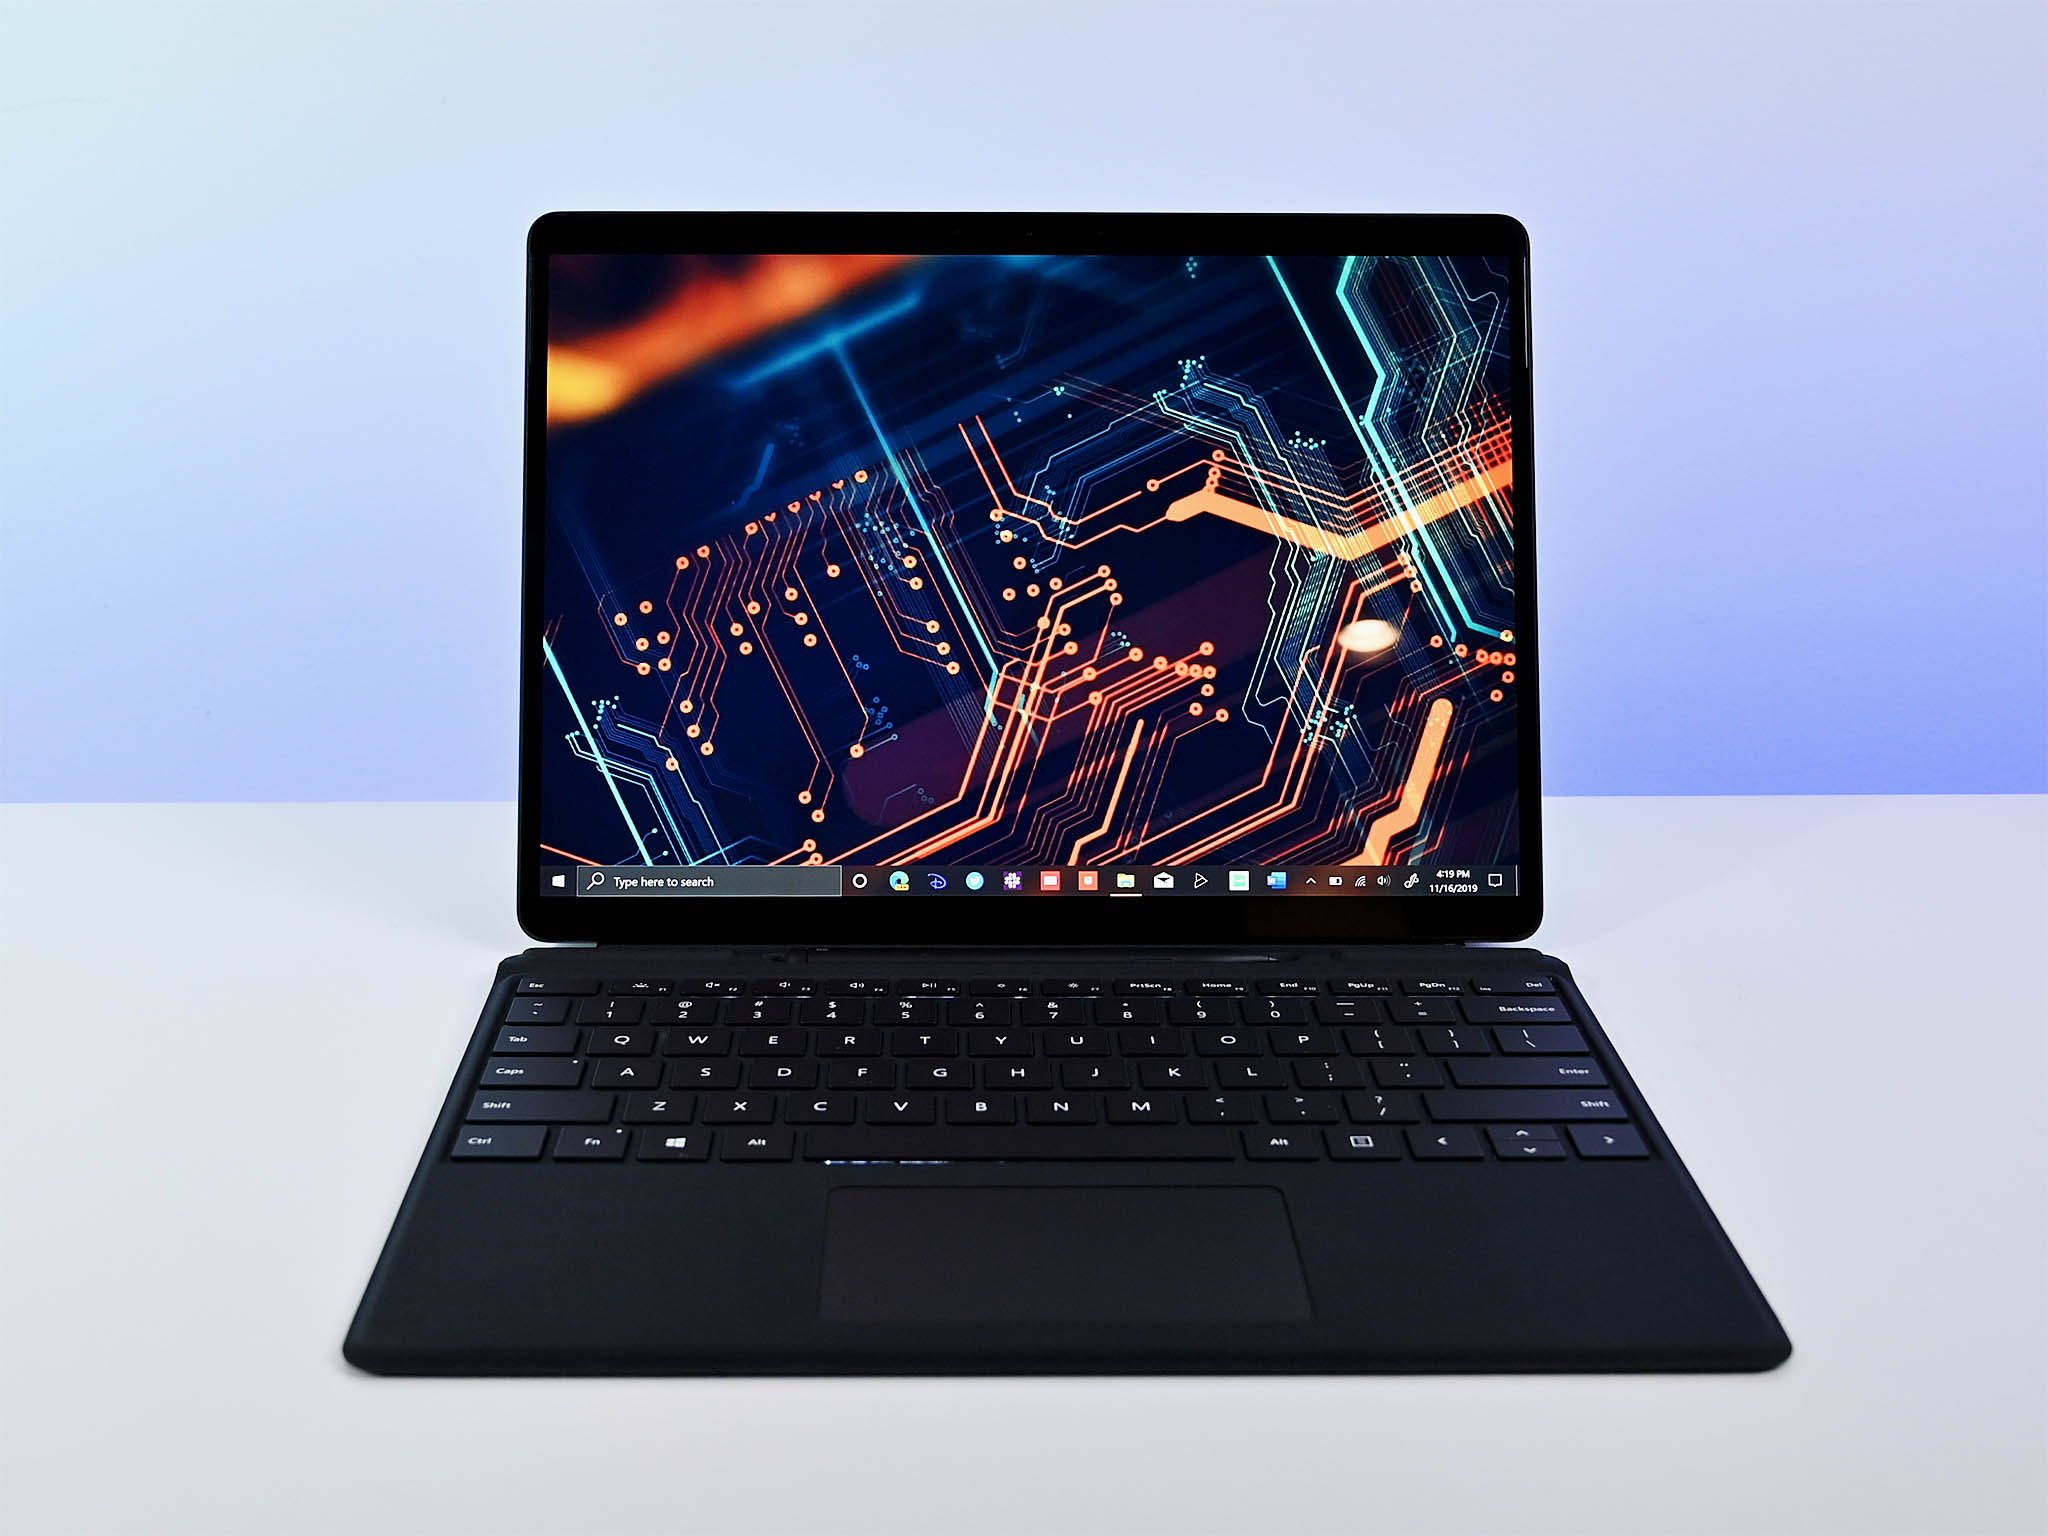
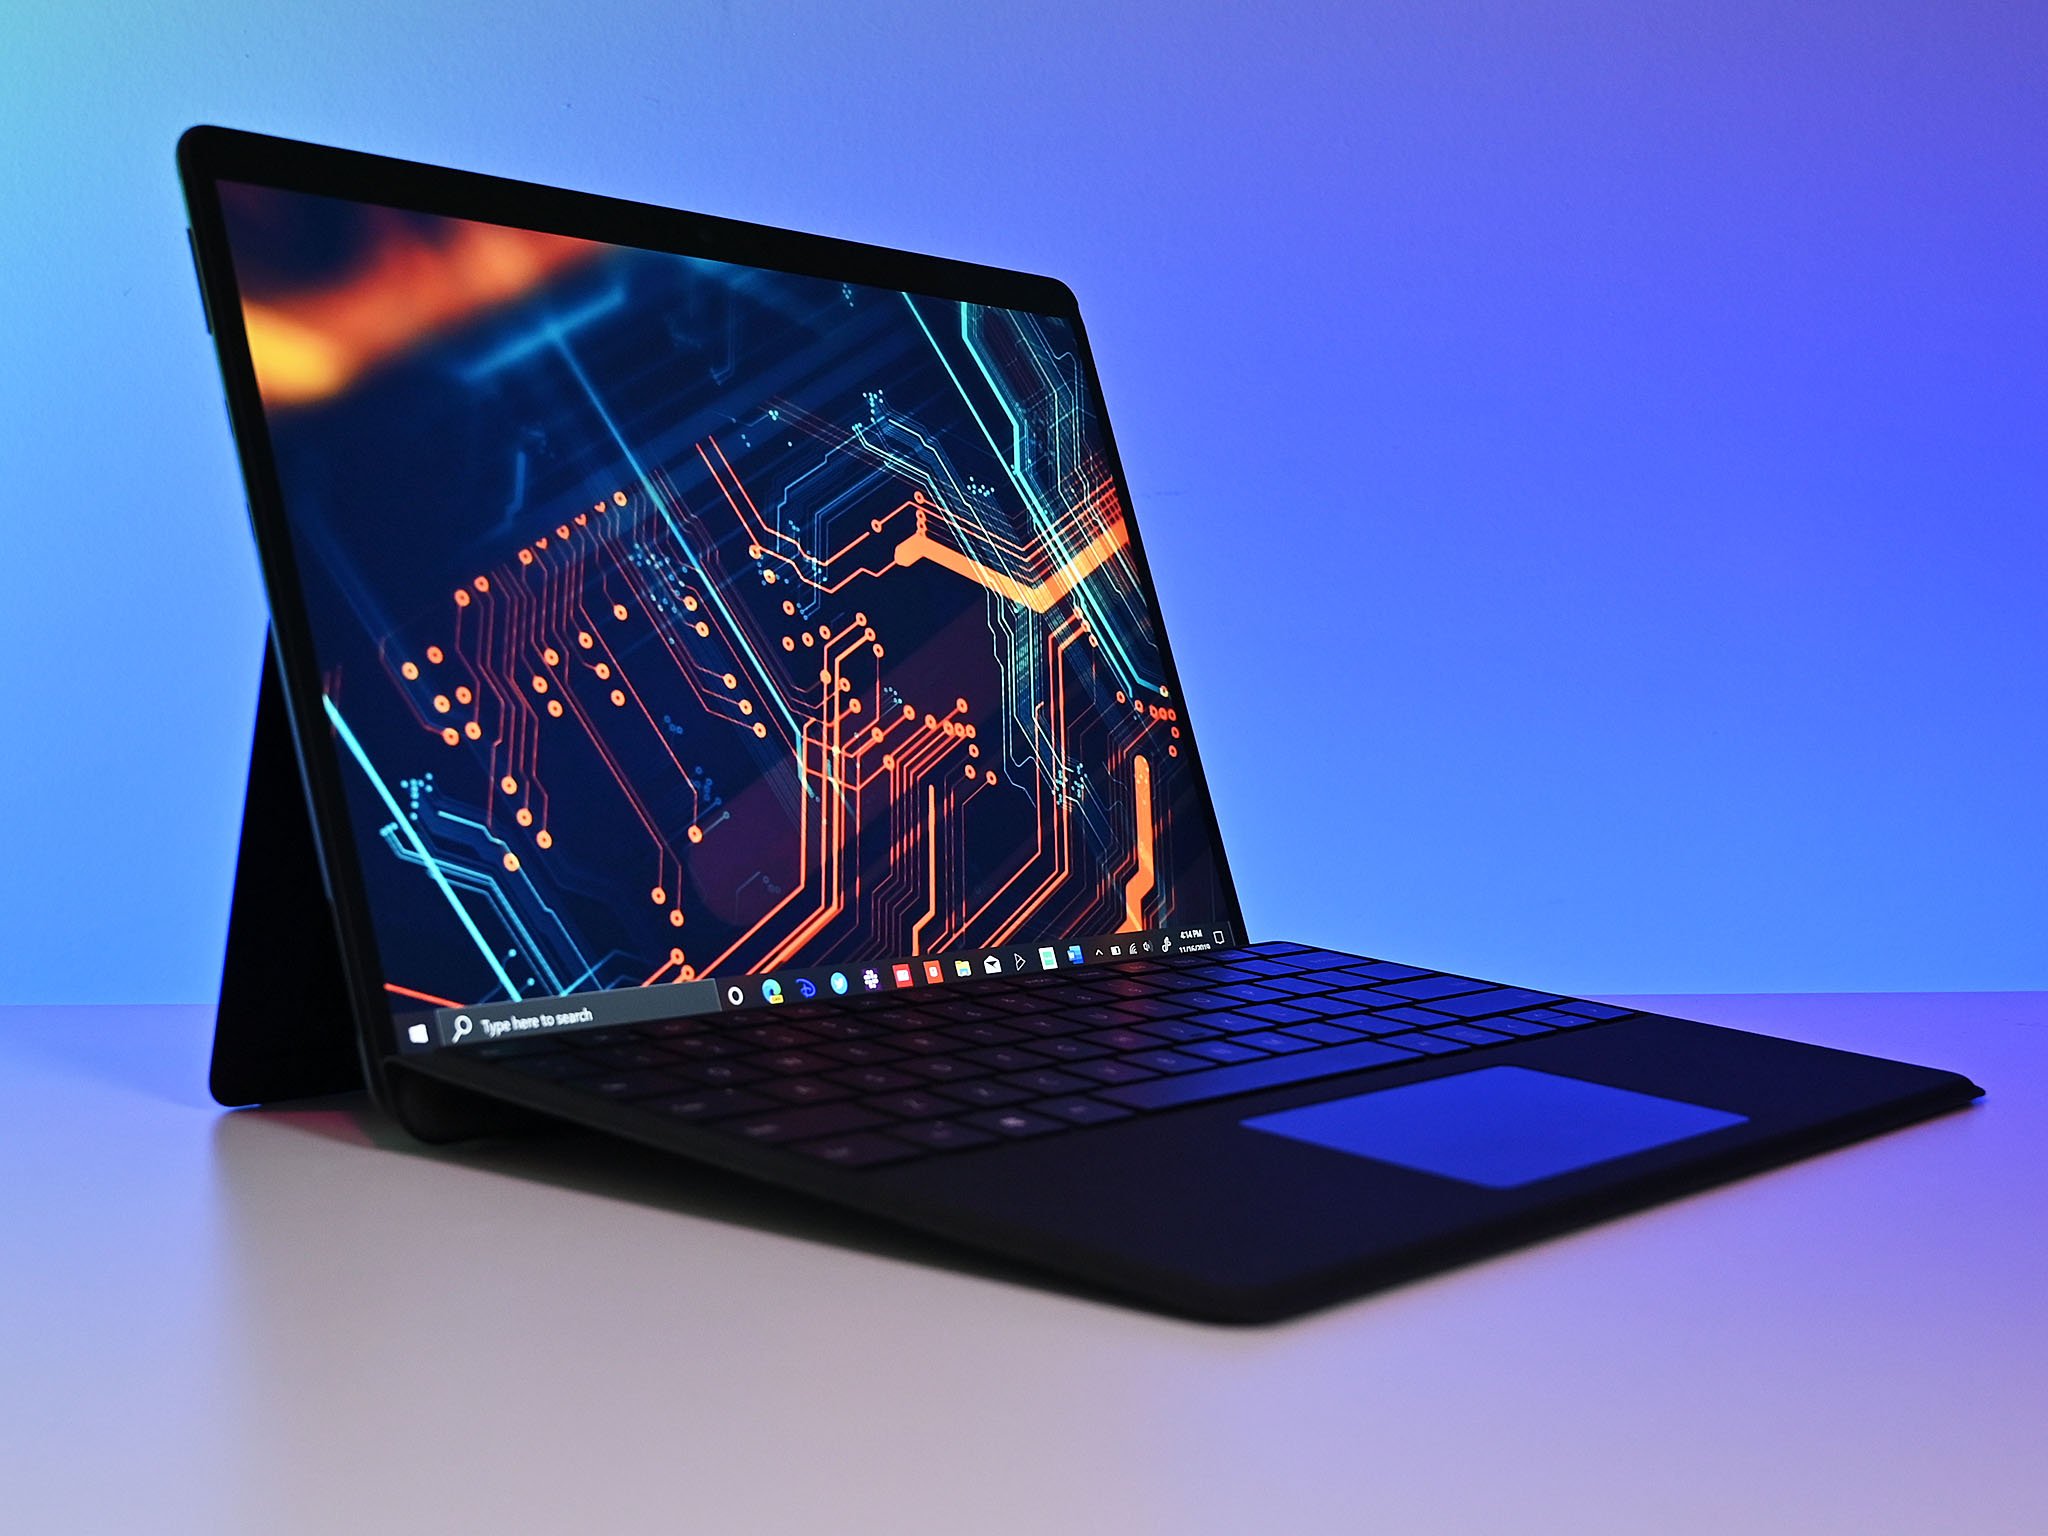
The thin, light, and compact nature of Surface Pro devices like the Surface Pro X makes them some of the best Microsoft Surface PCs for mobile use, and since they're convertible, they can be used as tablets. To make the Surface Pro's tablet experience as smooth as possible, Microsoft has traditionally included several tablet-style features with them over the years. One of these is a screenshot shortcut that allows you to save an image of what's on your screen.
In this guide, we'll show you how to use the Surface Pro's built-in screenshot functionality.
How to take a screenshot on Surface Pro devices
To take a screenshot on a newer Surface Pro, such as a Surface Pro 7, 8, or X, follow these steps:
- Place a finger over the Power button and Volume Up button.
- Press both buttons down at the same time.
The process is just as simple on older Surface devices like the Surface Pro 3 that have a Windows logo next to the display, though the shortcut itself is different. Here's how to take a screenshot on older Surface Pro devices:
- Place a finger over the Windows logo and the Volume Down button.
- Press both buttons down at the same time.
In both cases, the screen will dim briefly to indicate that your screenshot has been saved.
How to view screenshots on Surface Pro
To access your screenshots on your Surface Pro, follow these steps:
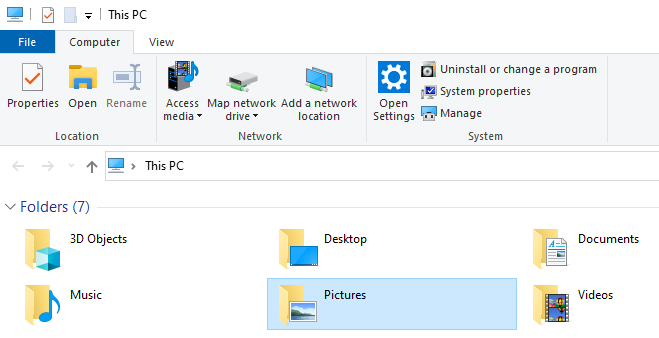
- In the Windows search bar, type This PC.
- Select the This PC application.
- Under the Folders tab, select the Pictures folder.
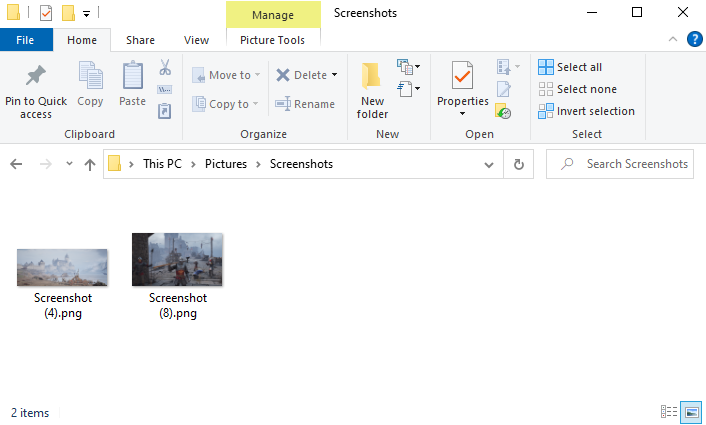
- Select the Screenshots folder.
All of your saved screenshots are automatically sent to this folder, and can be accessed at any time.
More helpful resources
If you're not using a Surface Pro but you're still curious about how you can take screenshots on other Windows 10 devices, don't miss our guide on how to take a Windows 10 screenshot. Also, for more helpful articles, coverage, and answers to common questions about Windows 10 and Windows 11, visit the following resources:


0 comments:
Post a Comment