This tutorial explains how to combine pictures into one using computer program GIMP. This involves your already learned techniques namely selecting, moving, and resizing, plus one new technique called layering where every new picture added becomes a layer and layers are organized in a stack. Just like before, this tutorial is also accompanied with a one minute video showing the procedures. In case you forgot it, this is part of the GIMP for Authors the series. Enjoy editing!
(One minute video showing pictures combining in GIMP)
Subscribe to UbuntuBuzz Telegram Channel to get article updates directly.
Combining
- Open a picture as background.
- Add another picture over it.
- Resize and move pictures added.
- Background and foreground pictures are now bottom and top layers.
- Add and modify another pictures as you wish.
- Pictures combined.
Download Assets
To exercise, download photo and logos below. Do you remember? They have been featured in the first part of this series. Do right-click Save Image As on every picture below to grab it. Thanks to Trylinux.today website I can obtain logos very quickly.
Photos:
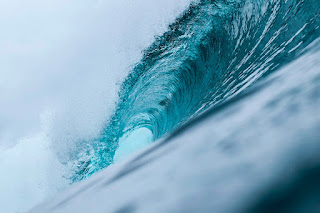
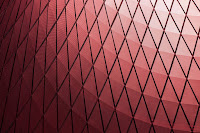
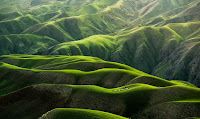
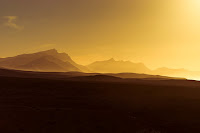
You know, these are wallpapers we can find at /usr/share/backgrounds in Zorin OS.
Logos:


Examples
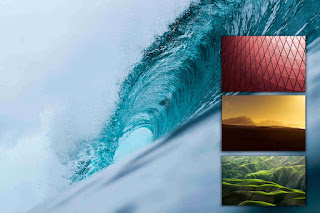
Here is the result of one minute video above. See the logos are placed vertically on left with sea wave as its background. This is saved in jpeg format to reduce download size.

Here is one more example. It uses Resizing, Moving, and Layering techniques. However, this involves a new technique called drop shadow not explained in this series but you can download the XCF file to learn how to make it.
Exercises
- Combine Wave (blue) with Red (red) wallpapers side by side. Use Resize Tool to achieve it.
- Combine Hills (yellow) with Green (green) wallpapers top bottom. Use same tool.
- Combine four wallpapers on one screen. Use same tool.
To be continued...
This article is licensed under CC BY-SA 3.0.
Originally posted here: https://ift.tt/2XcJTUa


0 comments:
Post a Comment