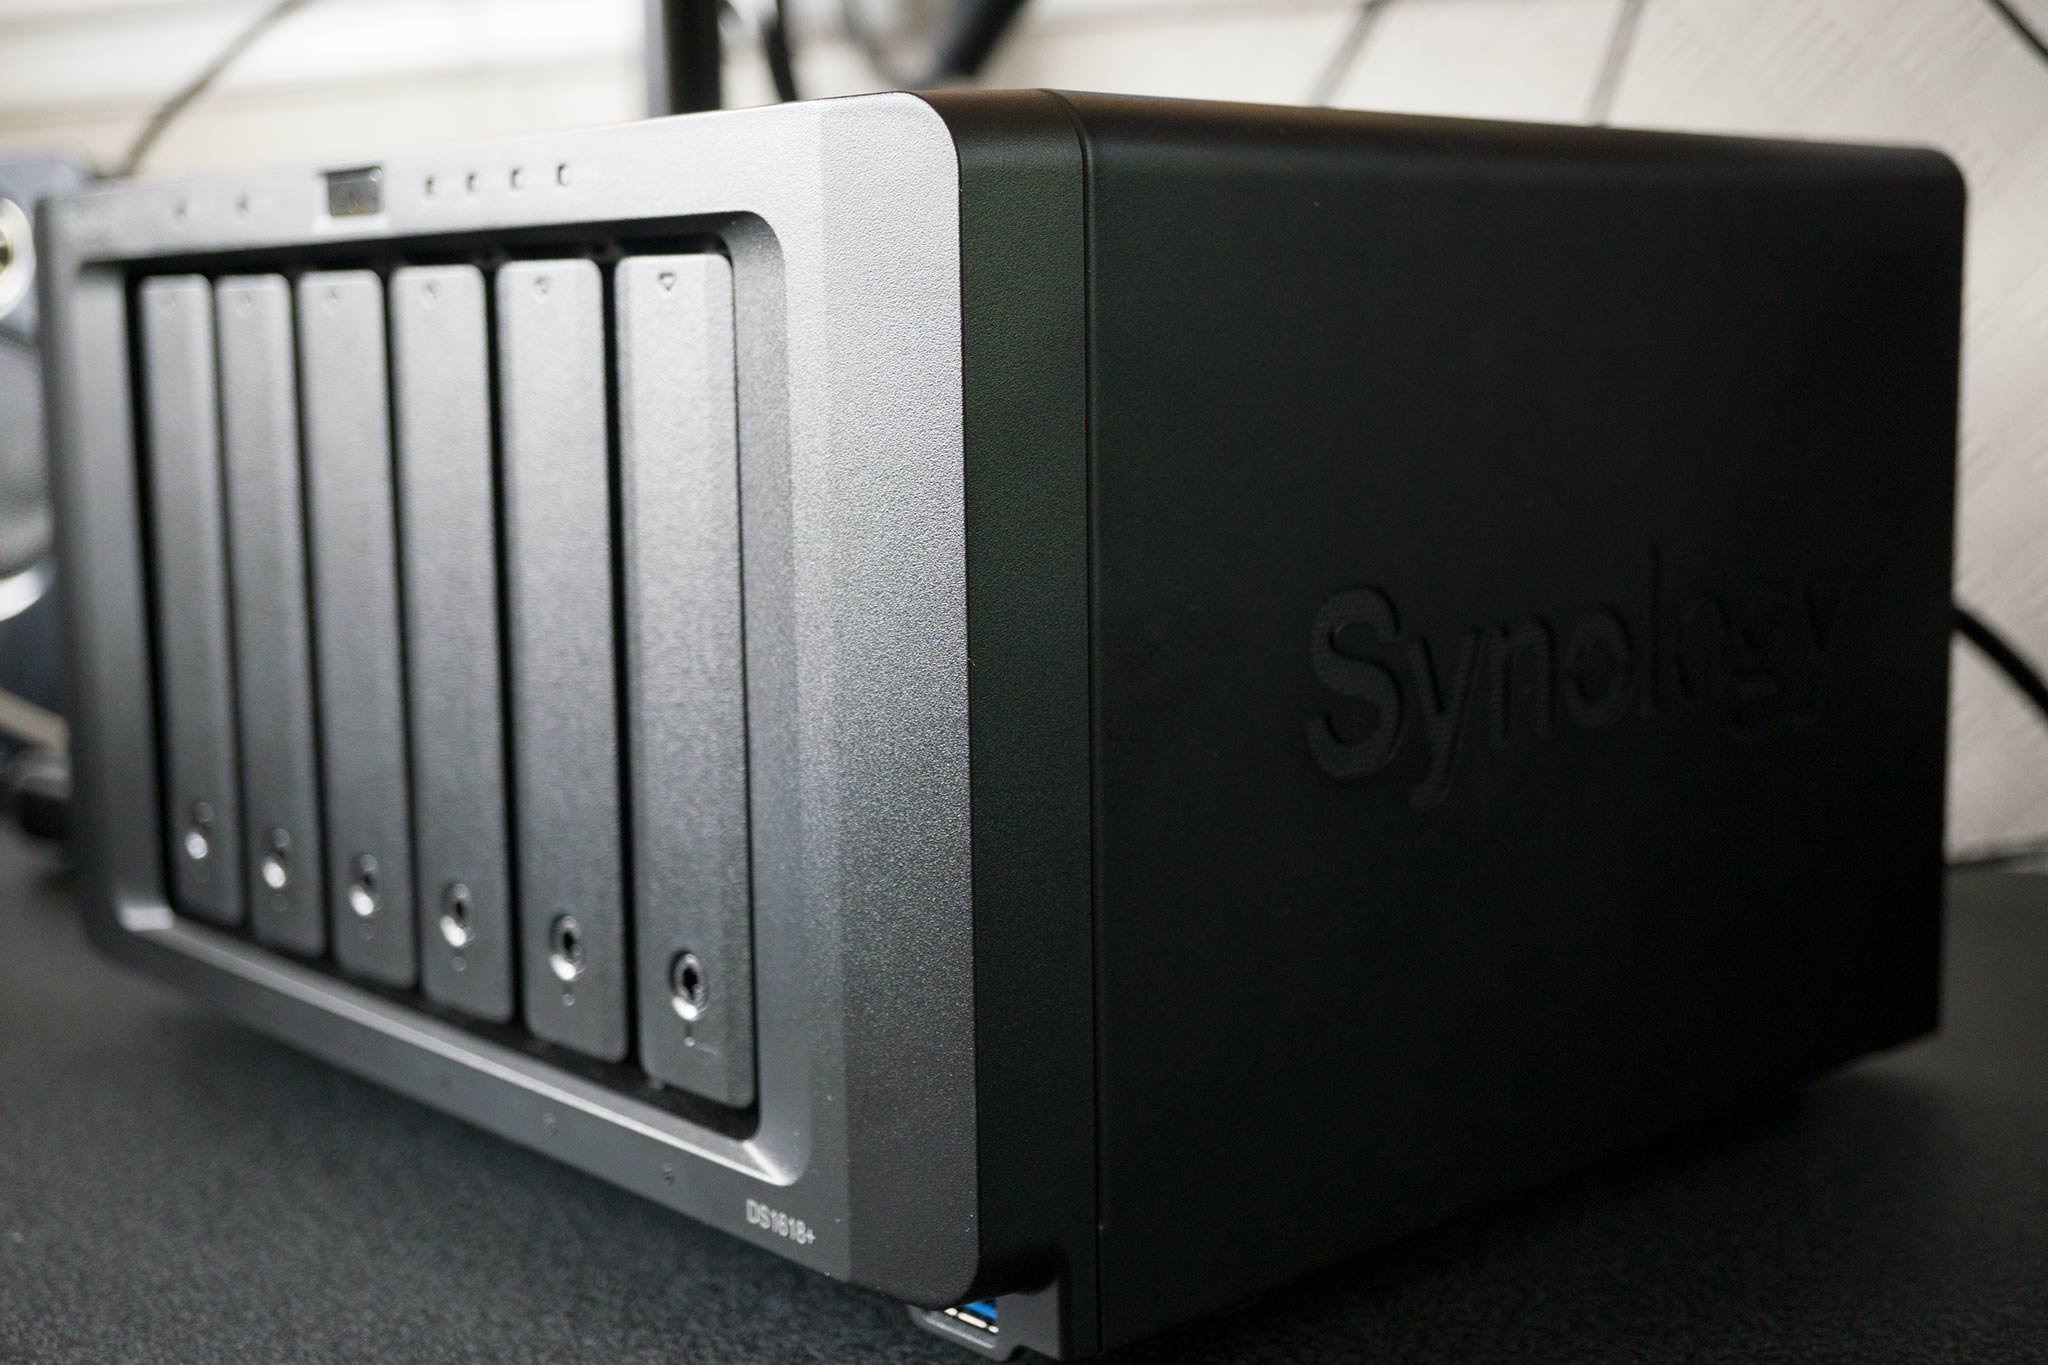
After plugging in your Synology network-attached storage (NAS) enclosure, it's actually relatively easy to connect to the unit through your web browser. Synology not only makes some of the best NAS for home, but also offers an external connection service that makes the whole process painless, and there's even software you can download and use if everything else fails.
How to set up your Synology NAS
In order to start using your NAS, you need to set everything up, including the DSM OS. Here's how:
- Turn on the NAS.
- Wait for the unit to complete its boot sequence.
- Fire up your web browser and enter find.synology.com or the IP of the enclosure. (There's also the Synology Assistant you can download.)
-
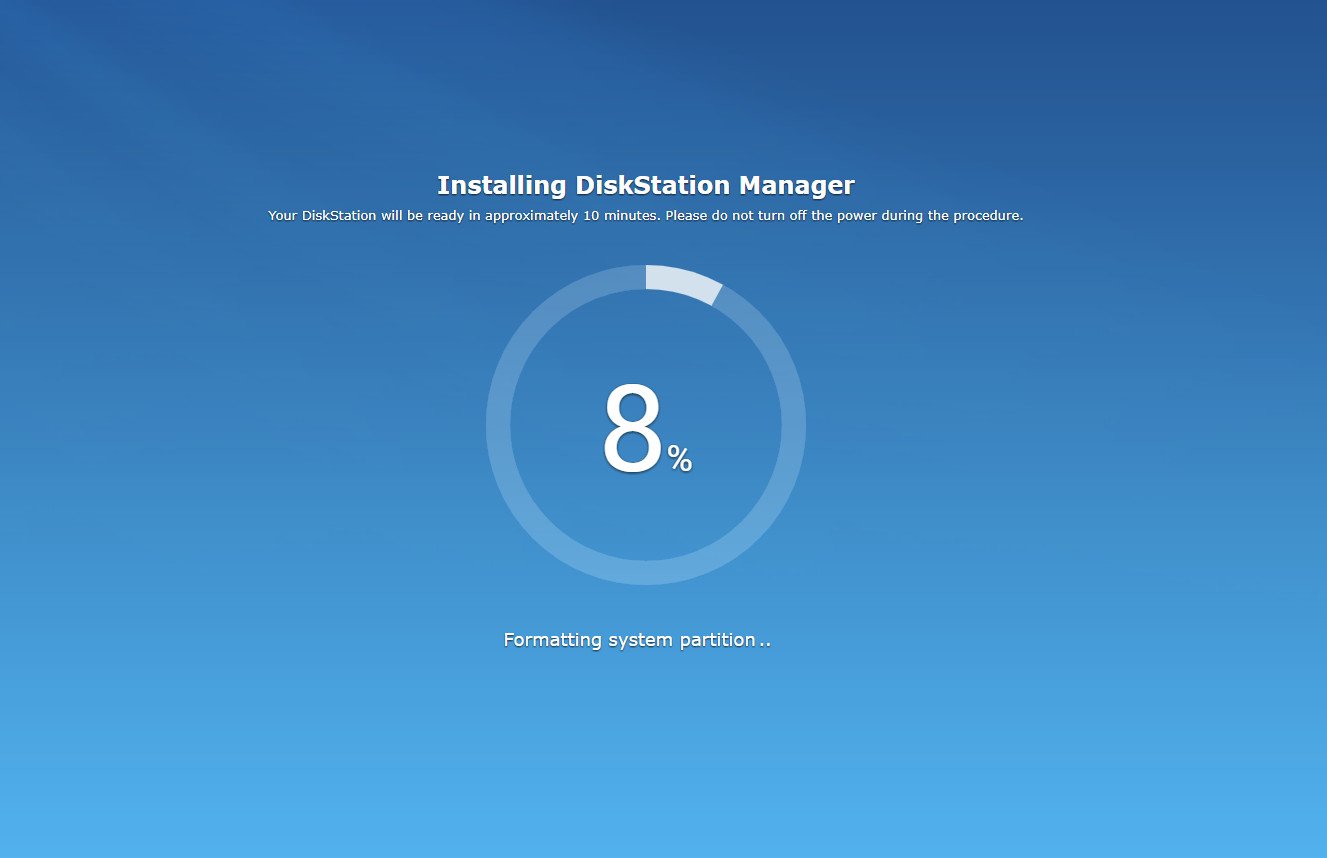
You should now be greeted by the DSM install wizard.
- Follow the steps to initialize the drives, install DSM, and set up your accounts.
How to connect to your Synology NAS
Once you're up and running and just need to access the web port, simply follow these steps:
- Fire up your web browser and enter find.synology.com or the IP of the enclosure. (There's also the Synology Assistant you can download.)
- Enter your account credentials and hit Log in.
How to troubleshoot connecting to your Synology NAS
Should the above not work through your web browser, there are a few steps you can take to connect to the NAS. I would recommend double-checking to see whether your NAS is turned on and connected to the network using a cable. You can also log into your router or network switch admin panel to see whether it has been assigned an IP address.
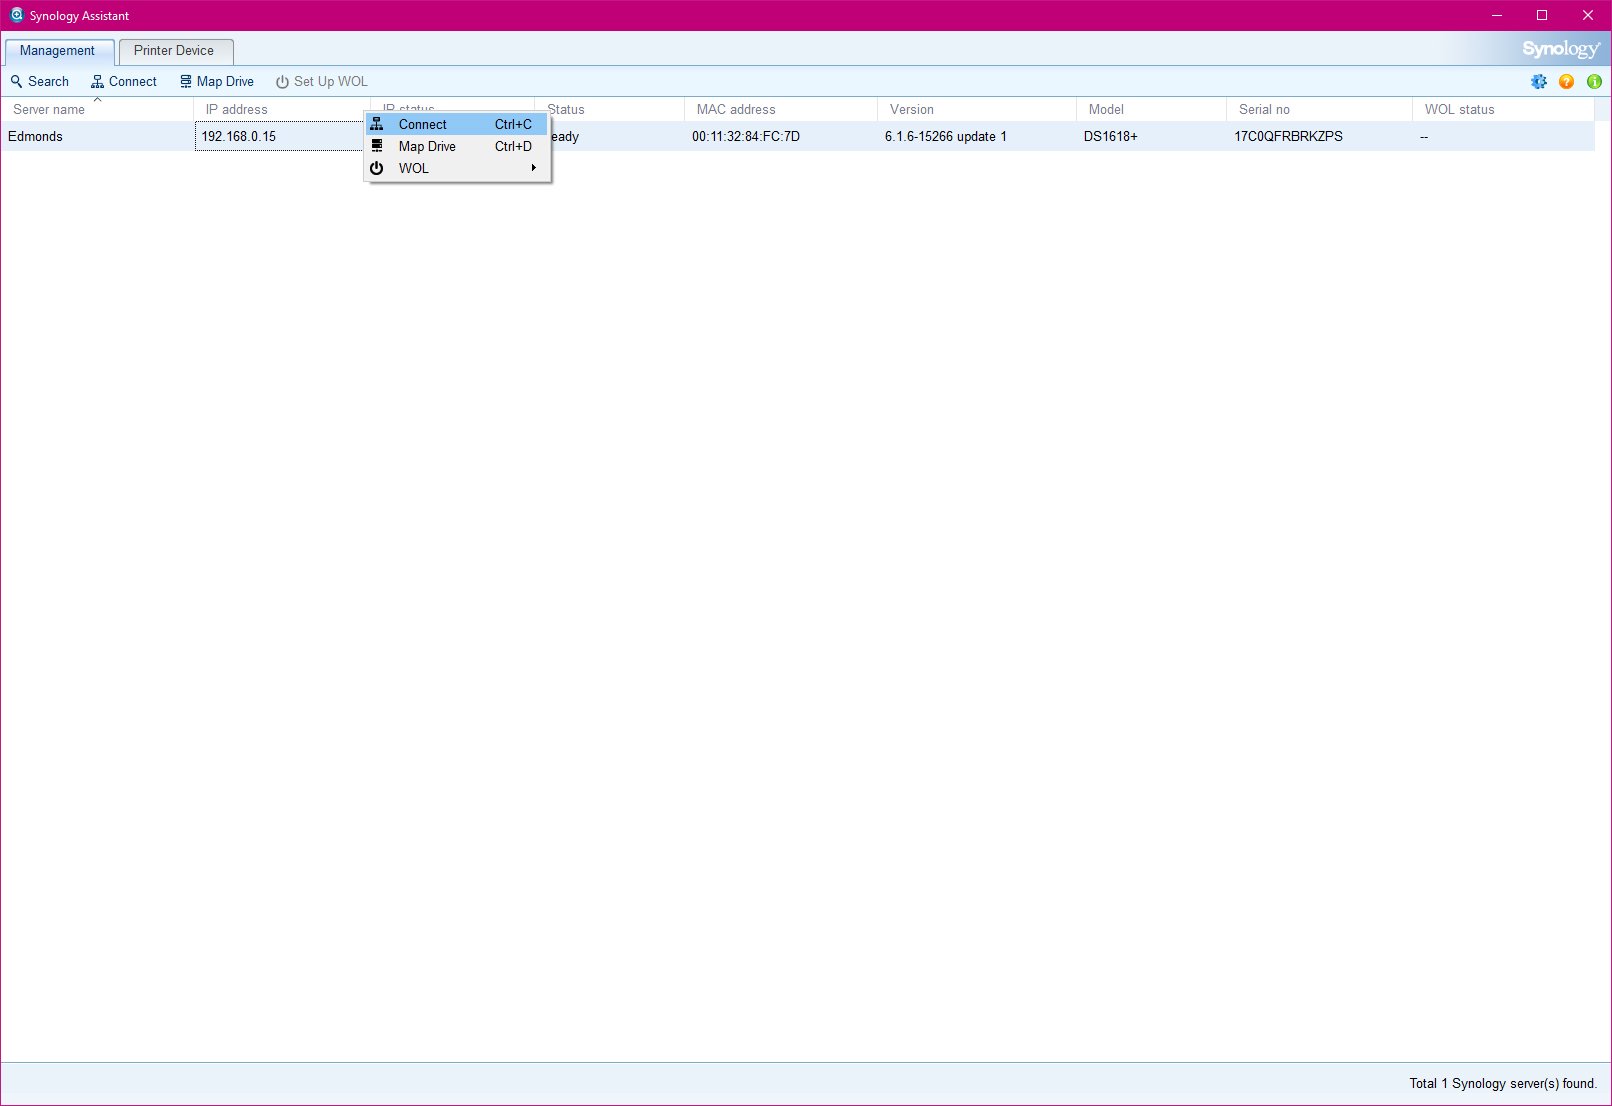
Lastly, Synology offers the Synology Assistant, which can help you connect to and manage various company NAS units on the network.
- Head to the Synology website.
- Choose your NAS model.
- Download Synology Assistant.
- Install the software.
- Run Synology Assistant.
- Allow the suite to search your network.
- Right-click your NAS and choose Connect.


0 comments:
Post a Comment