

Like any traditional drawing medium, digital illustrations and styles can vary greatly between each artist. Some prefer the look of soft blends, while others are content with the hard-edged comic book aesthetic of cel-shading. Even still, others fall somewhere in between. Because there are so many variables in how to shade, we're going to trim down to the basics here.
Before getting started...
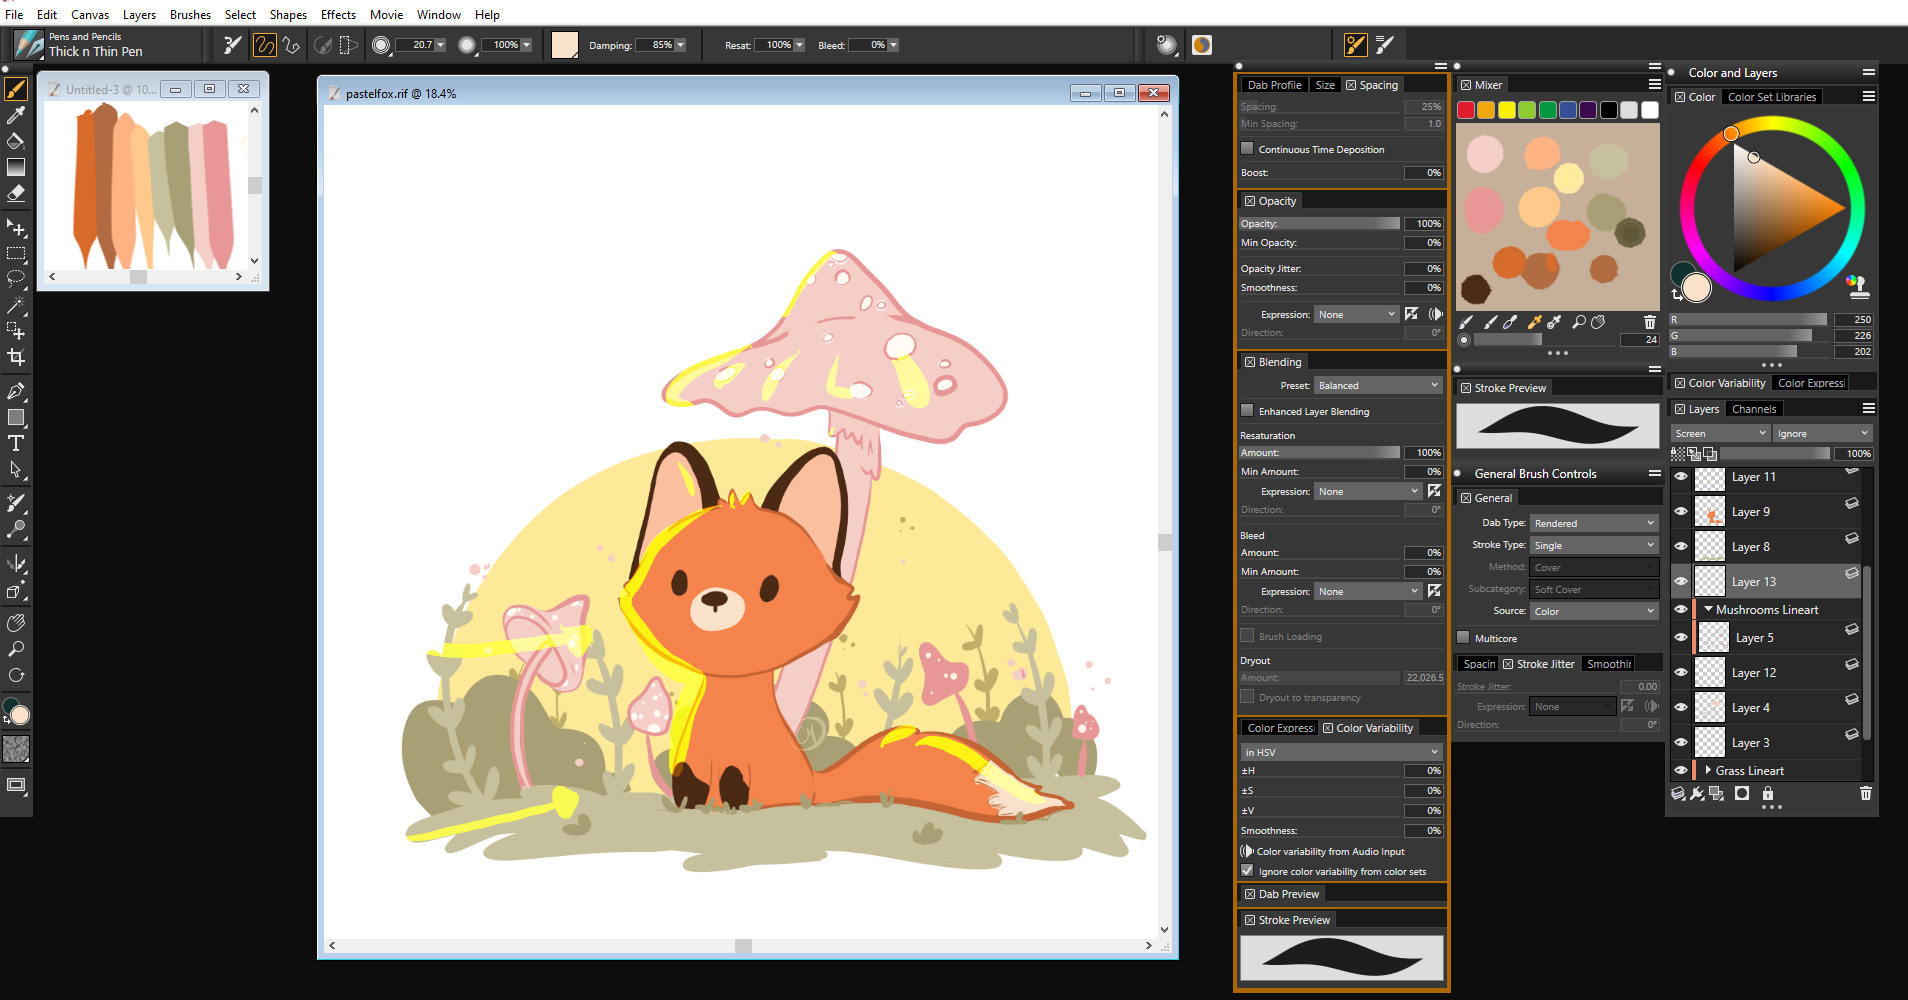
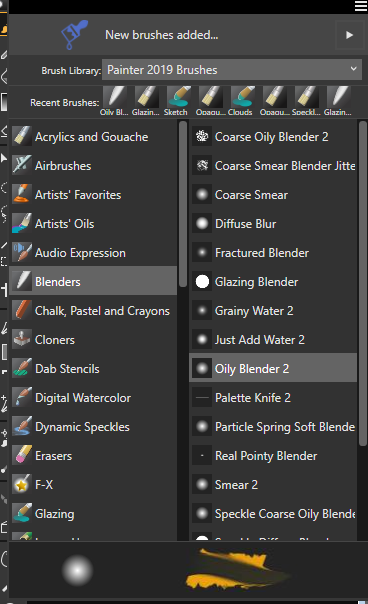
I'll be using Corel Painter 2019 for my painting software, but any other Windows PC drawing app with layer functionality should work just as well. You'll also need a digital drawing device, either a tablet or pen display unless you are confident drawing with a mouse.
Whether you cel shade, soft shade, or find a happy medium with both methods, the most important step is planning where the light sources will be in your illustration. To help visualize where your light sources are, try adding a new layer and draw arrows pointing in the direction your light will be traveling.
Since the arrows are on their own layer, you can toggle the visibility on or off. The points of your illustration closest to the light source are your highlights, and typically your shadow will be the opposite. However, it is important to remember that light can bounce around and reflect even to the shadowy side of your subject.
How to cel shade
Cel shading, or 'toon shading,' is a common illustration technique for shading comics, animations, and even some video games. The shadows and highlights in an image are simplified down to a couple of colors and blocks for emphasis with cel-shading. It also happens to be one of the easiest ways to practice adding shading to your images; it forces you to think about light placement in your scene, so your highlights and shadows have the most impact.
- Open your painting software. I'll be using Corel Painter 2019, but the process is similar regardless of your software choice.
-
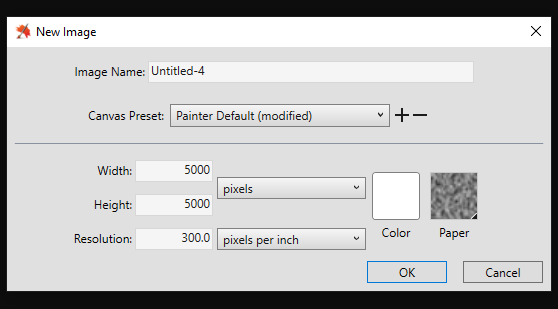
Open a new, blank canvas. You can use the menu by clicking File, then New, or keyboard commands (CTRL + N) to open a canvas. Your canvas settings are entirely up to you. I like to work large, so I'll be choosing 5000x5000 pixels at 300dpi.
-
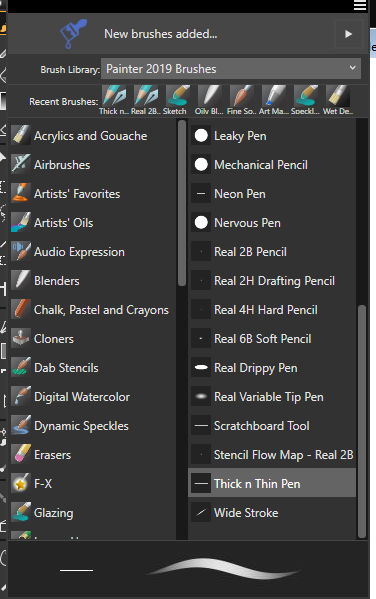
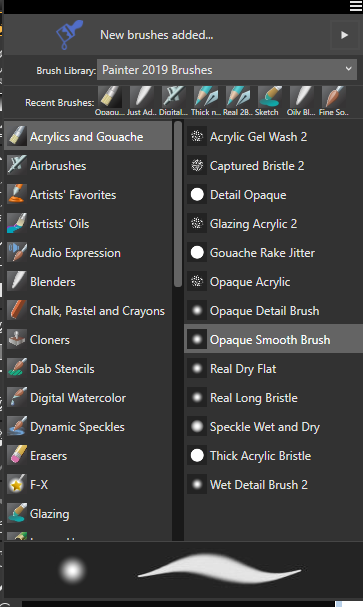
Choose your preferred brush. I'll be using the Thick & Thin pen.
-
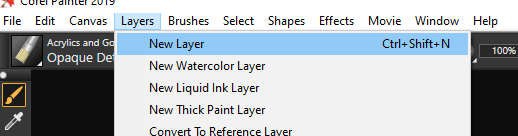
Create a new layer. This can be done from the Layers drop down on the menu bar, or pressing CTRL+SHIFT+N on your keyboard.
-
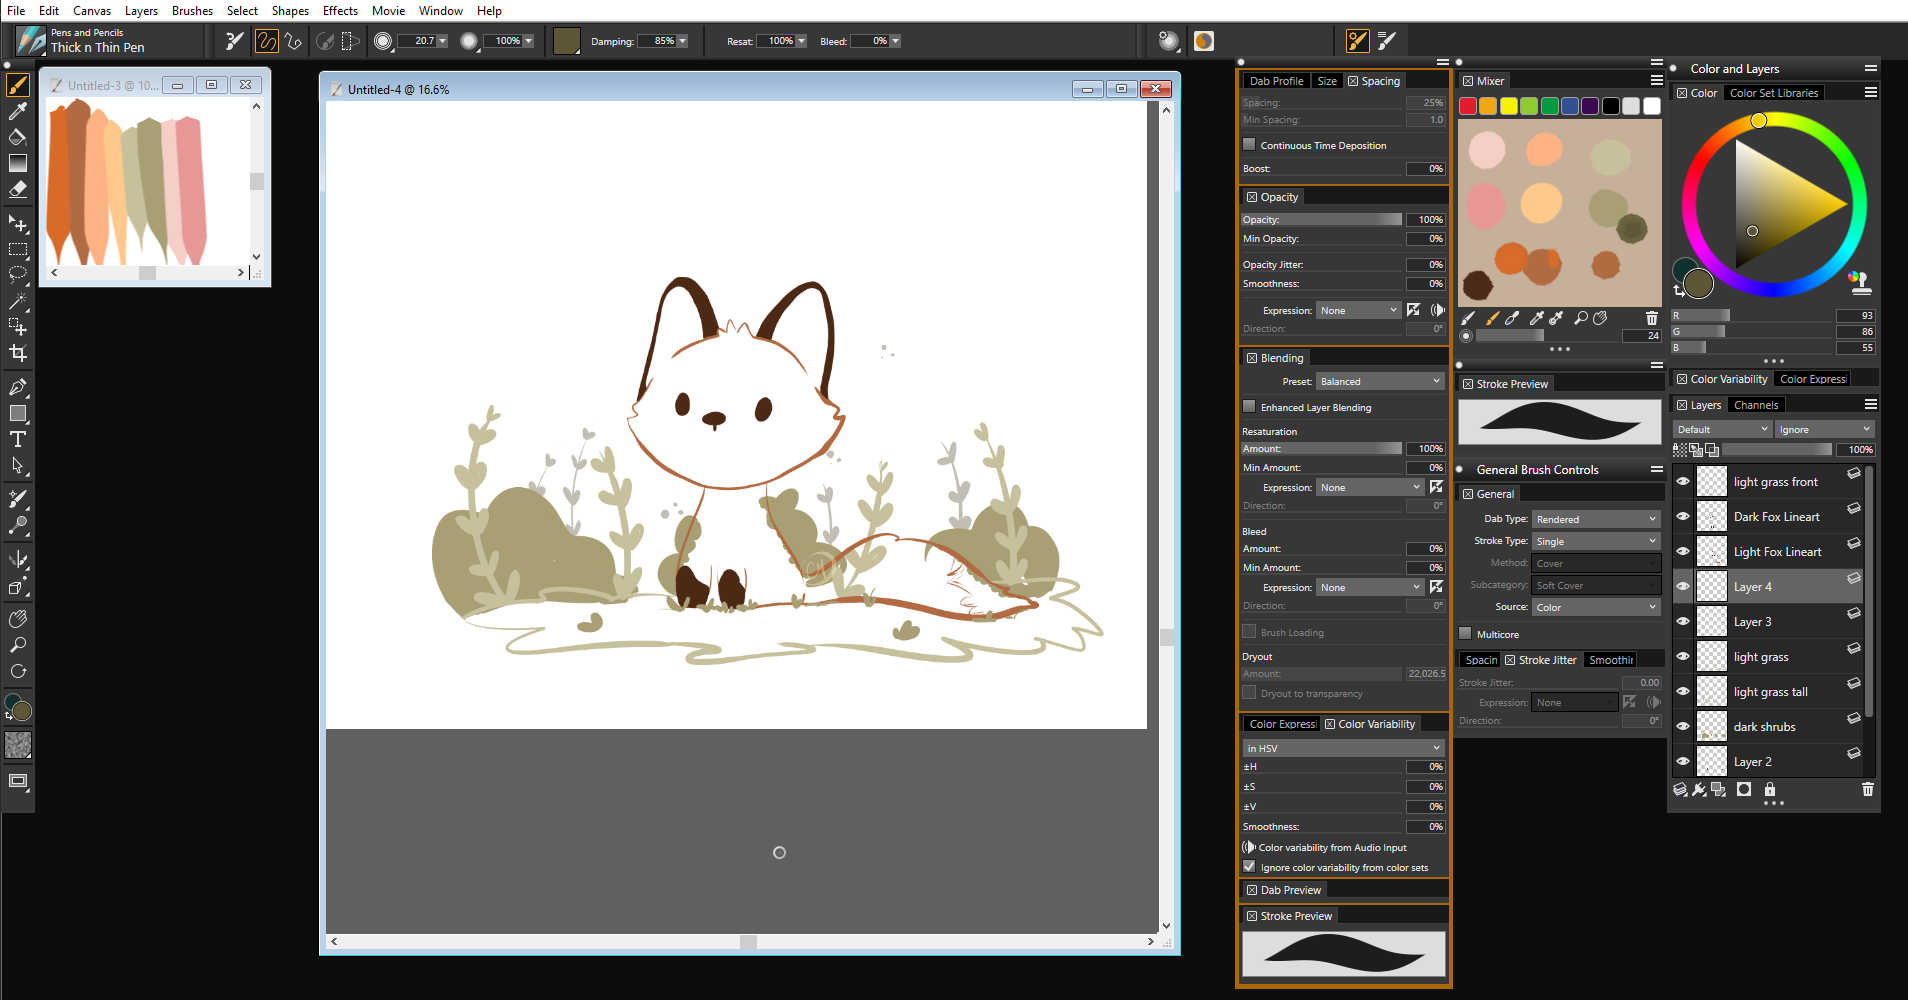
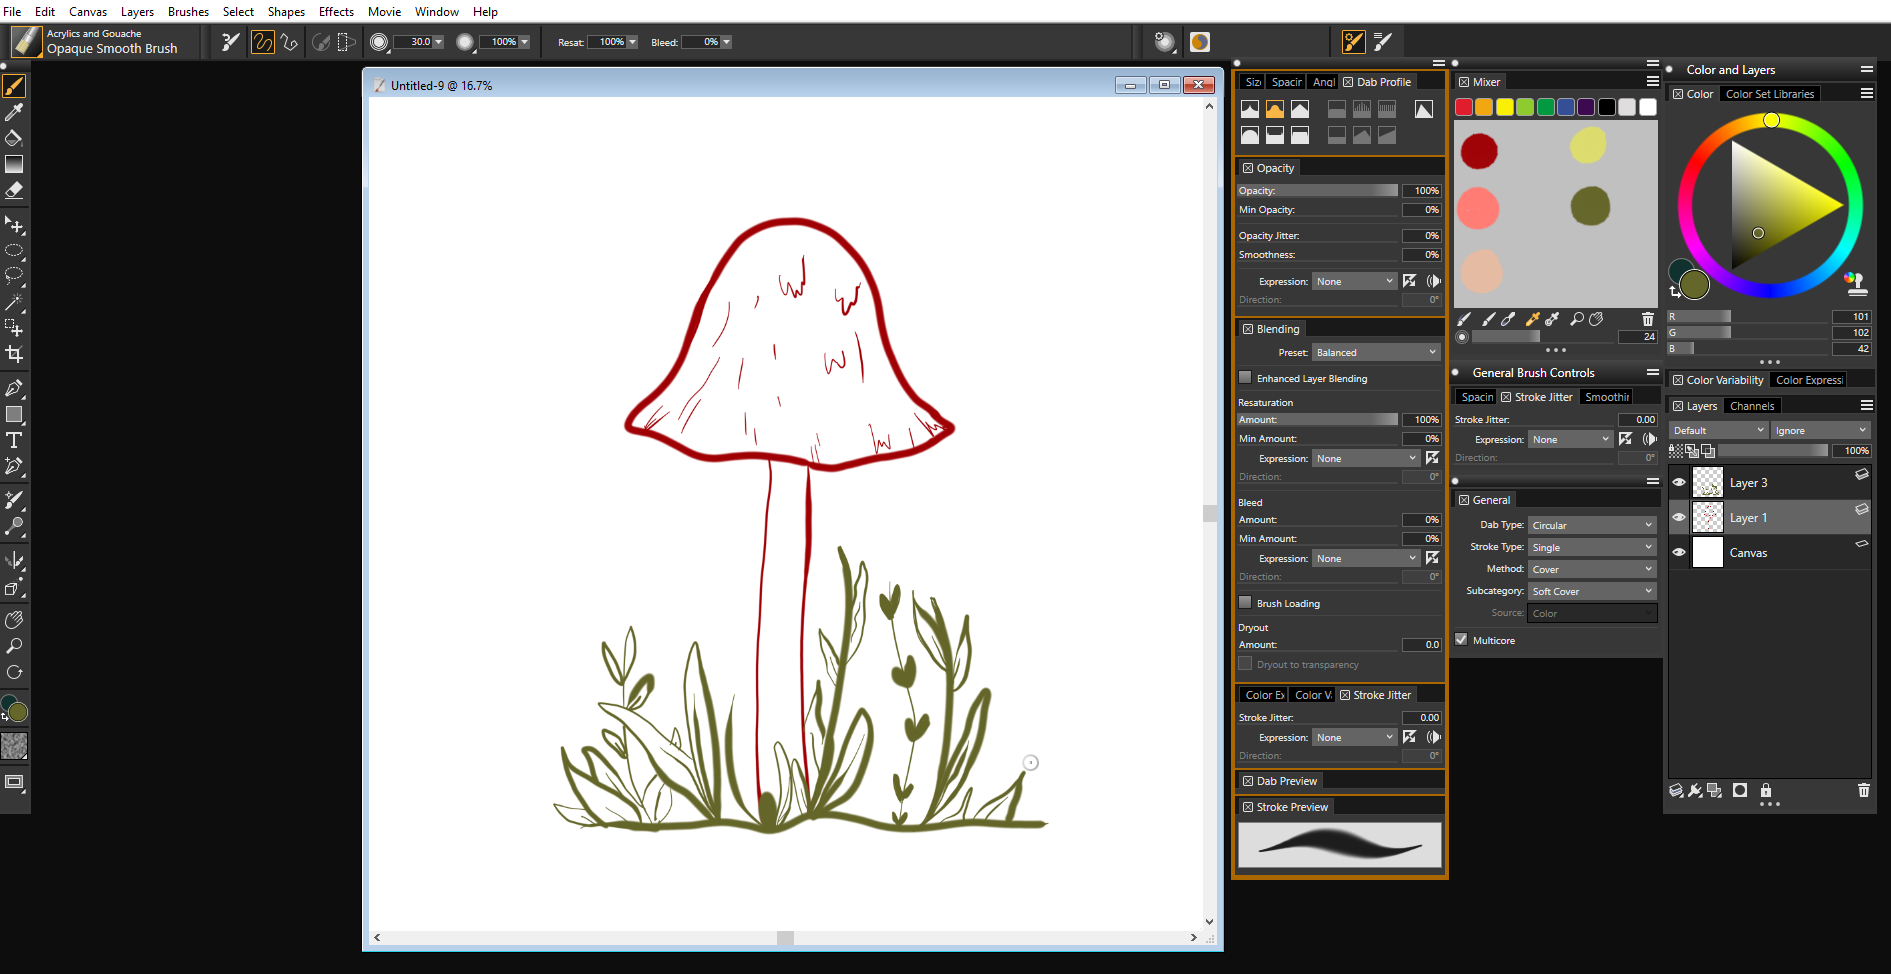
Create the line art for your illustration. Start with a simple sketch, and then continue refining your lines until your image looks the way you want.
- Add a new layer, making sure to place it under the line art layer(s).
-
Add your flat color blocks. The best practice is to separate colors of different elements in your image onto different layers.

- Time to add another layer.
-
Find a complimentary cool color for your palette.
-
Consider the location of your lighting sources.
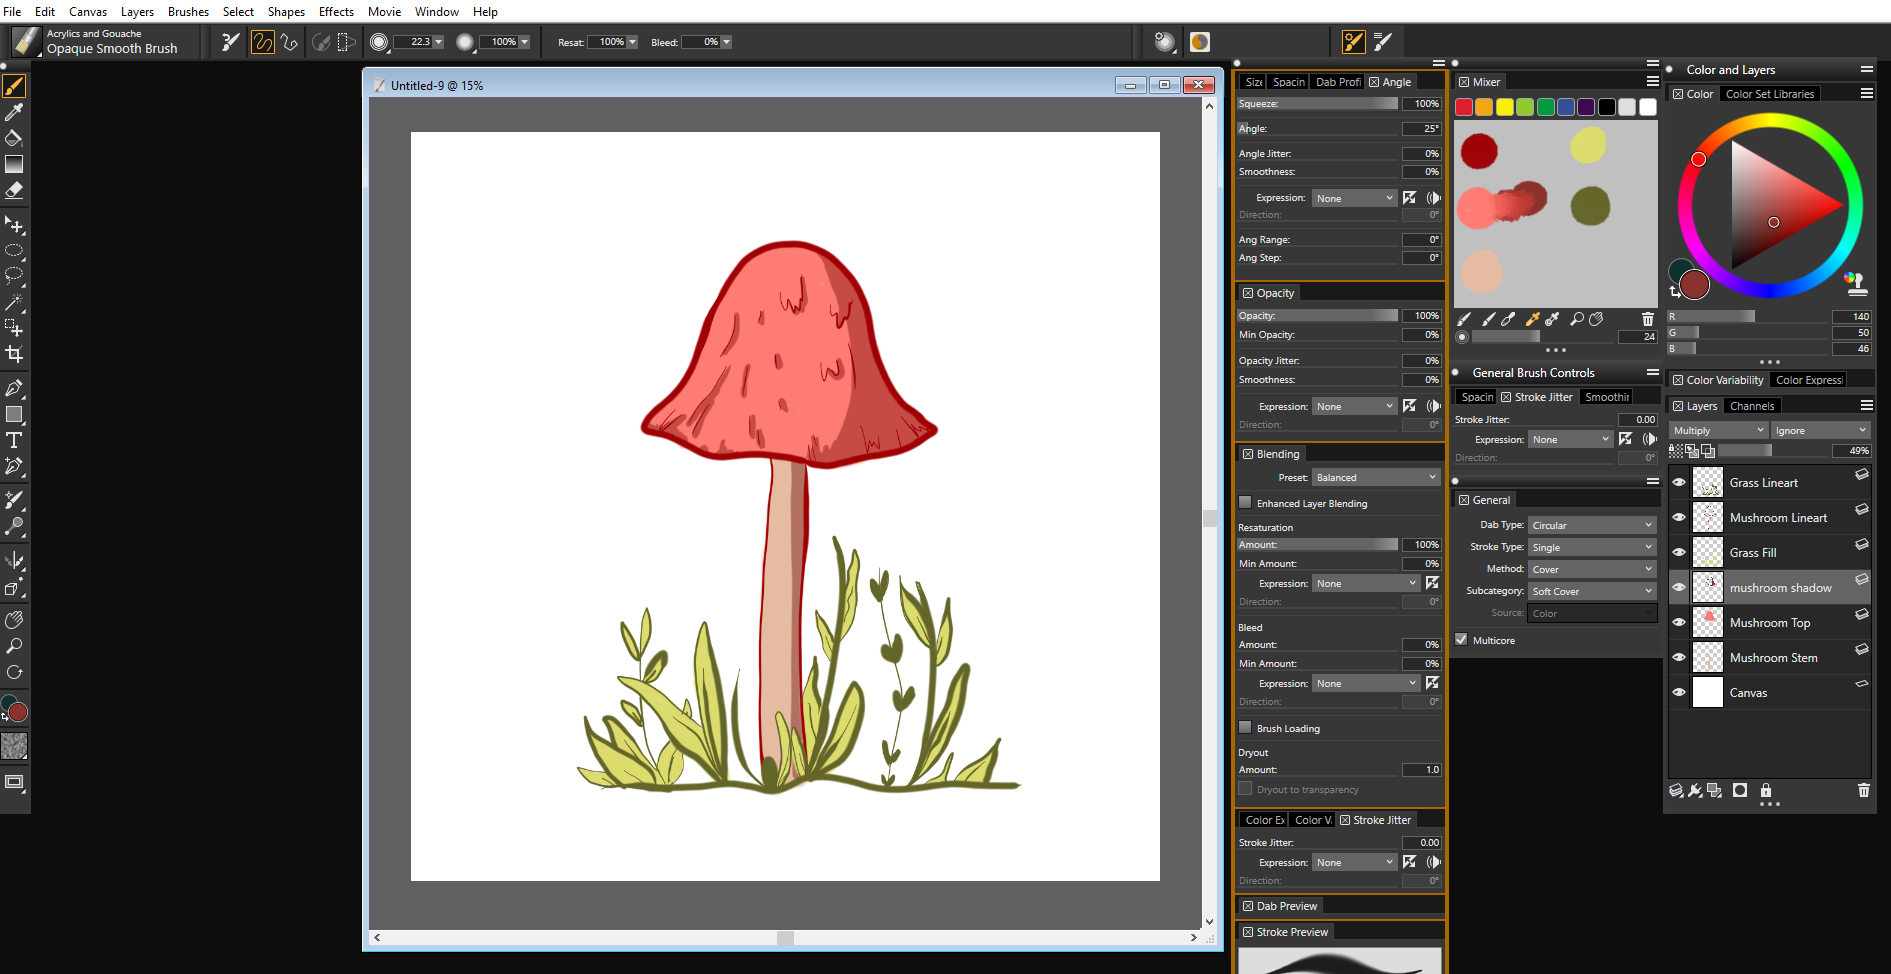
- Use your brush tool to add your cool color to shaded areas. While thinking about where your lighting will hit your subject, lay down your cool color on the opposite areas darkened by shadow. If your light is coming from the left, for example, your shadows will fall more on the right.
-
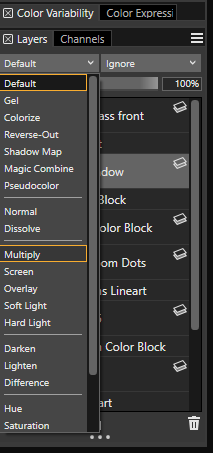
Adjust your shadow layer's blend mode to multiply. The multiply blend mode adjusts the way that shadow color blends with the colors underneath it.

- Adjust your shadow layer's opacity. Lowering the shadow layer's opacity allows more of the layers below it to be more visible. More opaque layers lead to darker, more dramatic shadows.
-
Add a highlight by repeating the previous steps with a warm color.
Adding highlights is a similar process to adding shadows but with a few minor changes. We're going to add a new layer, choose a complimentary warm color, and add it to the points where the light will hit the subject directly. Instead of setting our layer blend mode to Multiply, we're going to choose Screen from the drop-down.
Just like before, we're going to adjust the opacity until we're satisfied. Sometimes it may be beneficial to add additional white hot spots to really set a highlight off. However, try not to overdo it as you could end up making your image's surface look shiny or wet with too many. If you're looking for the hard-line cel shading look, you can stop after your highlights.
How to blend for soft shading
If you're looking for a more realistic render for your digital illustration, you may want to choose soft shading over cel. In addition to the increased realism that soft shading offers, it also gives you a little more freedom to play with lighting and how it affects the subjects in your illustration.
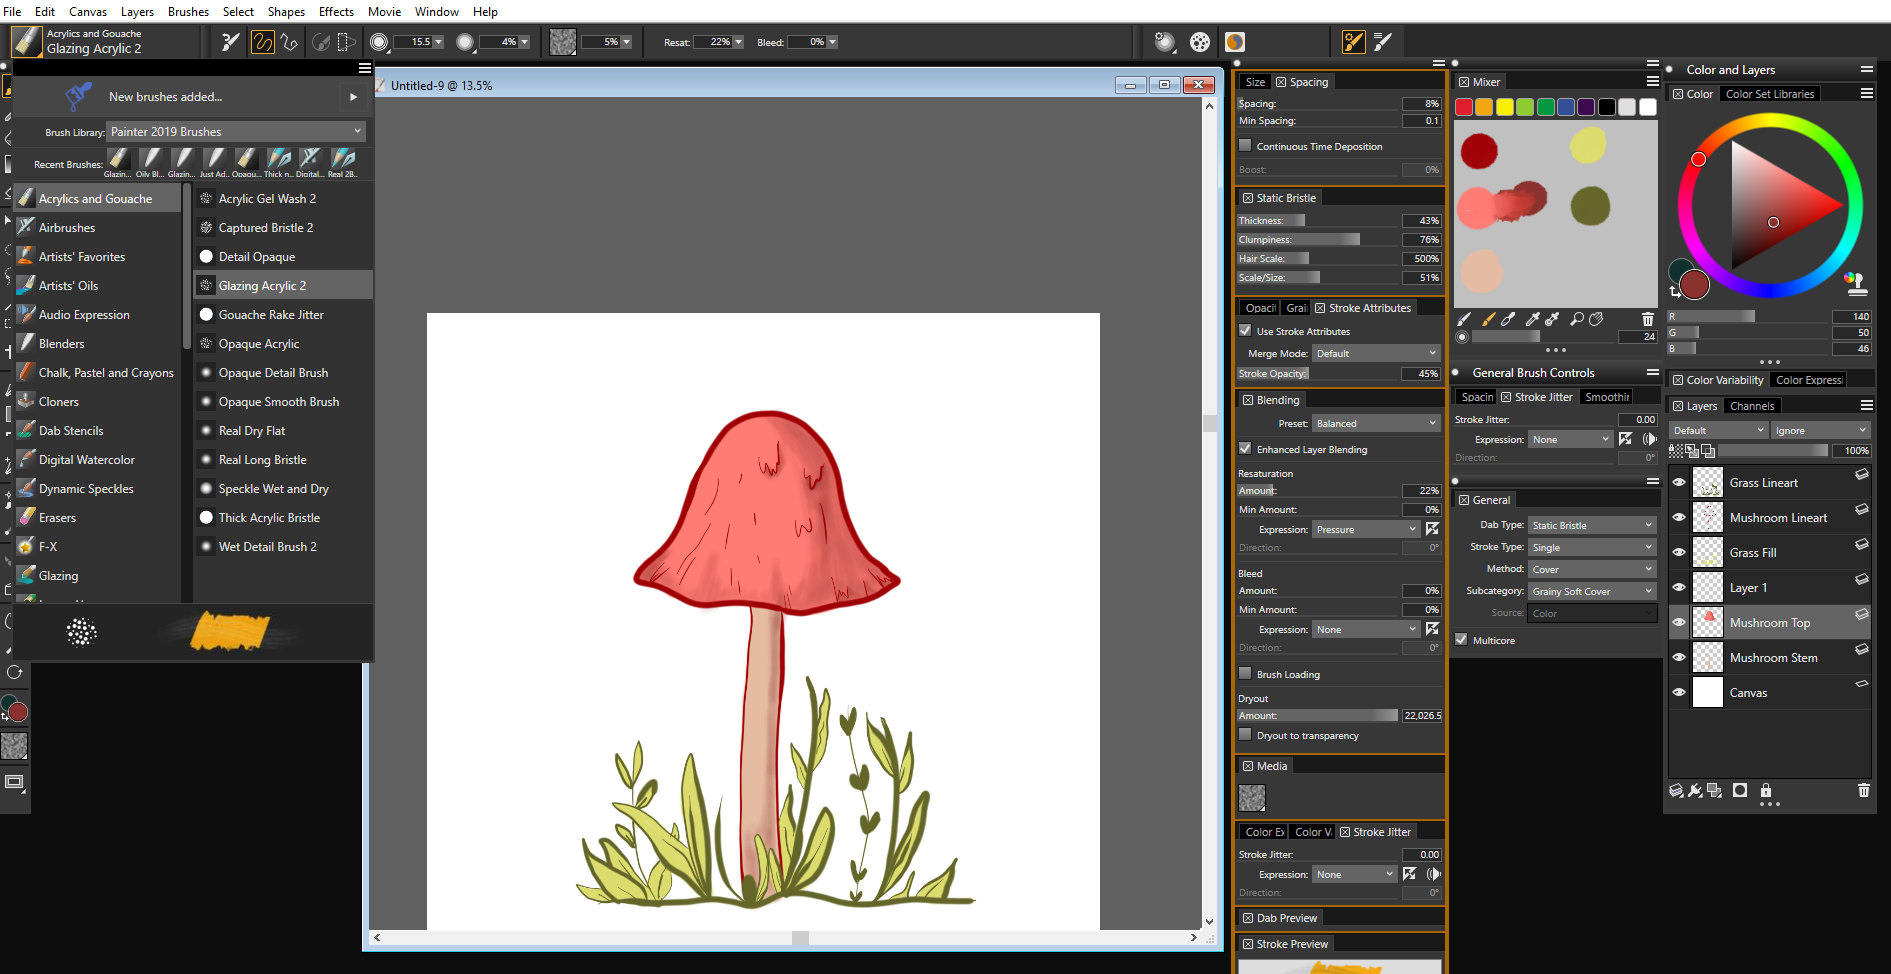
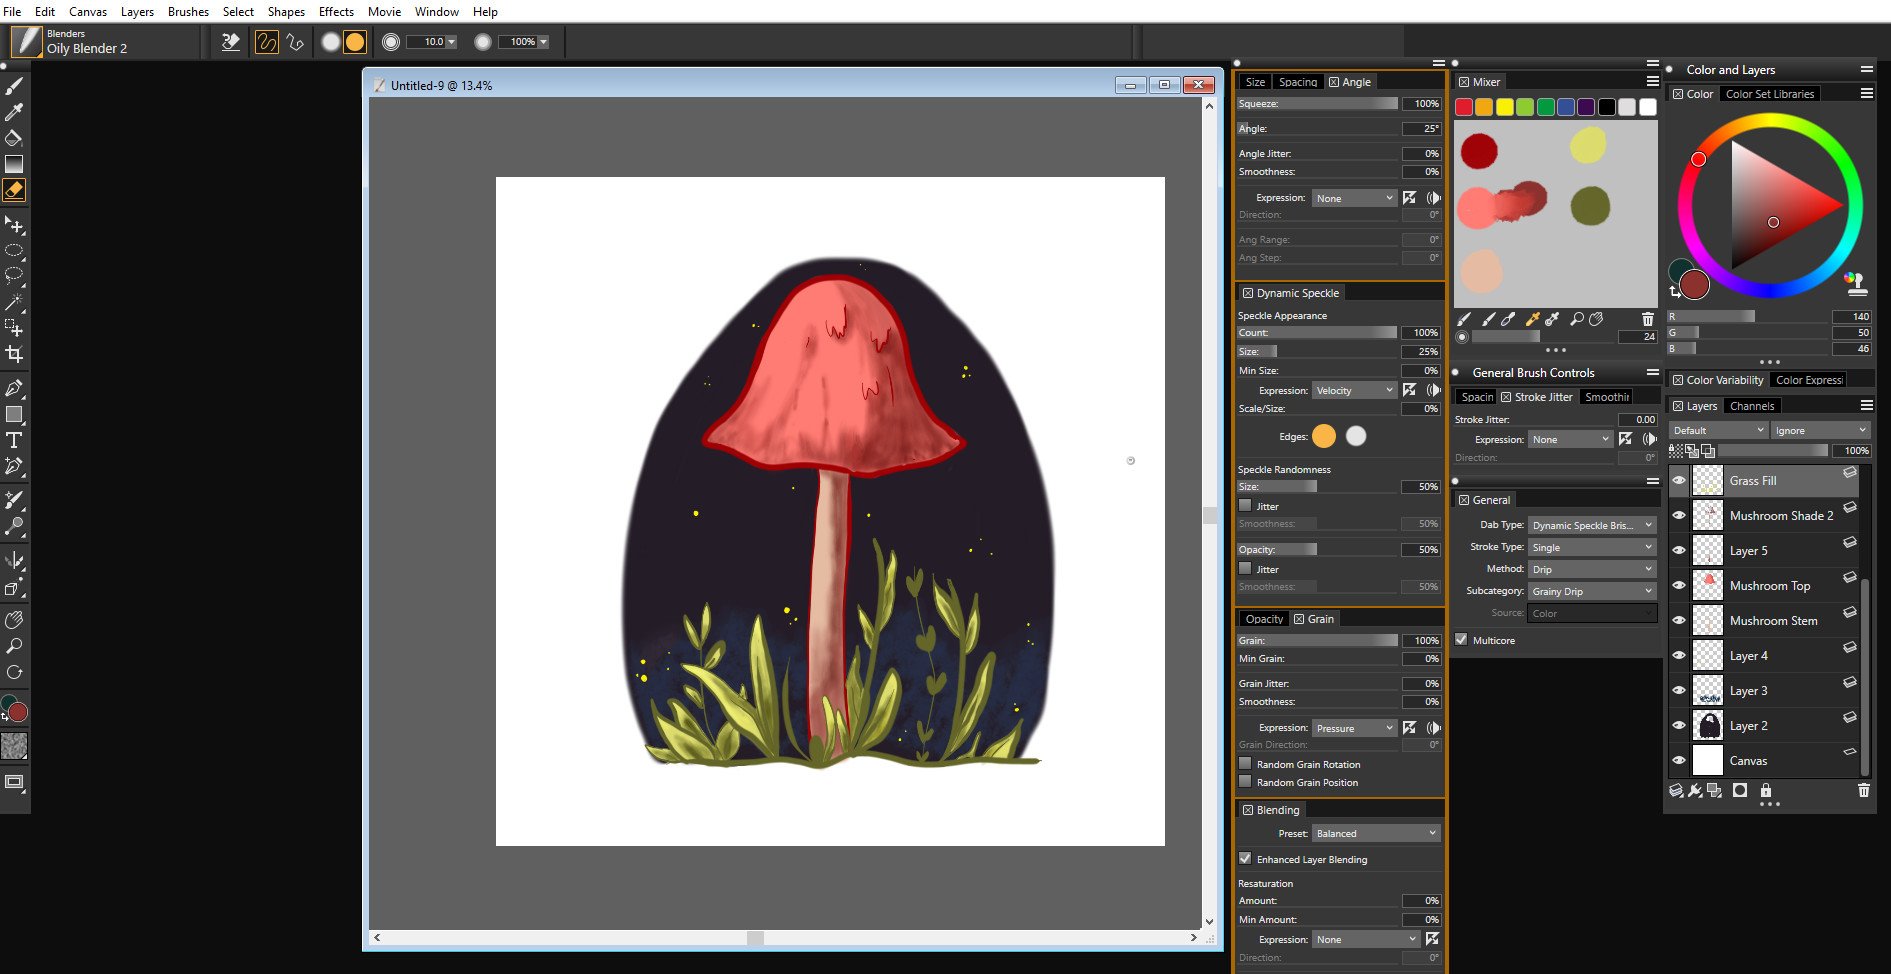
Because we're going for a more painterly look, I'm going to choose various acrylic and glazing brush tools. The tools you have available will vary with your software choice and your personal preference for style.
- Open your painting software and a new, blank canvas.
-
Choose your preferred brush.
-
Add your line art.
- Add a new layer.
- Choose a complimentary cool color.
-
Add in your shadow color much like you would with cel shading.
-
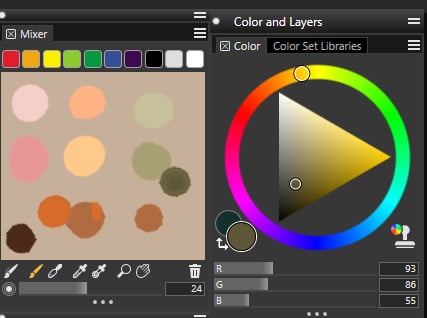
Using the Mixing Palette, add your flat color and shadow colors side by side and blend them together with the palette knife tool.
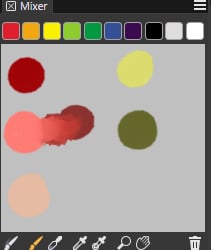
- Use the color picker tool to pick up the color mixed from your flat and shadow color.
-
On its own layer, Add the blend color, partially overlapping the flat color and shadow layers.
-
Select your preferred blend tool from the brush tool palette.
- Use the blender brush to create a soft gradient from the flat to the shadow color.
-
Repeat these steps with a complimentary warm color to create highlights. Like with cel shading, however, you'll want to set your layer mode to screen instead of multiply.
Soft shading typically results in a smoothly blended gradient that contrasts to the hard edges of cel shading. This lends itself to a more realistic and painterly illustration and adds some extra freedom for playing with the way light interacts with the subject you've painted. Despite the differences between the two shading styles, it's not uncommon for digital artists to use both in the same painting.
Create your way
While both techniques will get you started shading your digital illustrations, neither is the definitive way to go about it. They're merely foundations for you to build your own creative style with. Everything from the brushes you use to how many layers you add to get the right amount of shadow can change your finished piece. Be brave and make bold strokes.
The beauty of digital art is the ability to change your direction as you see fit, so try out neon green for a shadow or that bright orange highlight. If you're dissatisfied, changing it as simple as using a flood fill to recolor your shadow or highlight layers. I didn't touch on color theory in this article, but having a basic grasp of how colors work with one another and their effect on lighting and shading can be one of the most effective methods for improving your shading.
Useful tools of the trade
There are plenty of artists out there who can create beautiful illustrations with Microsoft Paint and a standard mouse. I, personally, am not that kind of artist. If you find you're not that kind of artist either, you might want to consider adding a good pen display and drawing software to your artistic toolbox.
Pen Display
XP-Pen Artist 13.3 Pro Pen Display

Budget-friendly drawing tablet
If you're transitioning from traditional to digital art, training yourself to draw on a digitizer while looking elsewhere at a separate screen can prove difficult. Using a built-in pen display gives you the freedom to put your pen directly on your workspace. XP-Pen's Artist 13.3 Pro display is one of the most affordable drawing monitors on the market, but it comes packed with a lot of bells and whistles of its higher-end competitors.
Additional Equipment
While technique can get you a long way with traditional art regardless of tools, digital art success requires the right toolset. I've mentioned before that some artists can draw solely with their computer's standard USB mouse or even their laptop's trackpad. These devices, however, do not offer pressure sensitivity or tilt functionality the way a drawing tablet or pen display can.
The drawing input device itself that you may prefer can vary widely. The market has really expanded as of late to offer something for everyone. The most important aspect is having a pen with pressure sensitivity. Tilt support is a nice bonus, as well.
When it comes to drawing software, the situation is pretty similar. The type of software you're going to want to choose is going to be dependent on the type of artwork you're looking to create, as well as your budget. Some programs are better suited to blurring the lines between traditional and digital art, while others are geared toward animation and webcomics.
Corel Painter 2021

There are plenty of options for digital drawing software, but my personal favorite is Corel Painter. Corel Painter's workspace is well suited to artists who paint both traditionally and digitally. Corel's creative software still allows users to purchase a license to own the software, so you can continue to use it indefinitely if you purchase once.
Xencelabs Medium Pen Tablet

There's a lot to be said about the simplicity of a drawing tablet. They come in a variety of sizes, but the concept is all the same. Drawing tablets without a display are often more budget-friendly and even occasionally portable. The new tablets from Xencelabs, while on the higher end of the price scale, offer the functionality of a premium product that is well designed without the bulk of adding an extra monitor.


0 comments:
Post a Comment