
Building your own dream rig has never been easier.
Building a PC remains a daunting endeavor for many, but it doesn't have to be. Even if you've yet to pick up a screwdriver and toss together a few components, this comprehensive guide will make you a PC building master in no time at all. We'll also save you money in the process.
Building your own PC
- Picking the right parts
- Installing the CPU
- Installing the RAM
- Check the system boots
- Installing the PSU
- Installing a motherboard
- Installing storage drives
- Plugging everything in
- Adding case fans
- Installing a GPU
- Power on and diagnostics
Picking the right parts
The most crucial part to get right is picking parts that do what you want and work with each other. Choosing wrong or incompatible PC parts may cause issues, damage to other components, or require time for returning said products to retailers. In short, we'll need a case, CPU, GPU, RAM, PSU (or power supply), motherboard, cabling, and some storage to complete the barebones checklist.
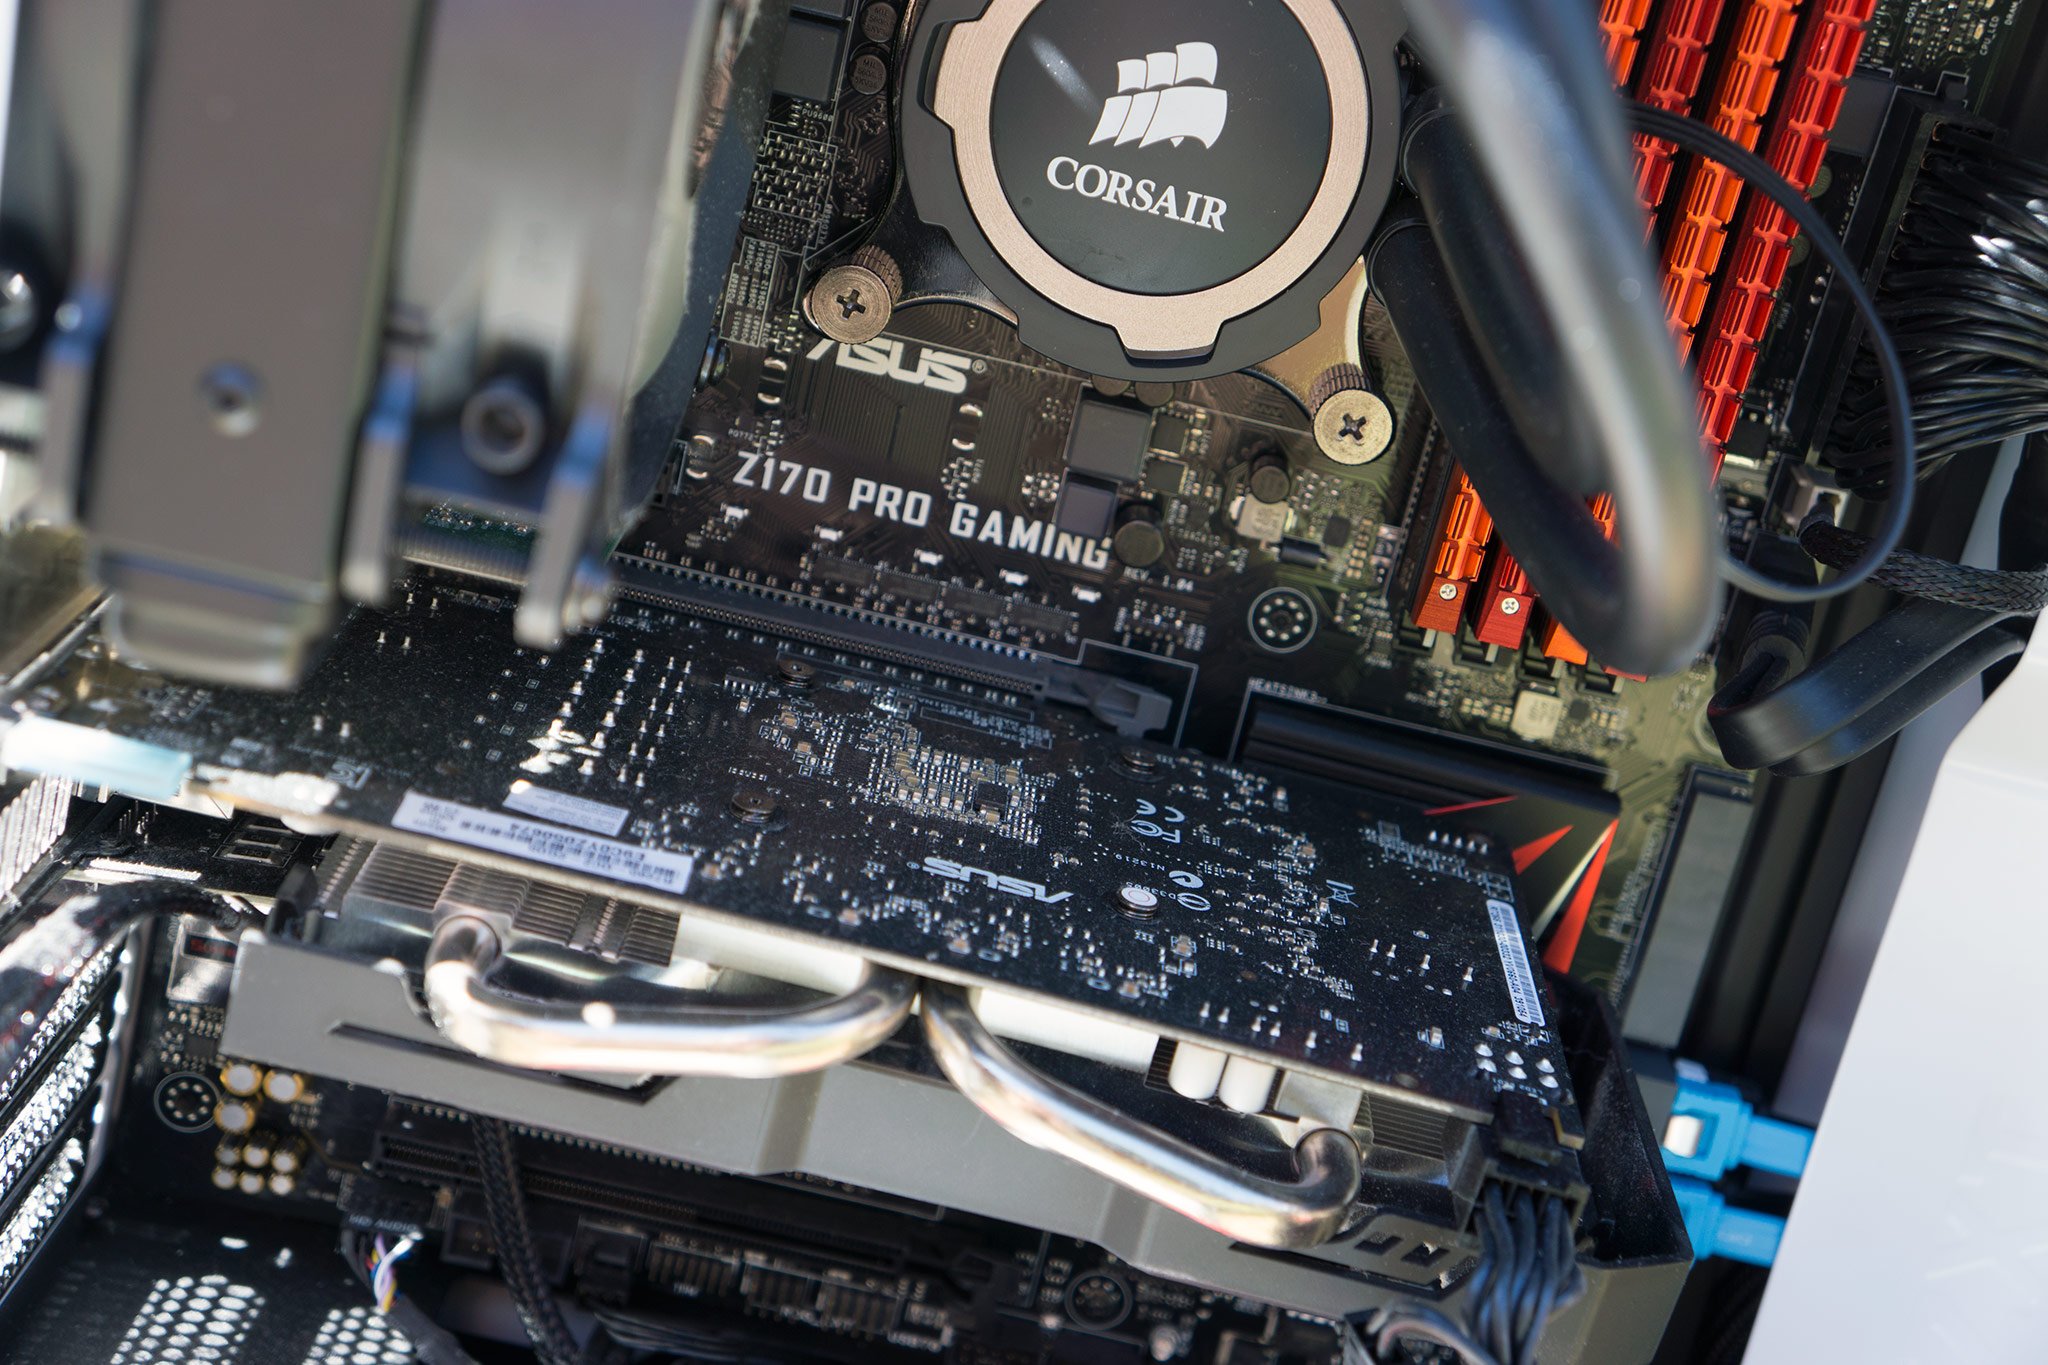
Looking inside a PC case can reveal a mess of electronics to someone who doesn't know what does what. Fear not, as we've got you covered when it comes to picking the right parts, even if you don't know the difference between a CPU and GPU. Check out our best guides for each component and then check for incompatibilities using our brief checklist below.
Products used in this guide
- Best cases
- Best CPU (best CPU coolers)
- Best PSU
- Best motherboards
- Best RAM
- Best graphics card
- Best SSD
Compatibility
Here's what you'll need to build a PC:
- Case: Cases come in different form factors, depending on the size of the PC you wish to build. Less important overall.
- PSU: This is what converts AC to DC power from your home socket to components. Needs to supply enough stable power (500W is usually great to start with).
- CPU: You have the choice of AMD and Intel for desktop processors. Take a look at our best guide and note the sockets they use as you'll need to match the socket for the motherboard.
- Motherboard: A motherboard simply needs to match the same socket type of the CPU. Chipset and other features are all down to pricing and preference.
- RAM: Faster frequencies and lower latencies generally mean better the RAM, though you'll need to make sure your motherboard can support the same clock speed, or it'll be limited. Most new boards support DDR4. DDR4-3200 is a safe bet for most CPUs.
- Storage: Entirely down to personal requirements, though we always recommend an SSD for installing the OS.
- GPU: This is optional and is only really needed if you plan to do some gaming or intensive workloads. In that case, spend as much as you can.
But wait! Even after double and triple-checking that everything will place nicely together, it's recommended you use an automated tool that checks entered components against a database to confirm that there are no conflicts. It's worth visiting PC Part Picker, entering in all your components, and then checking everything over.
Not only does the website allow for comparison between other options available — potentially allowing for even more savings to be made — it will also provide warnings for any issues detected. After a few PC builds, you'll be able to tell components apart by just looking at the specs and streamline this process without using such websites.
All the products in this guide are compatible with one another so if you fancy building yourself a capable gaming PC, take up our recommendations as you move through the guide.
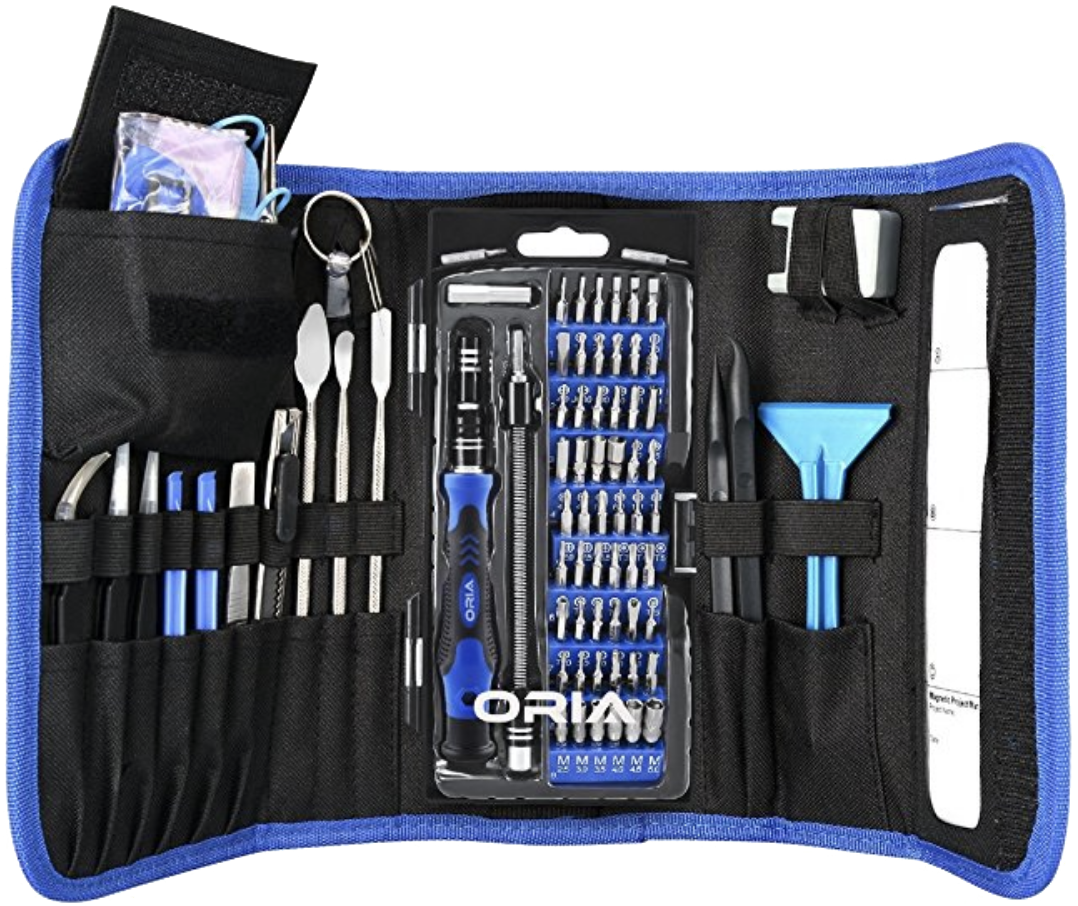
Trusted tools

The bare essentials you'll need to build a PC including the following:
- Toolkit.
- LED light source.
- Flat workspace (no carpet).
- Anti-static mat.
- Anti-static wristband.
- Magnetic parts tray.
- Free workspace (never use carpet).
Did I mention you shouldn't use carpet to build a PC?
Build it better
We've arranged this guide in an order that makes sense for most builds, though it may not be optimal for every PC. You'll need to check the layout and see which components will need to be installed first, but usually, the power supply is the best way to go. You'll first want to put aside the box/bag of screws that come with the case as we'll need these for the steps ahead.
Avoid these rookie PC building mistakes
Case
NZXT H510i

$100 at Best Buy $108 at Amazon $116 at Newegg
Great all-rounder case that offers excellent value
NZXT makes some of the best PC cases around and the H510i is one of my favorites. It's a breeze to build a PC inside, has ample space for your favorite AIO cooler, and even helps you manage cables to make everything look neat and tidy.
When putting together a new PC, you'll need a case that looks good, is sturdy enough to hold everything inside, has ample features like dust filtering, smart RGB lighting and doesn't break your budget. This sums up the NZXT H510i perfectly.
Installing the CPU
You'd have noticed I said we'll be installing the PSU first, but that's only when we're sure everything works. Before we fit everything inside the PC case, we'll need to check all our components actually work out the box. Instead of throwing everything inside the case and discovering there's an issue, unpacking everything on your chosen flat surface and installing a few components to test is the best way to go.
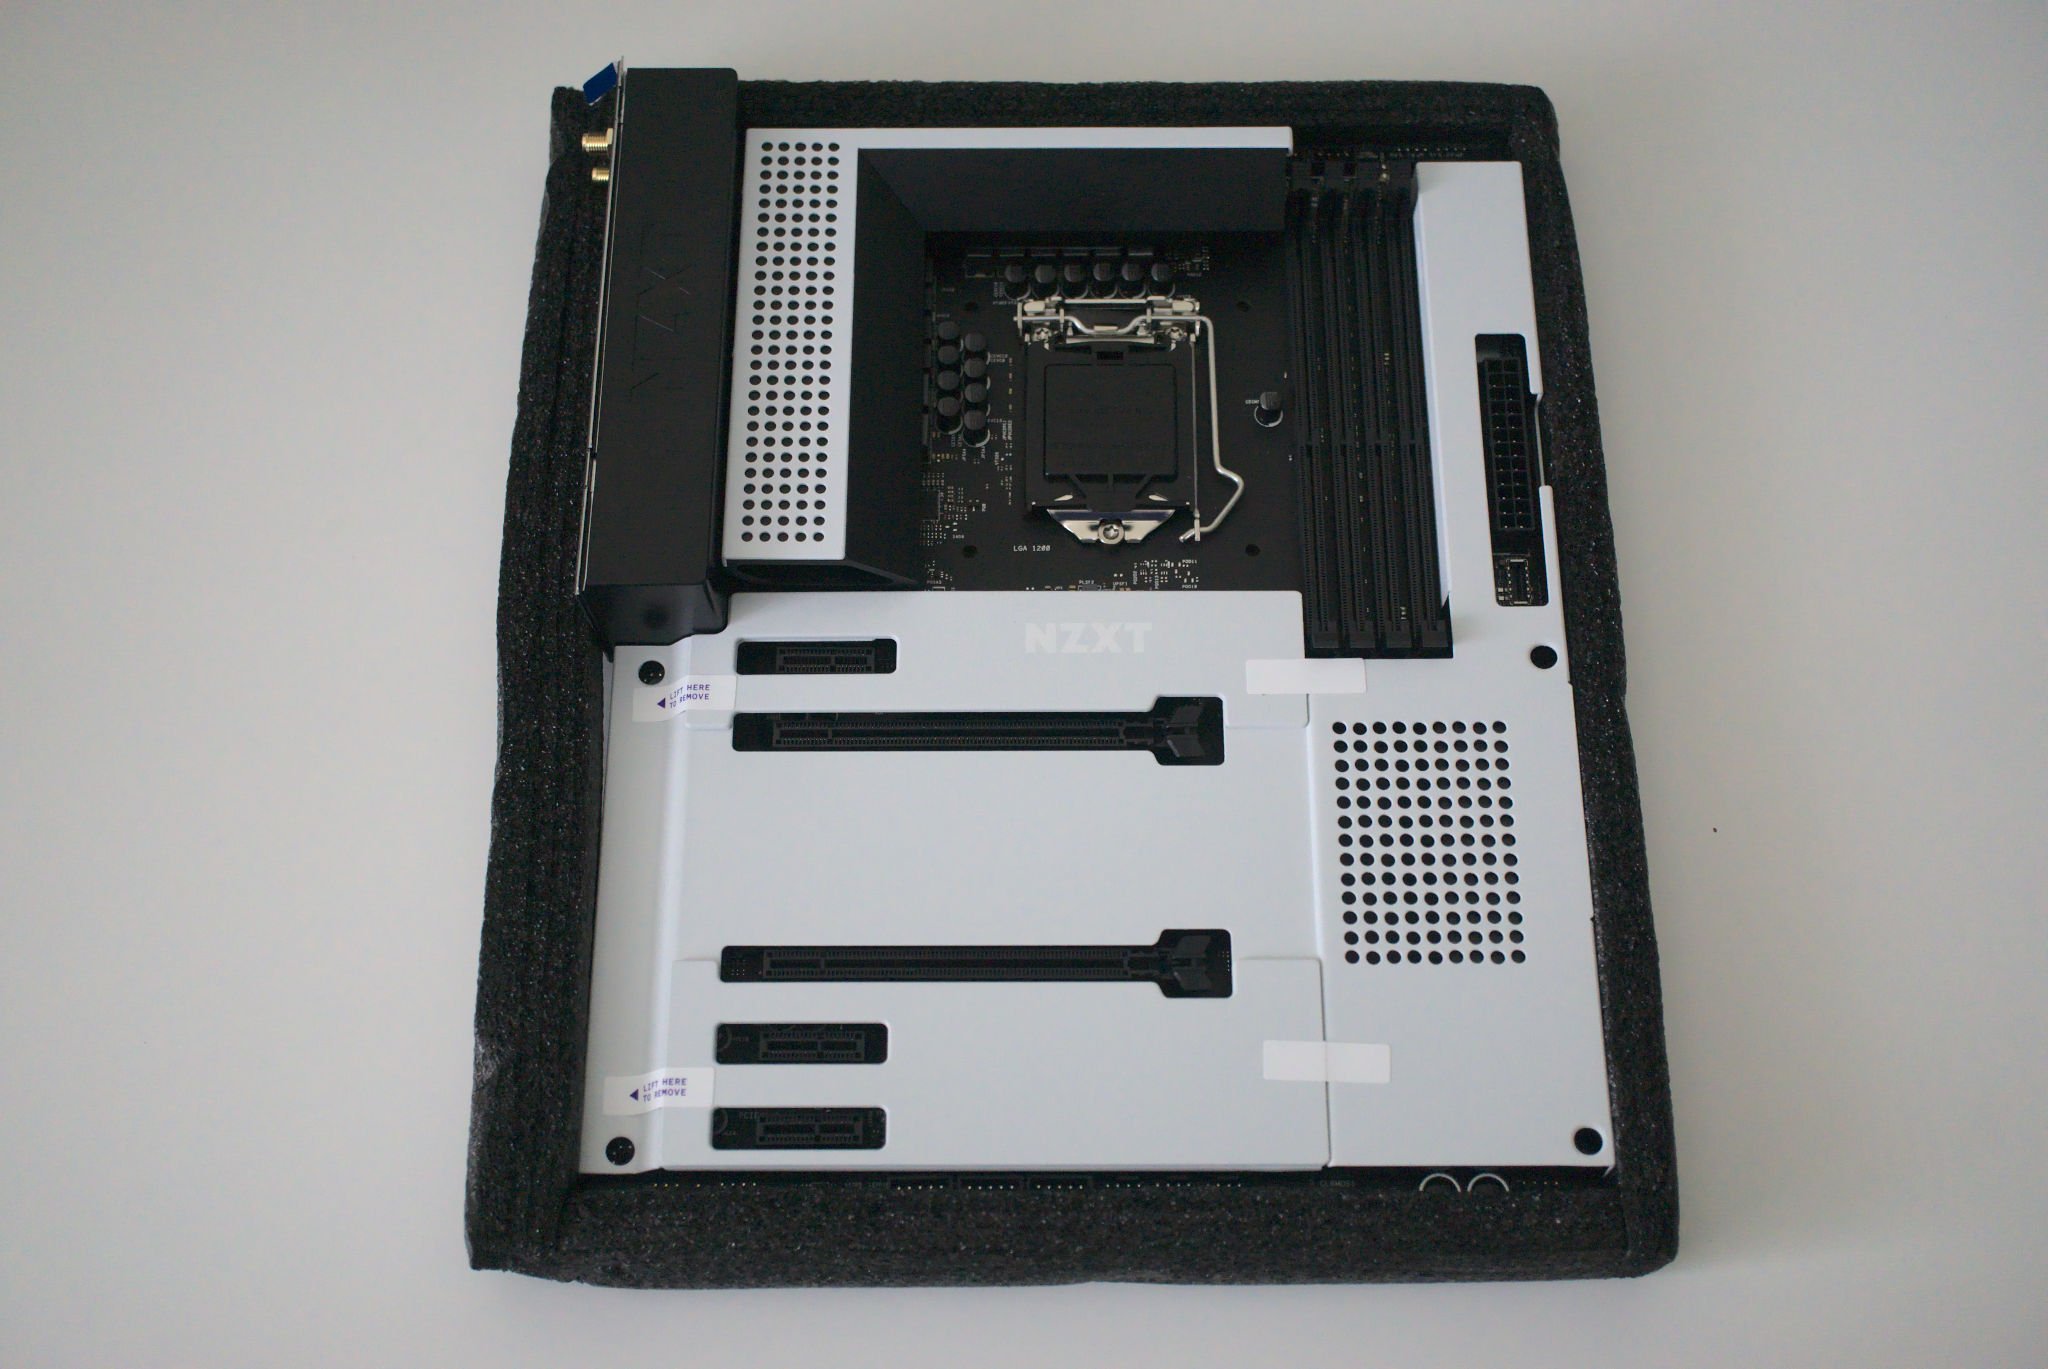
Unpack your PSU, CPU, RAM, and motherboard for this. The first step here is to install the CPU, which requires you to remove the motherboard from its packaging too. This is a super-easy process, regardless of whether you're rocking an AMD or Intel chip.
- Unpack the motherboard from its packaging.
- Place the motherboard atop its cardboard box. (It's safe here. Never place on carpet.)
- Open the CPU latch.
- The plastic cap will pop off once we install the CPU. Keep this safe! Just in case you need to return the motherboard to the manufacturer.
- Insert the CPU, matching notches and indicators to the socket. (Do not apply pressure, it should lie flush without force.)
- Close the latch to secure the CPU. (This step will require some amount of pressure, popping off the plastic cap.)
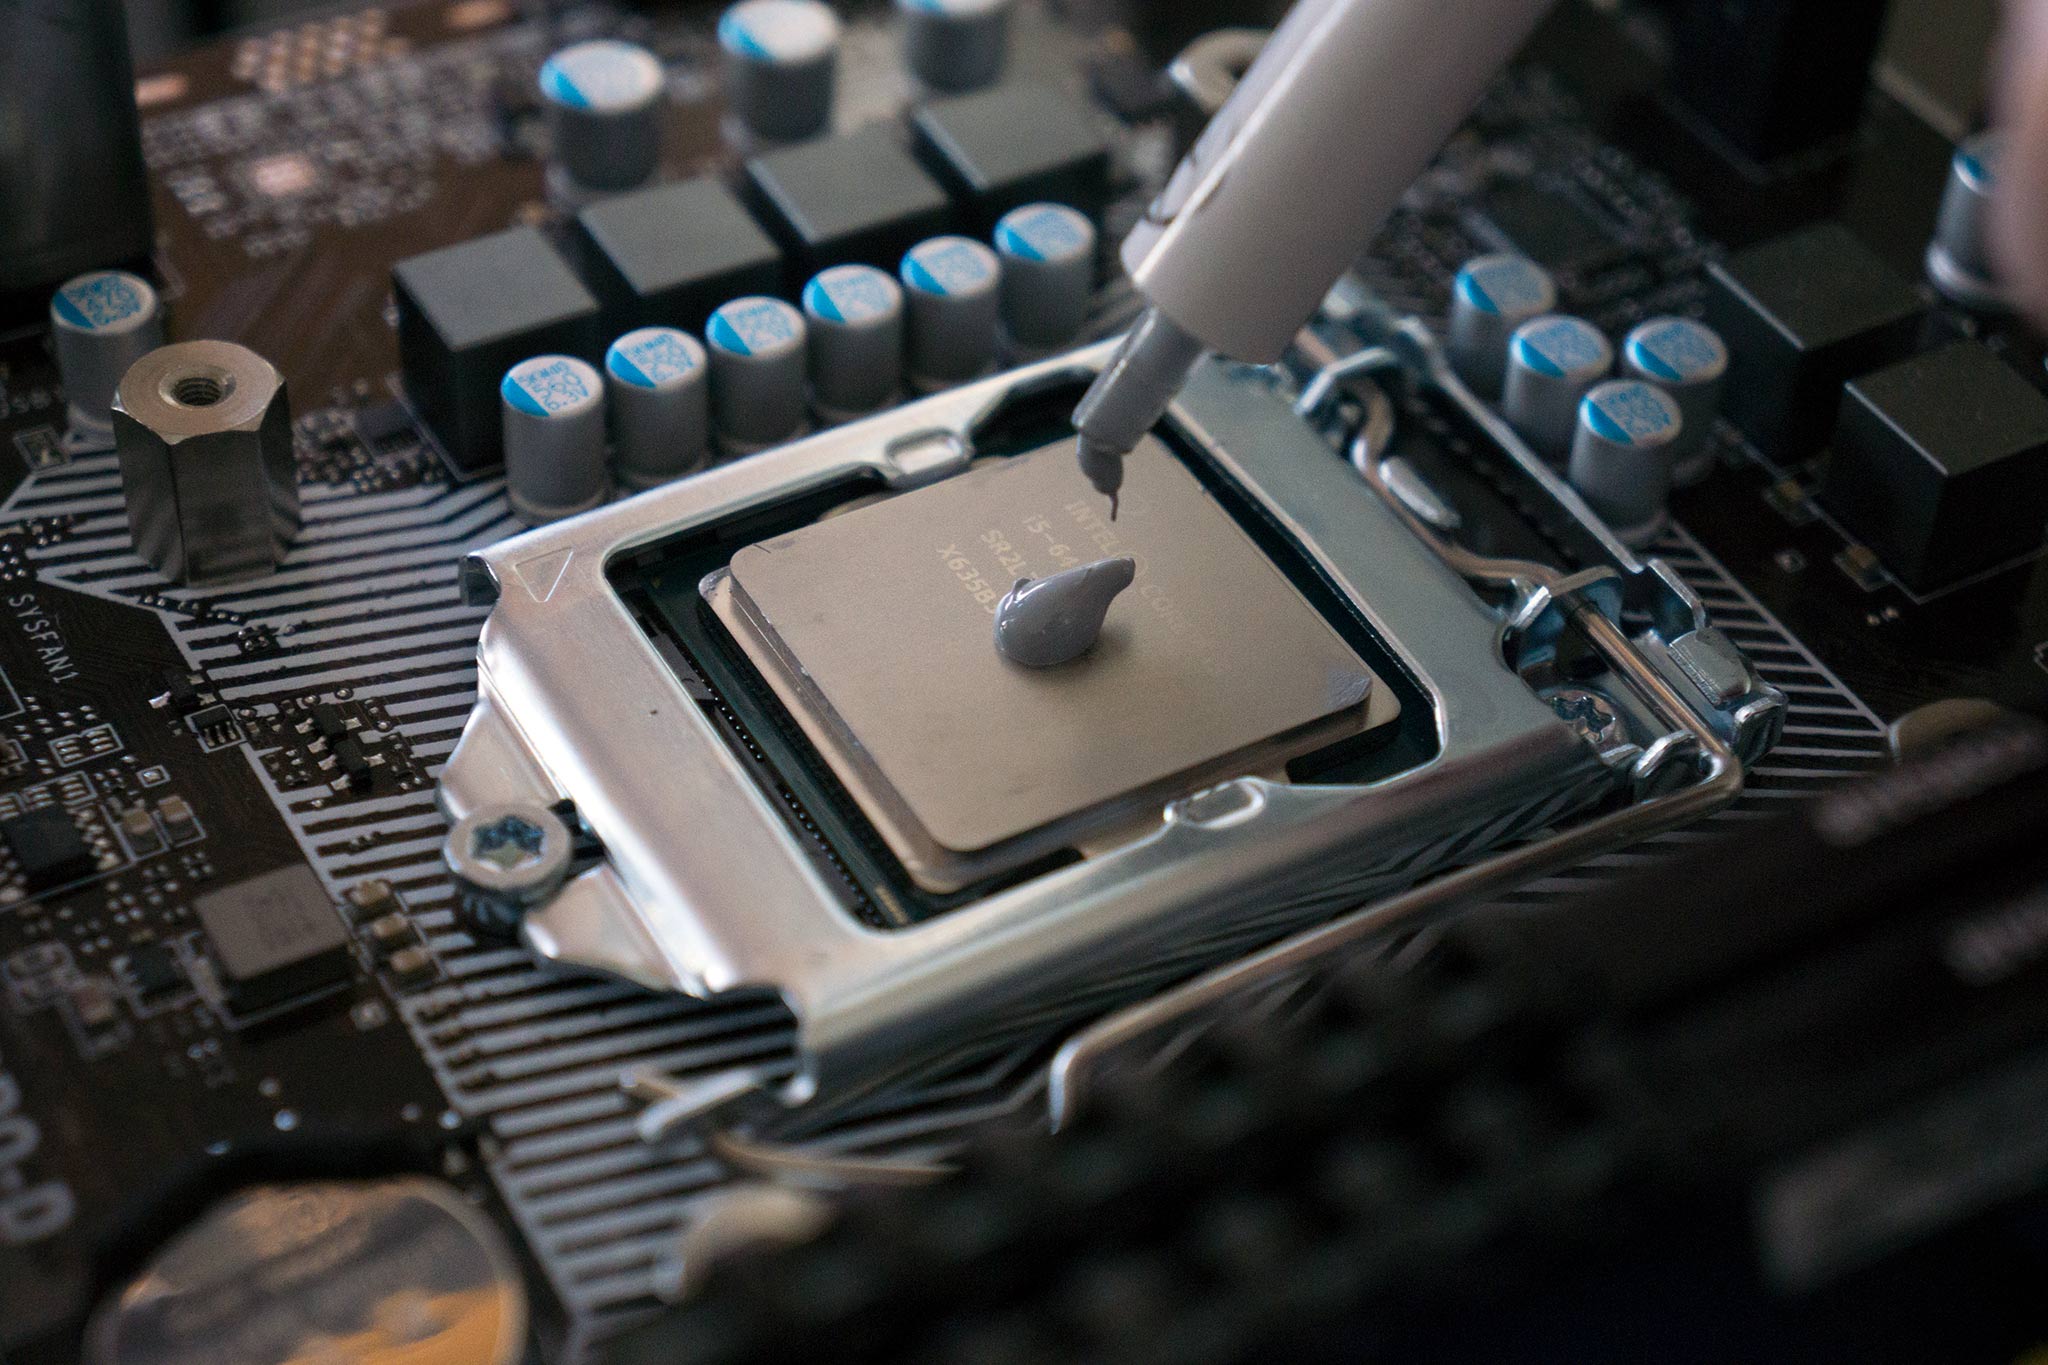
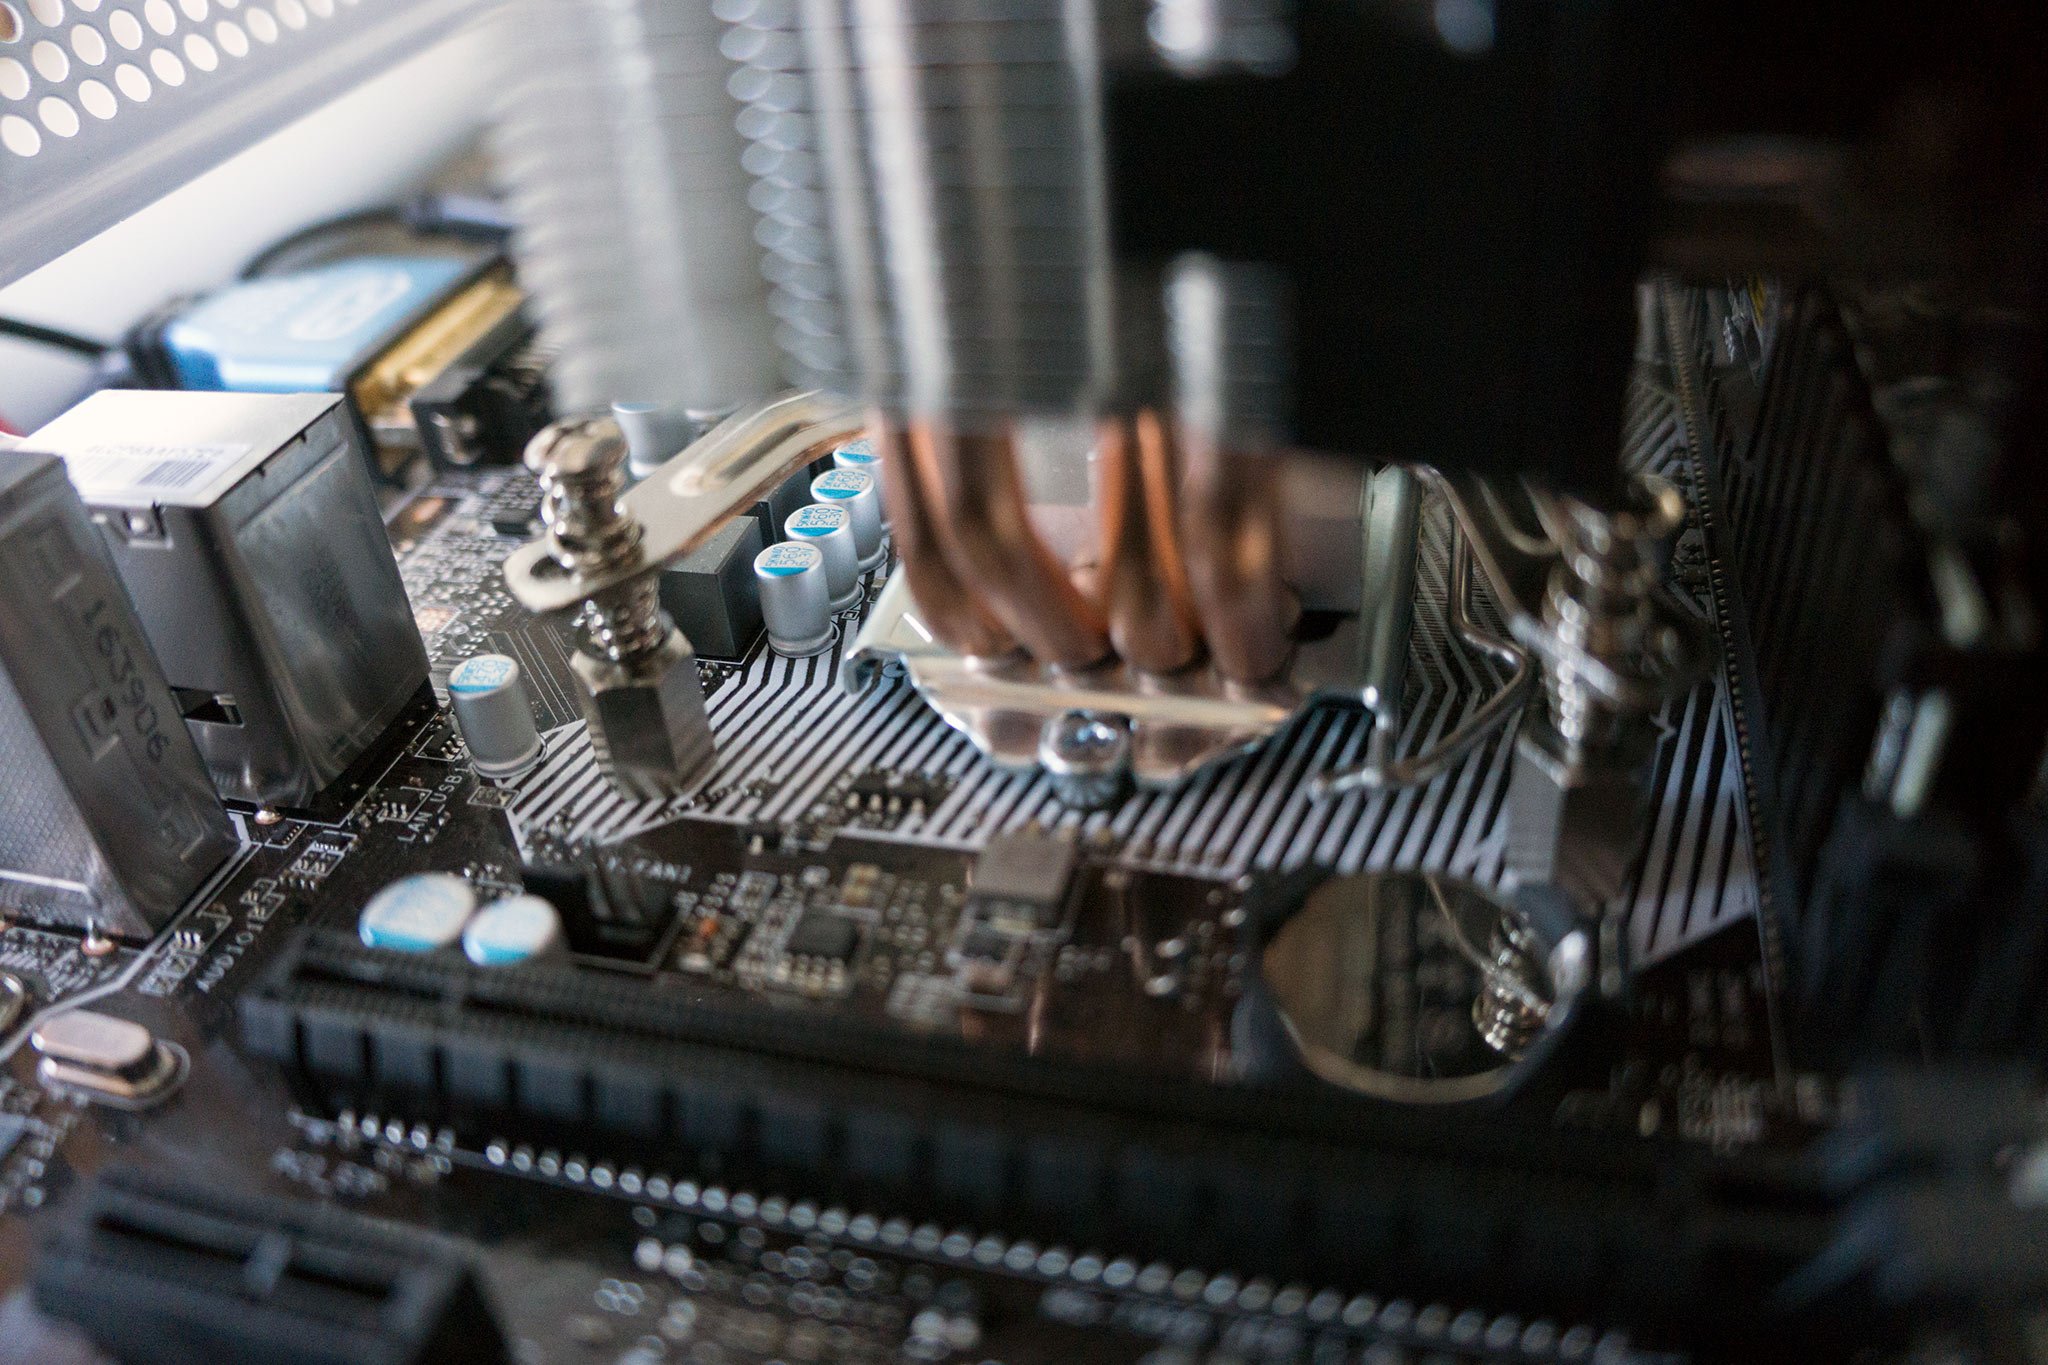
Now, we'll need to install the CPU cooler. Depending on the cooler you've purchased, you may have a layer of thermal paste already applied. If not, we'll need to do this before installing the cooler. (Tip: less is more.) The manual will run you through the process of installation, which can vary between coolers and manufacturers.
Especially with aftermarket coolers — both water and air — you'll need to pay close attention to the manual that comes with the product. This is why it's better to do all these steps with the motherboard outside the PC case for easier handling.
CPU
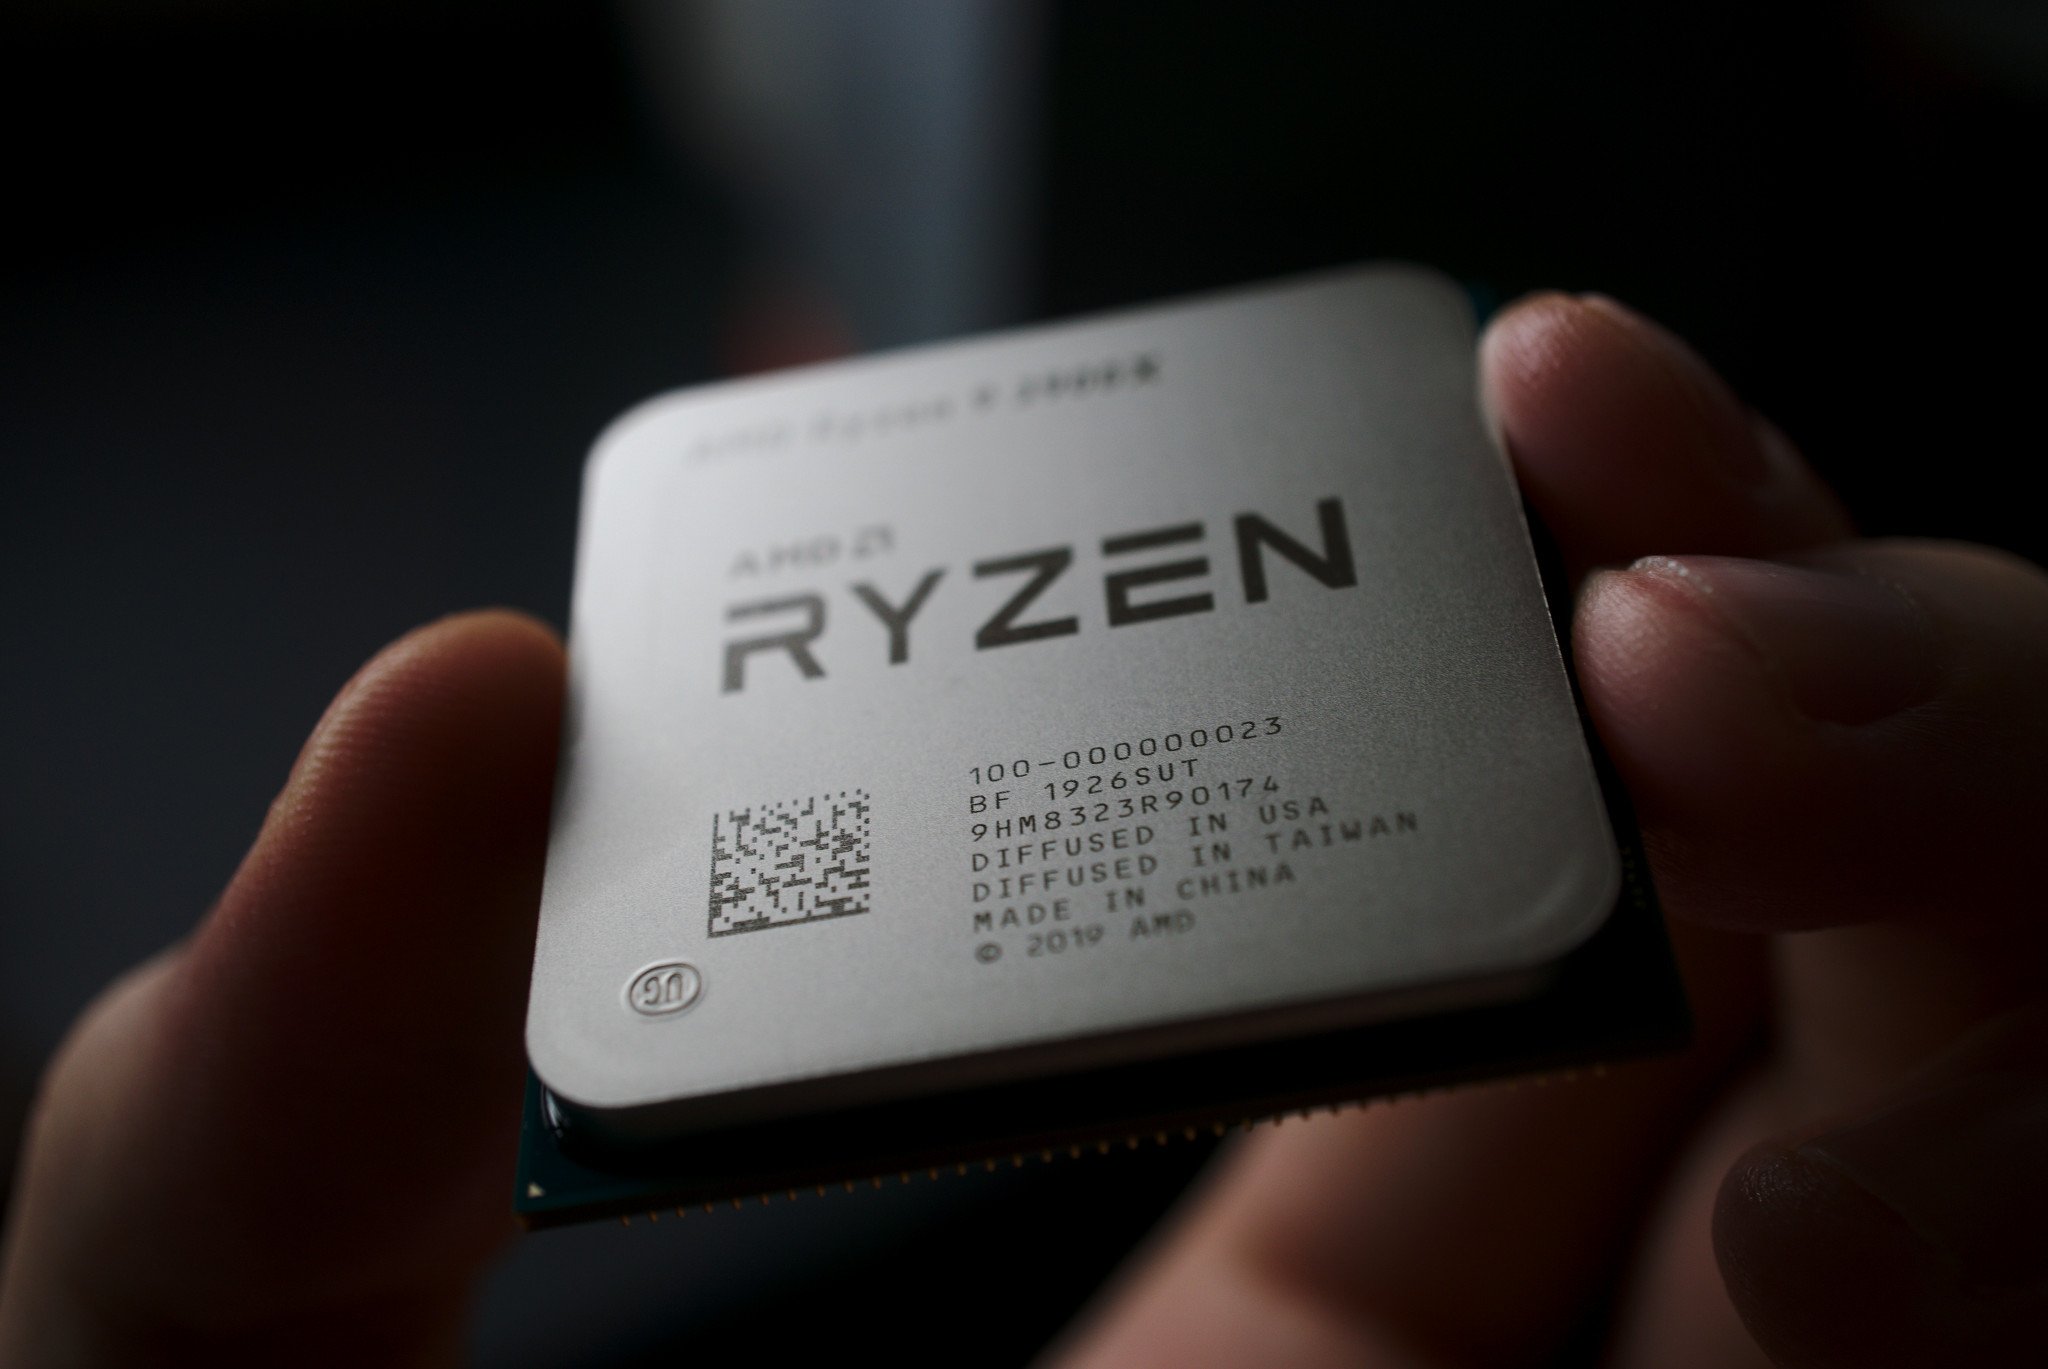
AMD Ryzen 5 5600X

A stunning performance from AMD
AMD's Ryzen 5 5600X is a fantastic processor for most consumers. It's not too expensive but is more than capable of gaming and other intensive tasks. And because all AMD CPUs are unlocked, you'll be able to extract even more performance, though you may need to replace the included stock cooler.
After many years of falling behind Intel, AMD has come leaps and bounds with Ryzen, and this latest generation is even better. There has never been a better time to hop over to team red, and the Ryzen 5 5600X is the perfect entry point for most PCs. There's even an included cooler to get you up and running.
Installing the RAM
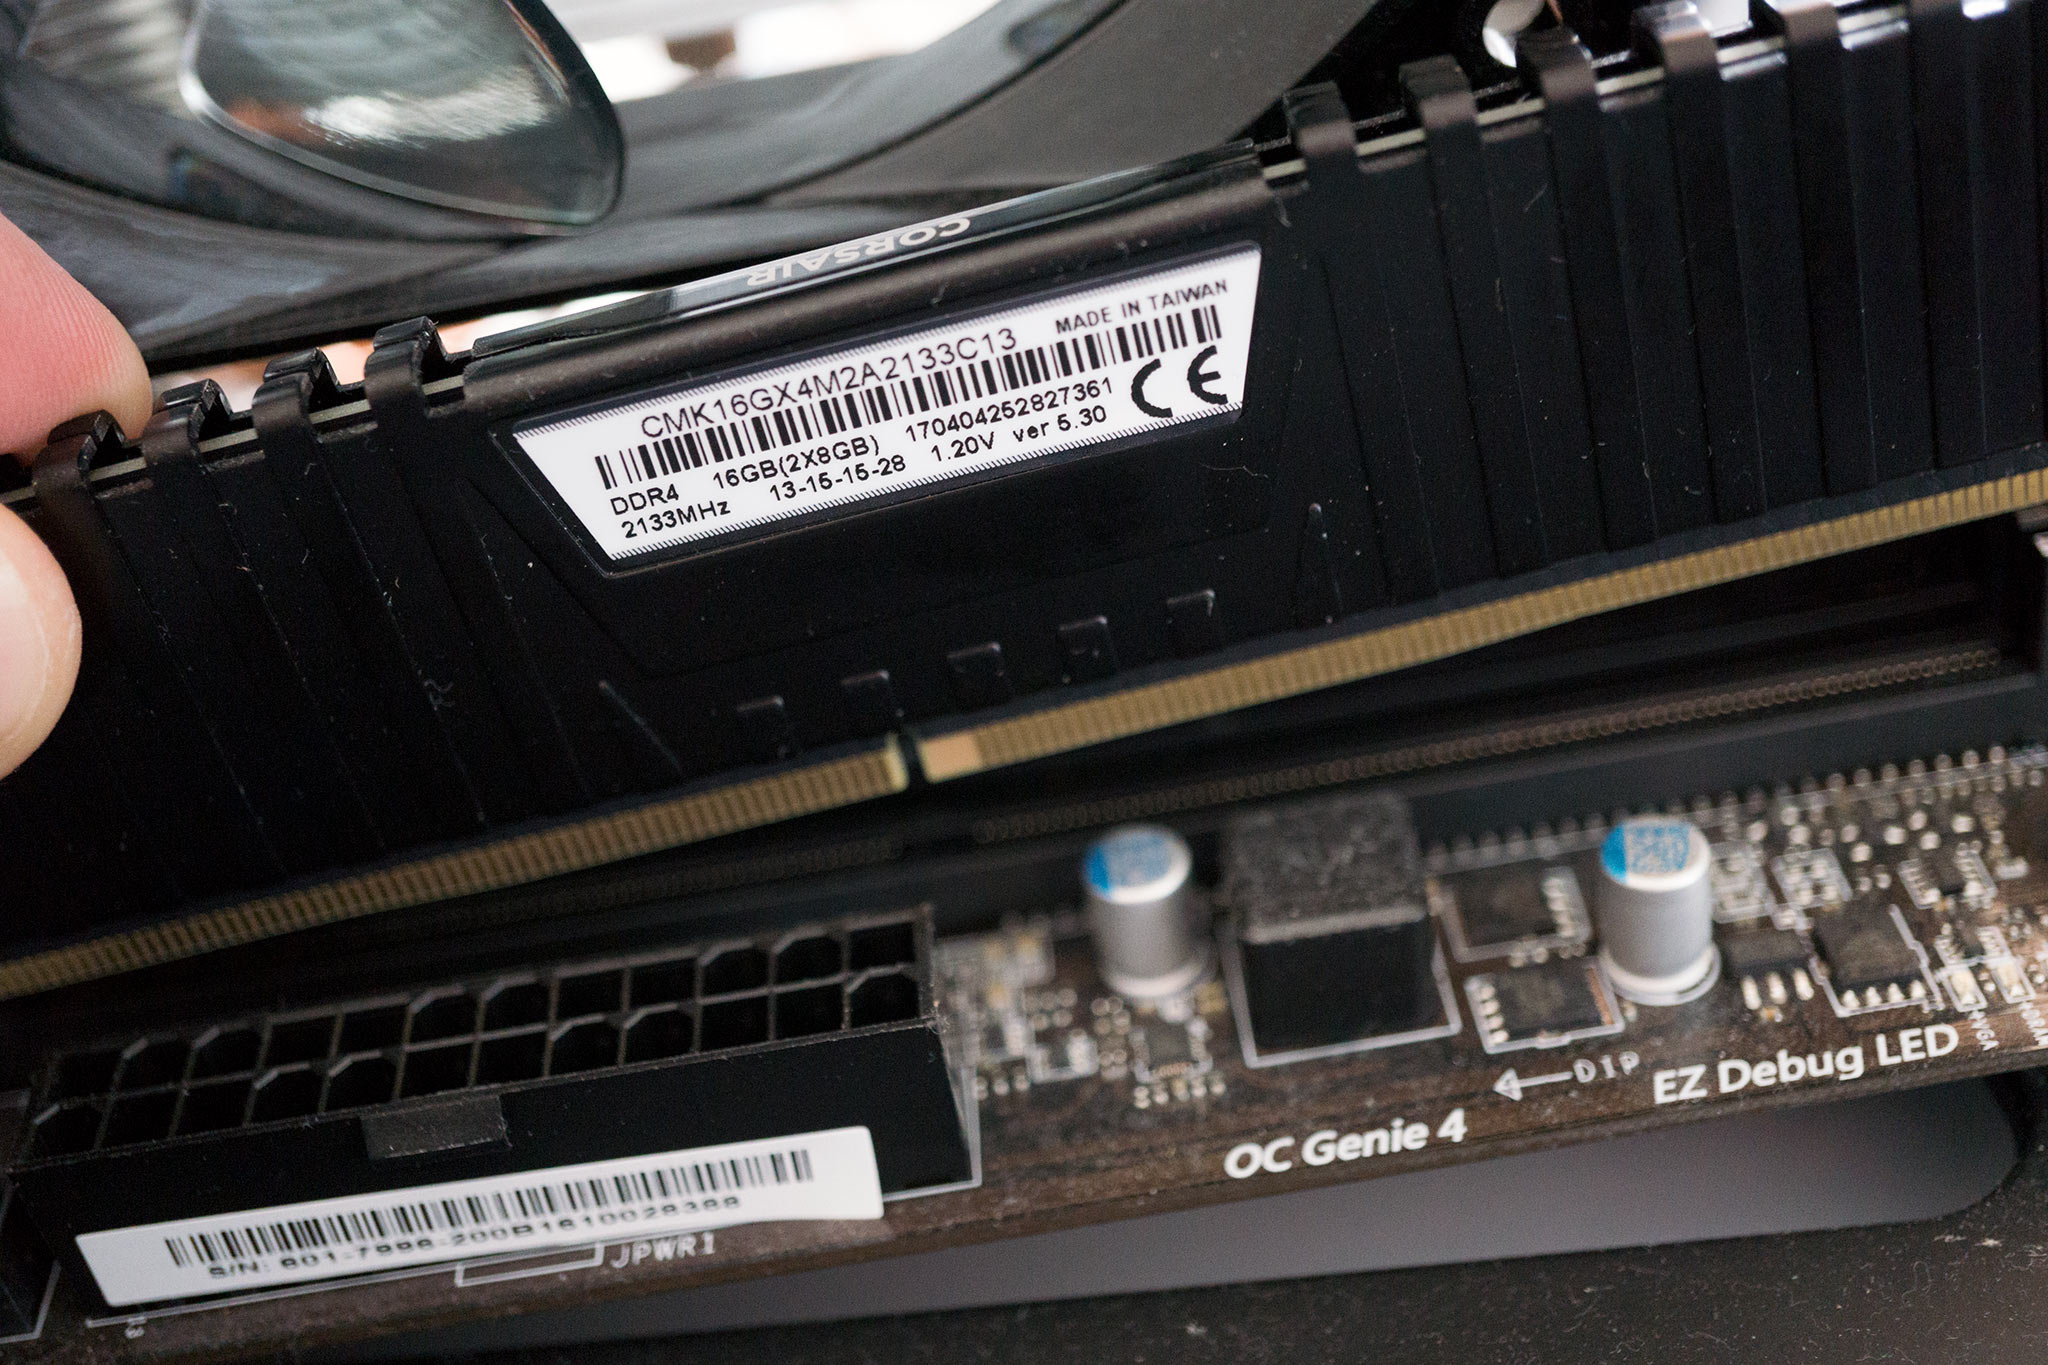
RAM is a sensitive component and, as such, should be handled with care. It's recommended that contact is avoided with the contact pins on the underside of each module. The RAM slots on a motherboard are located to the right of the CPU. Do check the motherboard manual as to which RAM slots are to be used, depending on how many sticks you have.
- Unclip the RAM locks on the motherboard module slots.
- Match the RAM module notches to those found in the slots on the motherboard.
-
Insert the module carefully, using light even force across the stick.
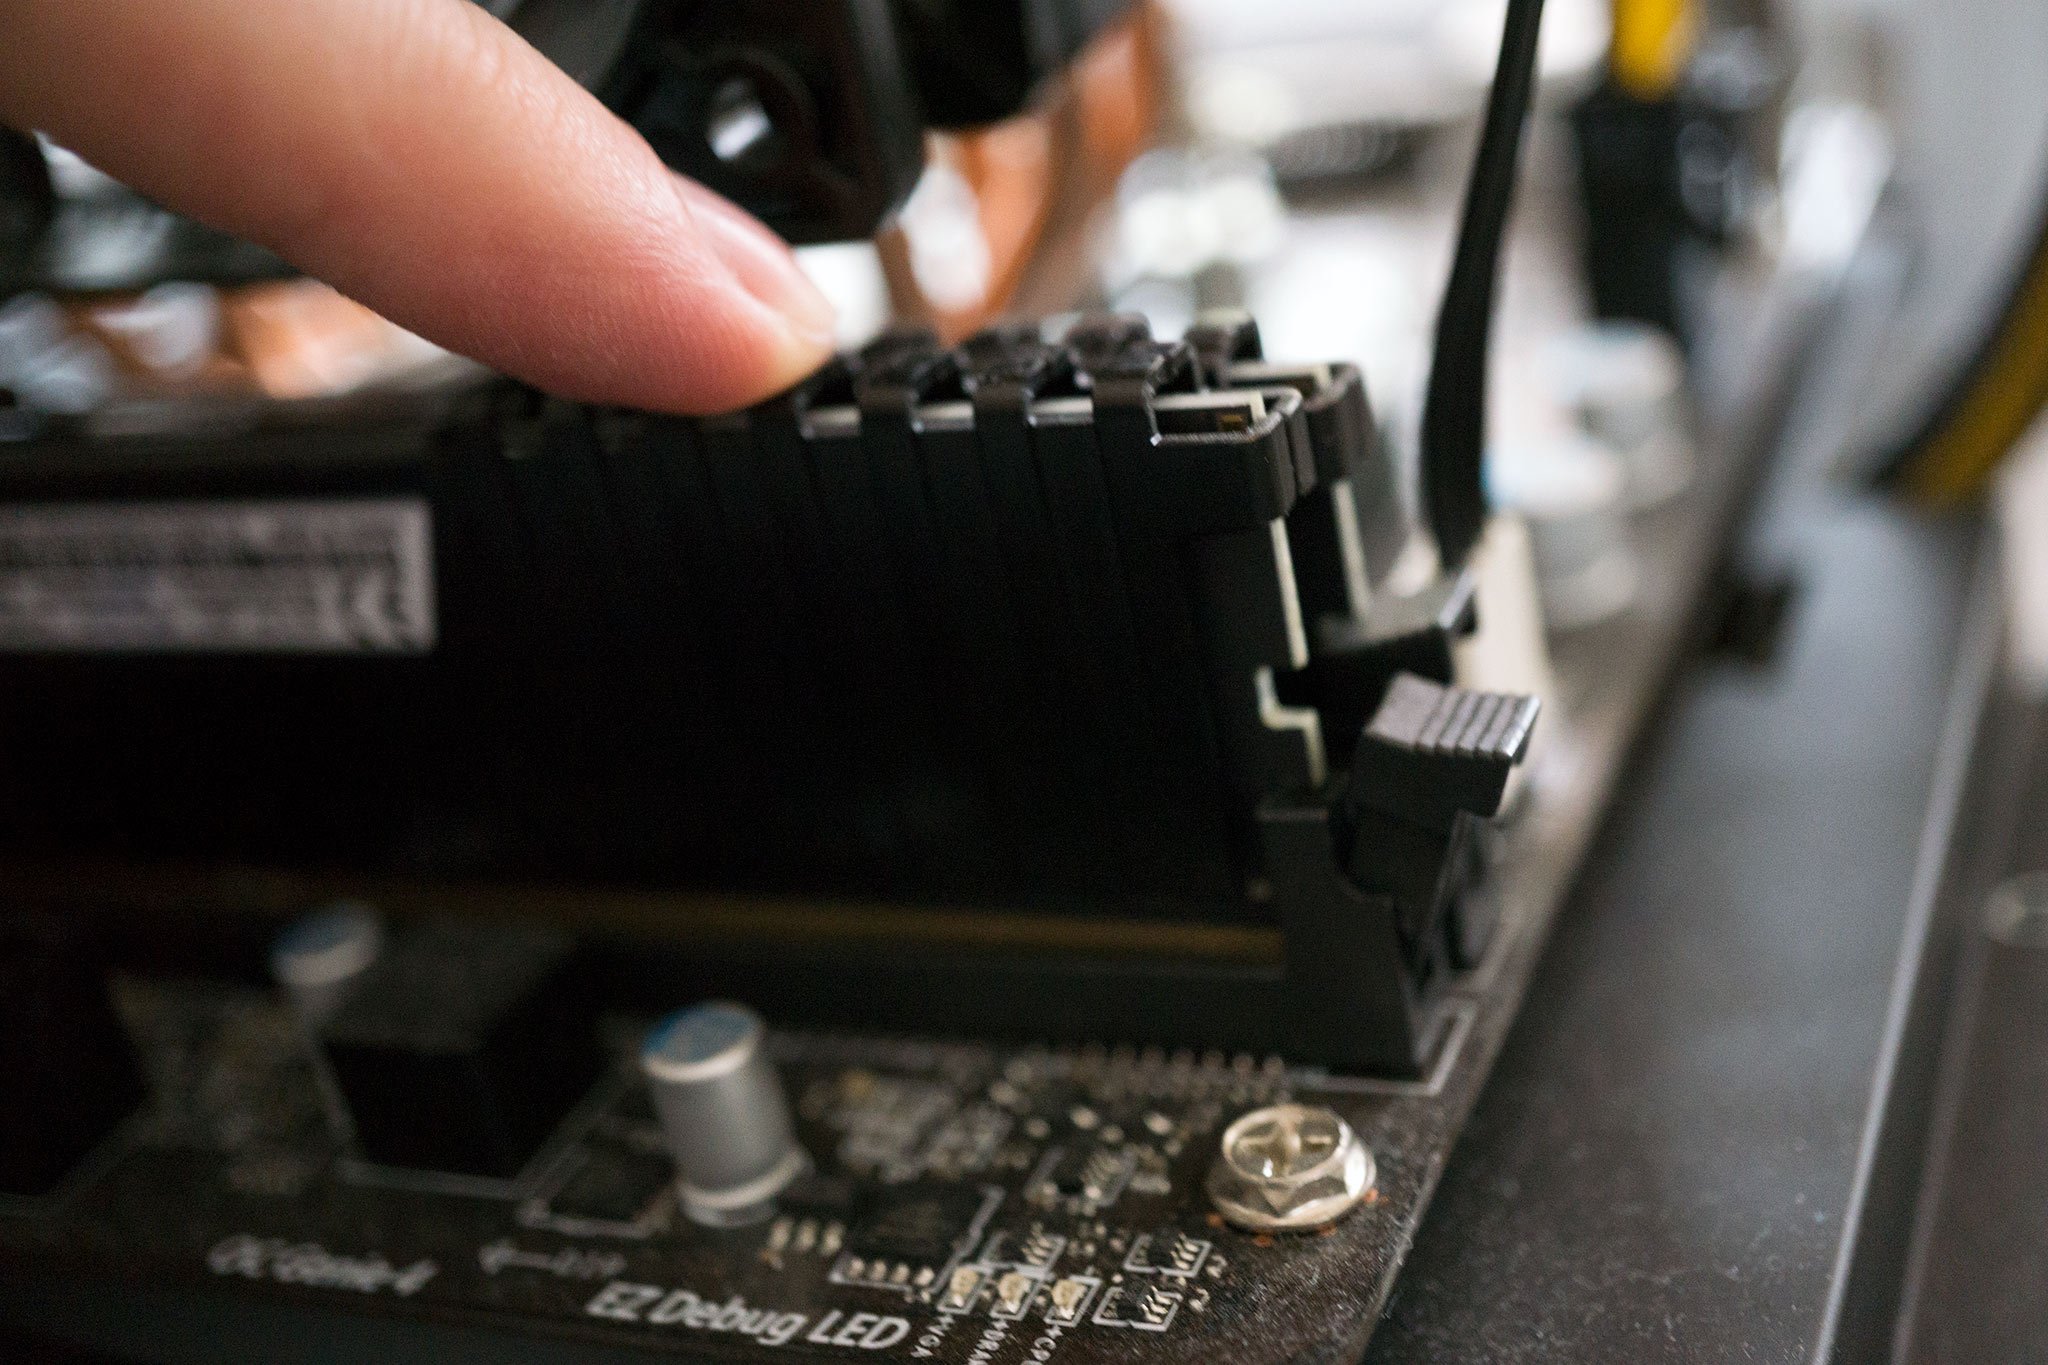
- After it inserts into the slot, push down on either side of the RAM module until it securely clicks into place.
RAM
G.Skill TridentZ RGB Series 16GB

Smart RAM with RGBs
G.Skill TridentZ RAM modules not only perform well with satisfactory latency, frequency, and capacity; they also look pretty awesome with built-in RGB lighting. Yes, you can now have your RAM modules glow in the dark.
It's vital to choose RAM that will be best matched with the motherboard and CPU, and this 3200MHz kit is excellent for the Ryzen 5 5600X and accompanying motherboard. There's also room for some tuning at a later date when you need a little more from your system memory.
Check everything works
With the CPU and RAM installed, the motherboard is now ready to boot. If you're using a Ryzen or Intel CPU without integrated graphics processing (our 5600X is one such CPU), we'll also need to install our GPU here to get an output from the motherboard.
Unpack the GPU from its box and carefully seat it into the top-most PCIe slot. Press down until you hear it click. The GPU should be fine sat atop of the motherboard, but you may need to allow the backplate to hang over the edge of the motherboard box so it can lie flush with the board itself.
All we require now is power. Reference your motherboard and PSU manuals to sort through the right cables and connectors.
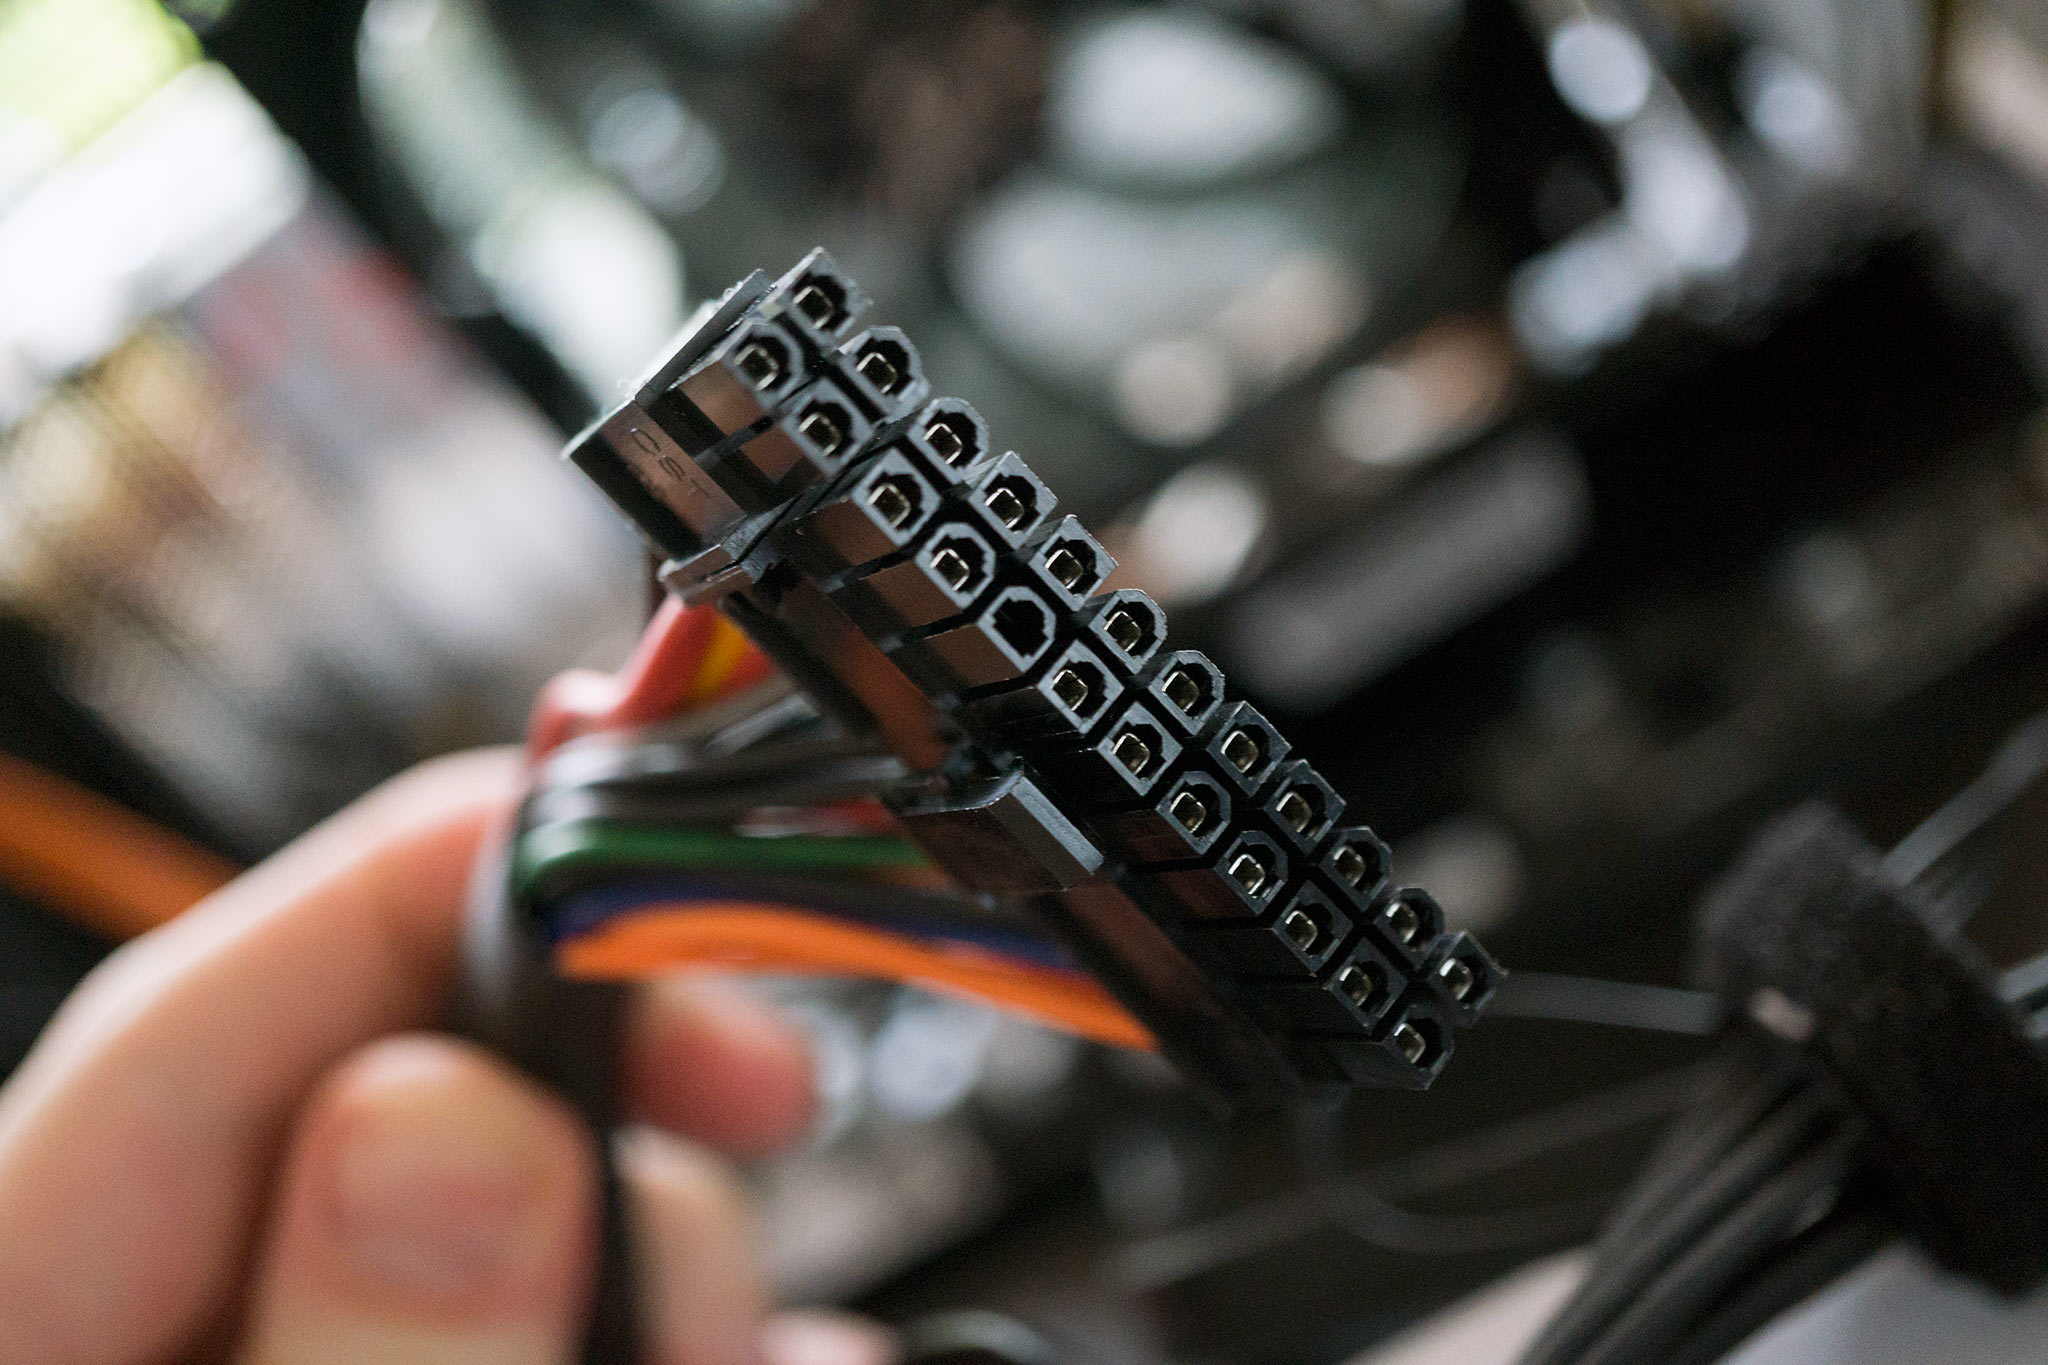
- Hook up the main 24-pin ATX cable to the PSU and motherboard (it's the largest one in the bundle).
- Connect the CPU ATX power cable (usually a 4+4 pin connector, some motherboards take two or three) to the PSU and motherboard.
- Install any PCIe power cabling for the GPU if it requires it.
- Connect an HDMI or DisplayPort cable to an available port on your GPU (or motherboard if your CPU has an integrated GPU).
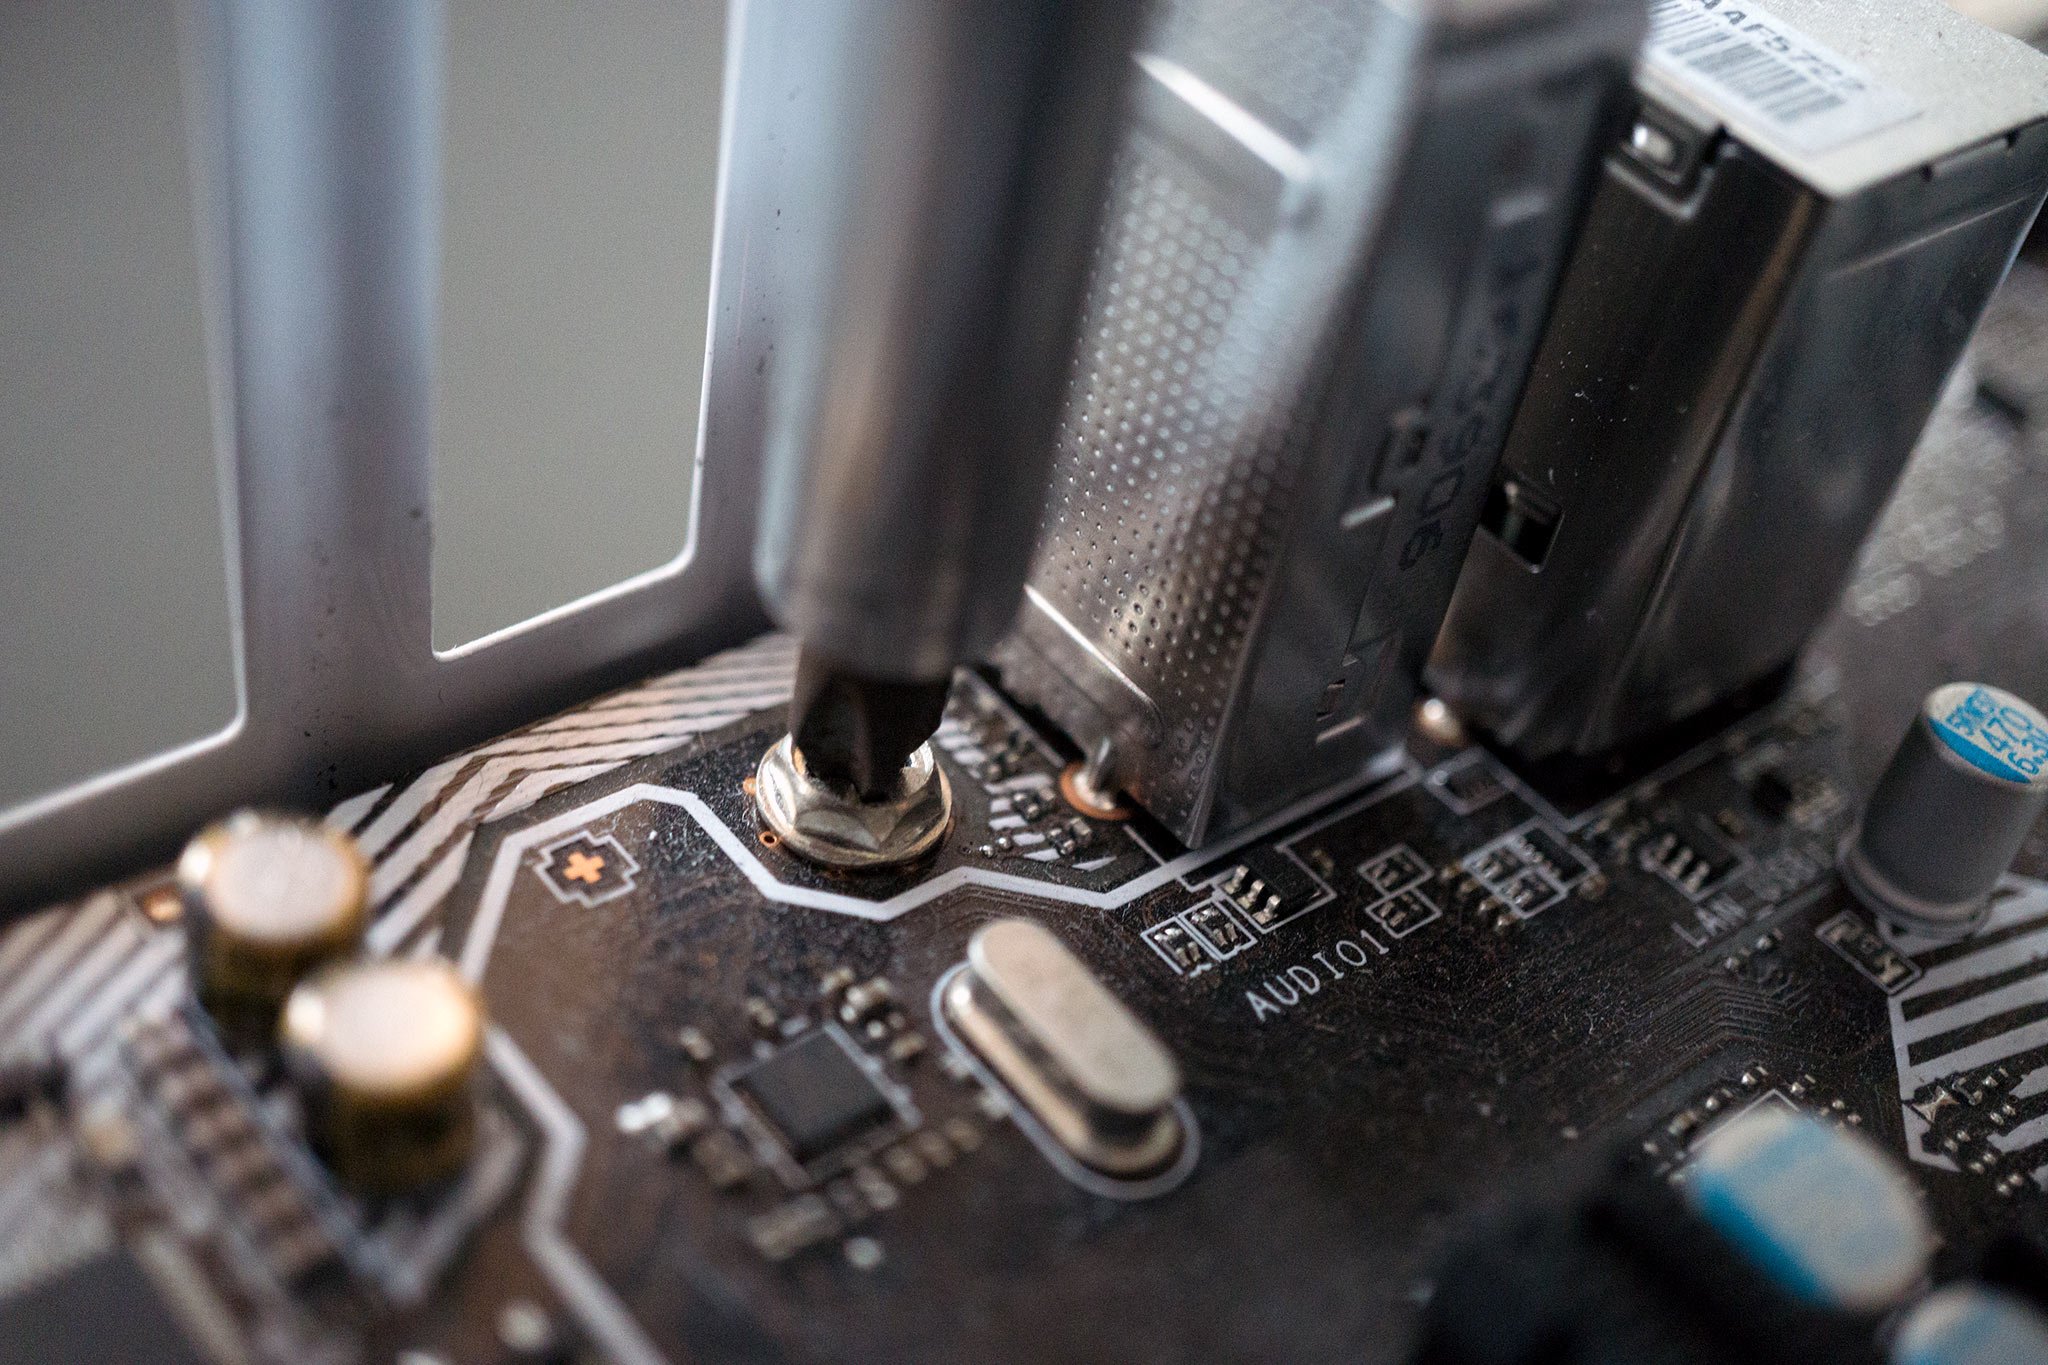
Usually, to turn on a PC, you'll want to hit the power button, but since our PC is not technically inside a case yet, we have no power button. Luckily, we don't require the power button to turn everything on. We can emulate a physical button by simply using a screwdriver to create a bridge between the to POWER_SW pins on the motherboard.
Again, consult your motherboard manual to locate these pins. By simply making contact with the + and - pins for POWER_SW we're telling the motherboard to turn the system on. It's precisely what happens when you hit the power button on your PC case.
If everything boots through the BIOS and you see the splash screen, go into the setup by hitting the DEL key as the system cycles. Check that all your RAM is registered here. All good? Shut everything down and disconnect all the cables, removing the GPU and placing it back into its protective wrapping. It's now time to install the PC inside the case.
Installing the PSU
The PSU is the most critical component of any PC. It provides the juice required for all the computing magic to take place. Depending on the case you've purchased, we'll need to install the unit with the fan facing up or down. To determine which is most optimal, check if you have a vent at the bottom of the case. If so, face the PSU fan downwards.
You'll want to have all your cables connected to the PSU prior to installing it to make your job easier. Depending on the PSU you've purchased, it may be one of the following:
- Fully modular: No cables are permanently connected to the PSU.
- Semi-modular: Some cables are permanently fixed, usually ATX and CPU power.
- Non-modular: Every cable is connected and cannot be removed from the PSU.
Fully and semi-modular PSUs are the easiest to work with as you'll have an easier time making sure all cables look neat and tidy.
- Slide the PSU into the mounting area with the fan facing up or down.
- Screw in the bundled screws (should come with the case) in the four holes at the rear of the case.
- Ensure the unit is switched off using the rear switch.
- Plug the PSU into a power socket to ground the PC.
- Bind all the power cables coming out of the PSU together and put them to one side.
PSU
NZXT C650

Stable, reliable, affordable power
NZXT has ventured into making more than just cases. The company has a motherboard you can mod easily and now a line-up of PSUs. Usually, you wouldn't expect the first generation of power supplies to be excellent, but NZXT teamed up with renowned PSU maker Seasonic.
The PSU is the most critical component inside your PC case. It's what provides power to all other components and, as such, should be able to supply a reliable current. NZXT uses the Seasonic PSU platform, which is one of the best available. You can trust this PSU to provide clean, stable power.
Installing the motherboard
With the CPU, the cooler, and RAM modules installed, the motherboard is ready to be screwed to the backplate inside the case. First, we need to install the I/O shield, a long piece of metal that has cutouts for all the rear ports and connections. This is optional, but recommended accessory helps provide electromagnetic interference (EMI) protection.
- Place the I/O shield to the rear cutout in the PC case and click into place. (This can be super-fiddly so bear with it.)
-
Hover the motherboard atop the backplate to see where standoffs need to be screwed in. Different sizes need different holes.
Standoffs are the screws that are installed on the motherboard backplate, which then allows the motherboard to rest atop them and for screws to secure the board. Some cases have them pre-installed.
- Install the standoffs for the motherboard, if not already pre-installed. (Some backplates may feature ATX labels next to holes to guide you.)
-
Lower the motherboard onto the standoffs.
- Tighten the screws, but do not overtighten them — just enough to secure the board in place.
- Check the sides of the motherboard by lightly pulling to make sure every inch has been secured.
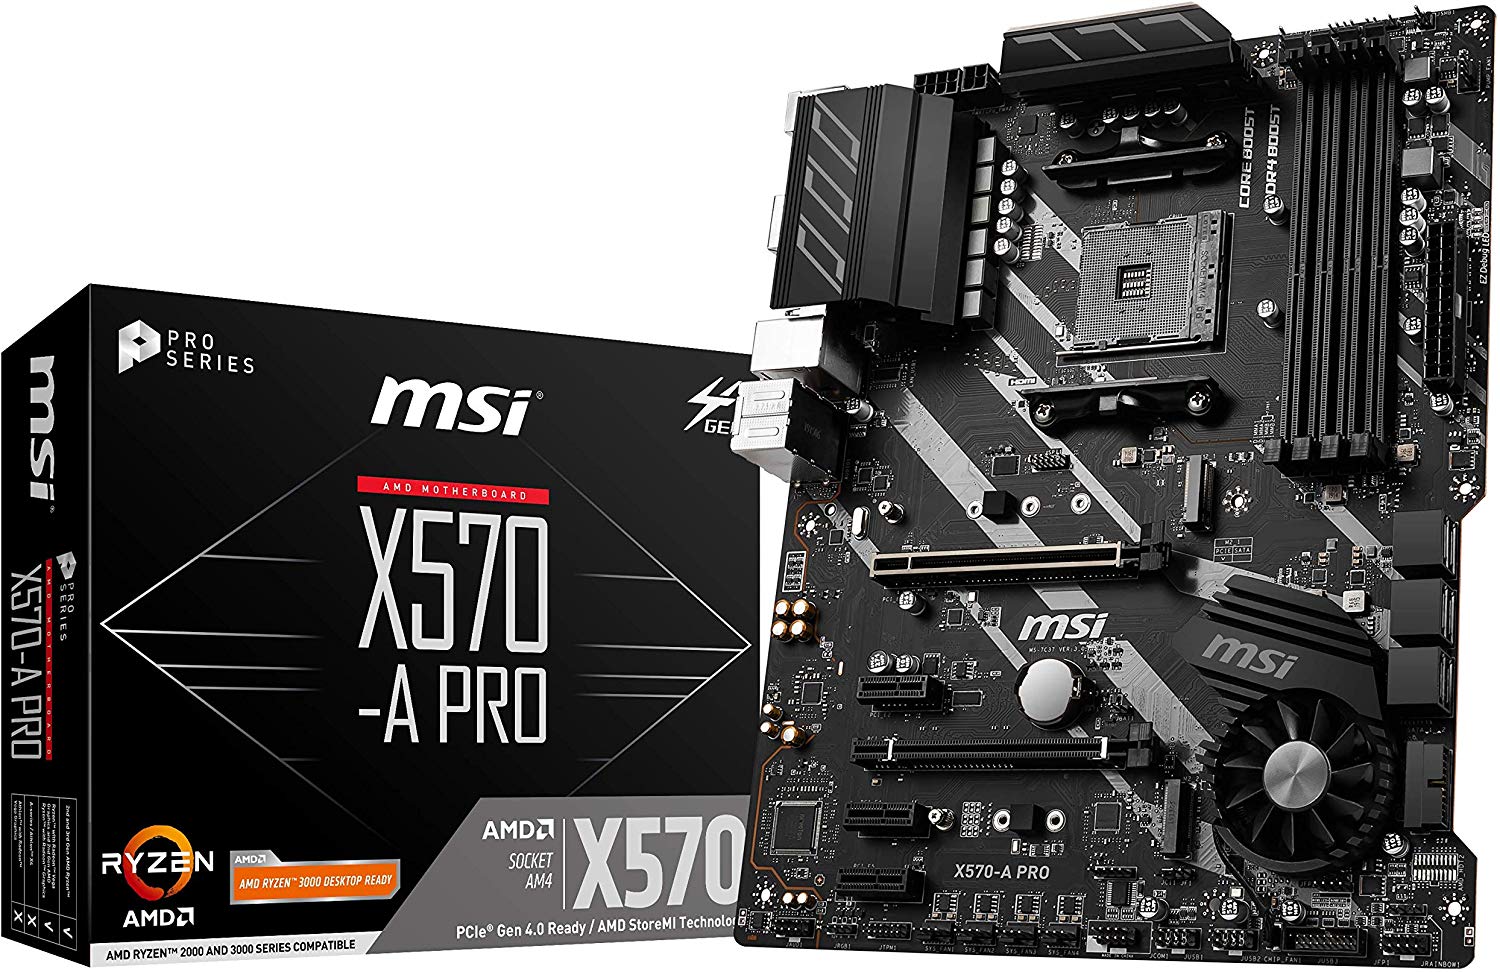
Motherboard
MSI MPG X570 Gaming Plus
Ryzen up again.
The MSI MPG X570 Gaming Plus is a reliable option, supporting up to 64GB 3200MHz DDR RAM, the latest Ryzen processors, and coming with the range-topping X570 chipset. This board supports fast networking, armored PCIe slots, and MSI's RGB lighting system.
Motherboards allow for the CPU, memory, storage, GPU, and all other components to communicate with one another, and MSI's MPG X570 Gaming Plus is a great solution. It's reliable, houses premium parts, has a ton of features, and a solid UEFI setup that allows you to overclock your system easily.
Installing storage drives
Storage drives are essential devices that hold not only the operating system but also all programs, personal media, and all other data. It's recommended to use an SSD (be it M.2 or 2.5-inch) drive for the primary OS partition, which enables for quick booting and reliable performance. Data can be stored on traditional (3.5-inch) mechanical drives.
M.2 PCIe NVMe drives are the fastest with SATA M.2 and 2.5-inch drives coming in second. 3.5-inch drives come in last for speed but are the most affordable, especially at higher capacities.
Depending on the case and how drive bays are configured, M.2, 2.5- and 3.5-inch drives may be able to be installed at the same points or using dedicated brackets. Be sure to double-check the PC case manual. We'll go over how your PC case may have both configured below.
M.2 SSD
- Unscrew and remove the M.2 SSD plate, if your motherboard has one.
- Install a standoff for the M.2 module, if not already installed.
- Place the M.2 drive atop of the slot and secure it with a screw.
- Re-install the M.2 plate (if applicable).
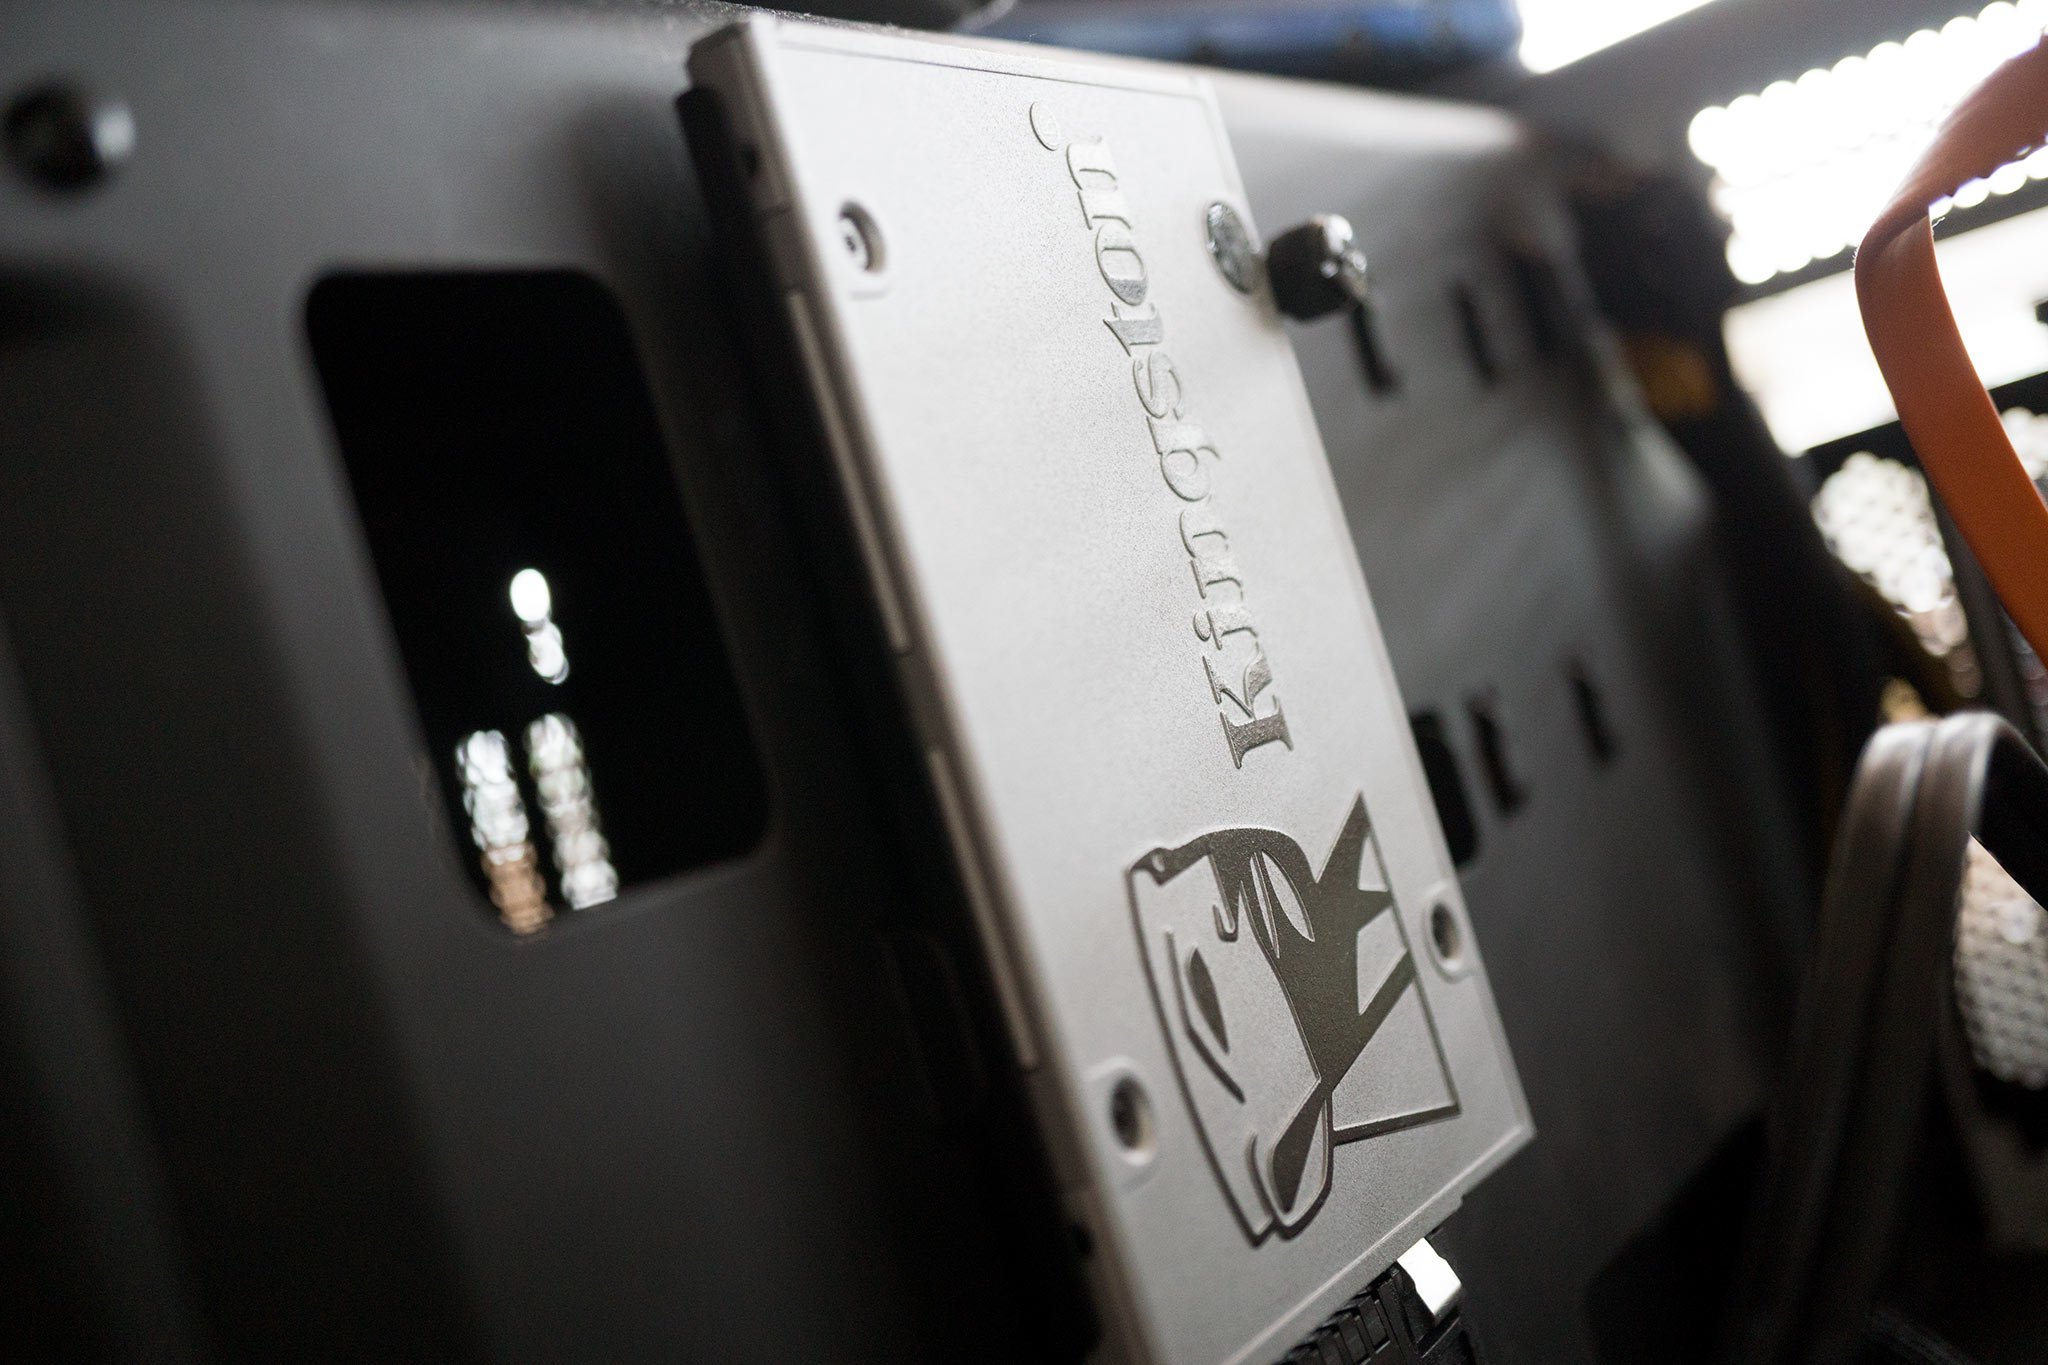
2.5-inch SSD
Some cases will simply allow you to screw in a 2.5-inch drive to a bay that also supports larger 3.5-inch drives, though more modern PC cases allow you to use brackets to the rear of the motherboard tray. For the latter:
- Take the SSD bracket and attach the drive to it, lining up the screw holes.
- Screw in the drive using appropriate screws.
- Attach the bracket and secure it to the case.
3.5-inch HDD
- Extract the HDD bracket from one of the bays.
- Slide the mechanical drive into the bracket.
- Secure the drive to said bracket using screws or screwless mechanism.
- Slide the bracket and drive back into the bay.
SSD
Samsung 970 EVO Plus 500GB
Insane performance at an affordable price
Samsung has long been at the forefront of the SSD market, and its latest is certainly the greatest, with an incredible performance backed up with a great warranty and reliability.
Since the MSI motherboard we selected has M.2 support, we can opt for a super-fast SSD. Samsung's latest 970 EVO Plus is incredibly fast, perfect for both Windows 10 and games. With 500GB, you'll be able to install the OS and then a few programs and games too, though if your budget can stretch it, we'd always recommend installing games on a different drive to the OS.
Plugging everything in
With all significant components now installed, it's time to hook everything up to the power supply and motherboard. Generally speaking, it's best to start with the power to the motherboard itself.
- Motherboard: The PSU has multiple cables for the board: 24-pin ATX and 8-pin CPU — the same cables we used earlier to test the motherboard, CPU, and RAM. Route these behind the backplate, using available grommets and cutouts.
- Storage drives: Most SSDs and HDDs today use SATA connectors. These are 15-pin flat connectors with a dip on one side to prevent plugging them in the wrong way. Route these from the PSU to the drive bays and mounts, using more than one lead from the PSU if required.
Next, we need to connect the storage drives to the motherboard, using SATA data cables. These are mostly smaller versions of their power siblings that carry data instead. The motherboard usually has SATA ports located to the lower-right hand-side. It doesn't matter which ports are used. Much like the power cables, route these through cut-outs and grommets to the drive bays and mounts.
We now have power to our storage drives and the motherboard, as well as data channels between drives and the mainboard. All that's left is to connect front panel I/O and other optional connectors (front panel USB, HD audio, etc.). Connecting the front panel I/O, which includes the power switch, reset switch, HDD activity LED, and power LED can be a tricky step.
These pins stand up from the motherboard, which requires a careful approach when plugging in the small connectors. The motherboard manual should provide information as to the layout of these pins and what they correspond to — though usually the below layout is used:

The front USB 3.0 and HD audio pins can be located on the motherboard. Again, refer to the manual for exact placement as not all motherboards are created equal.
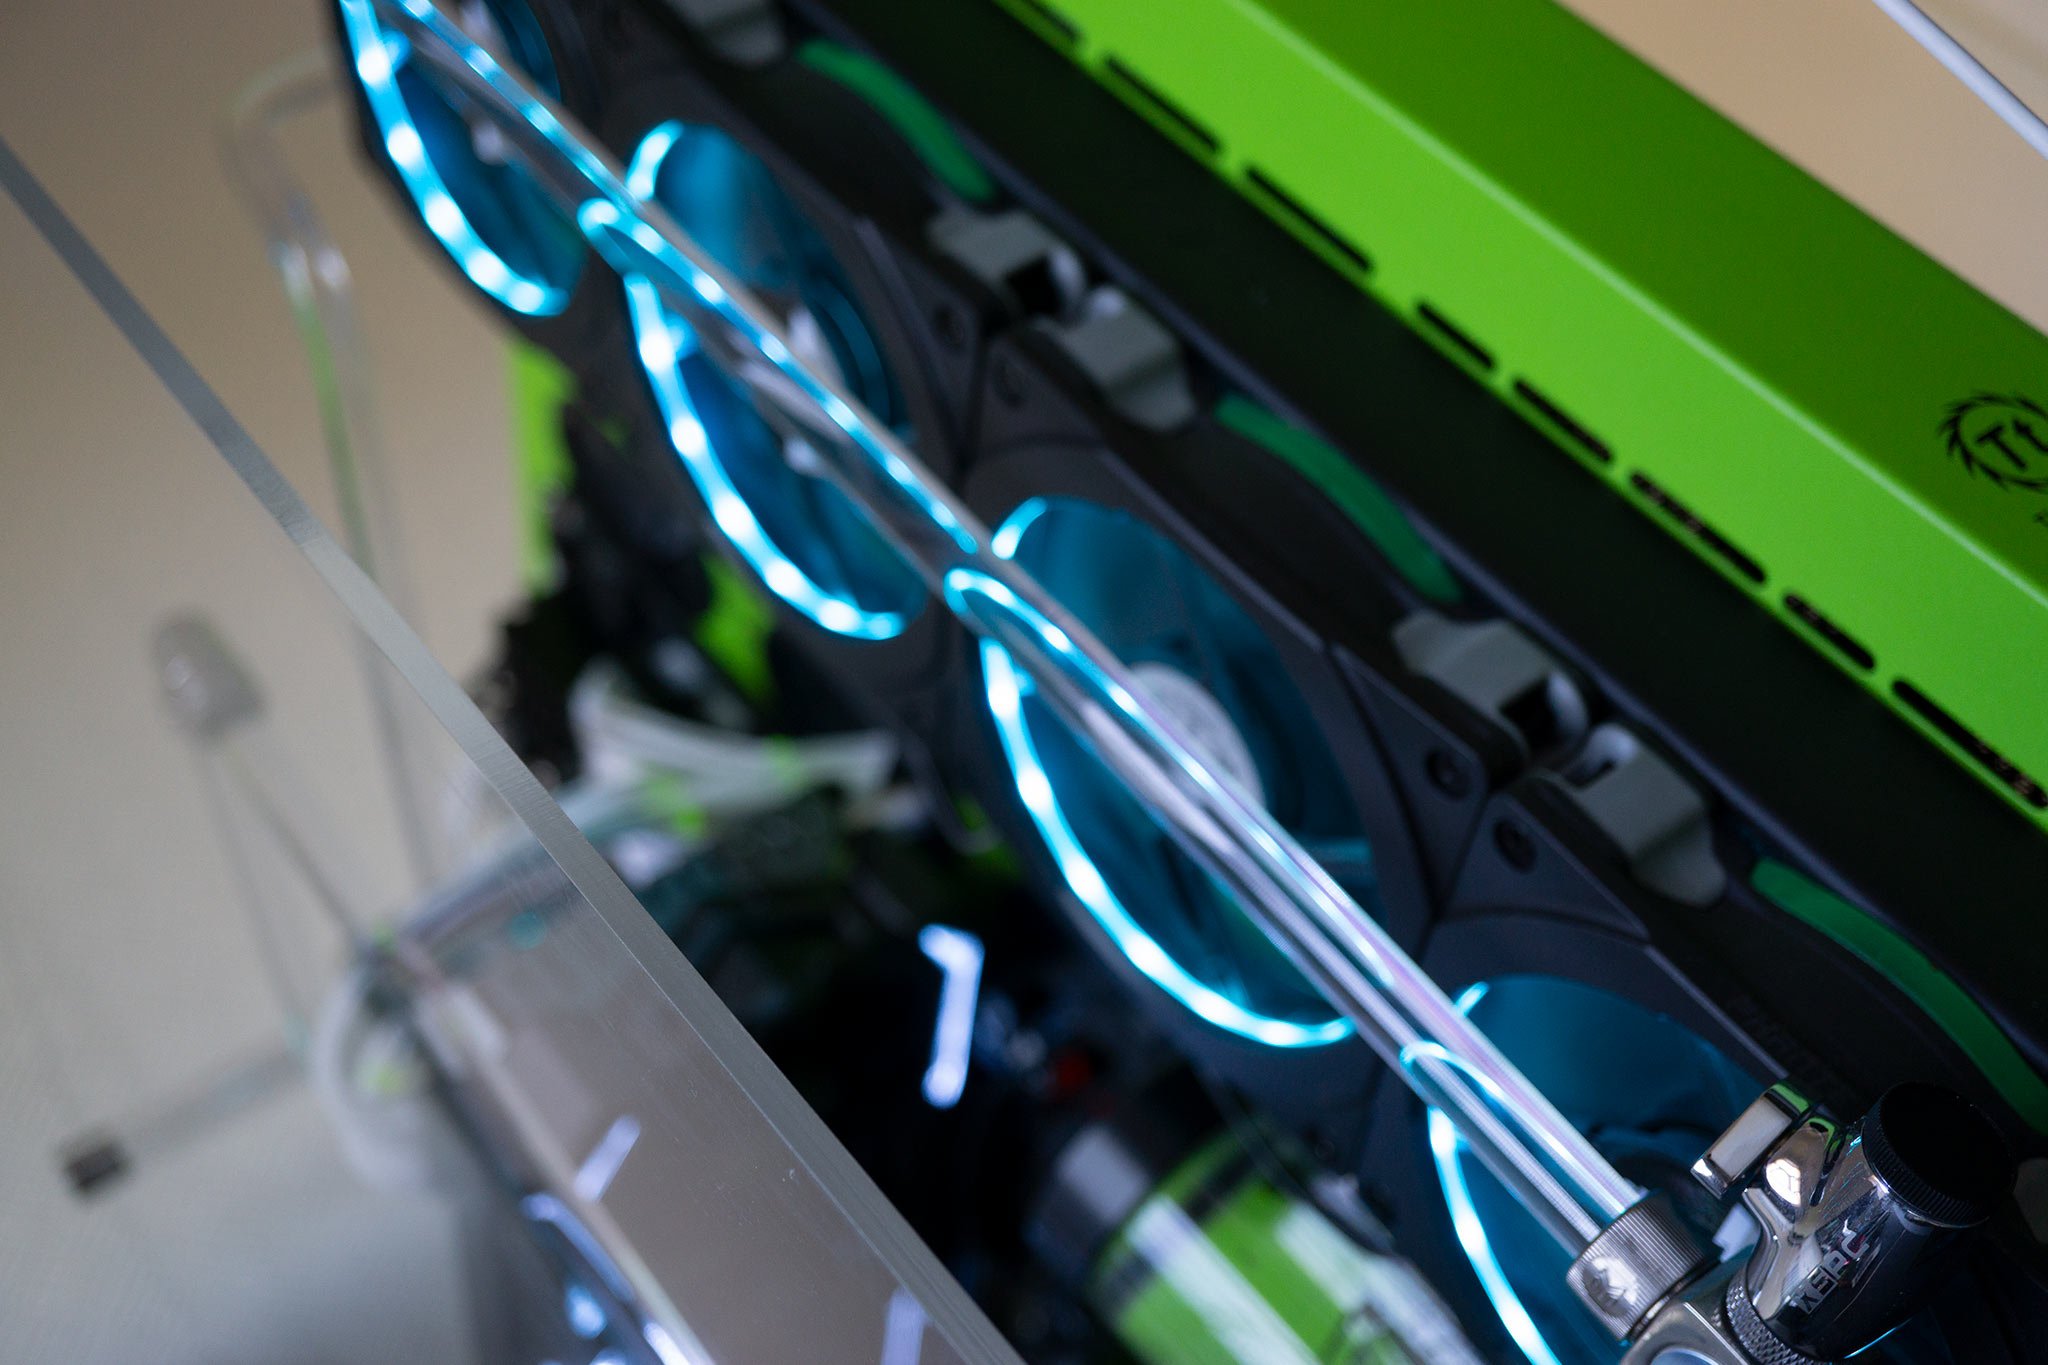
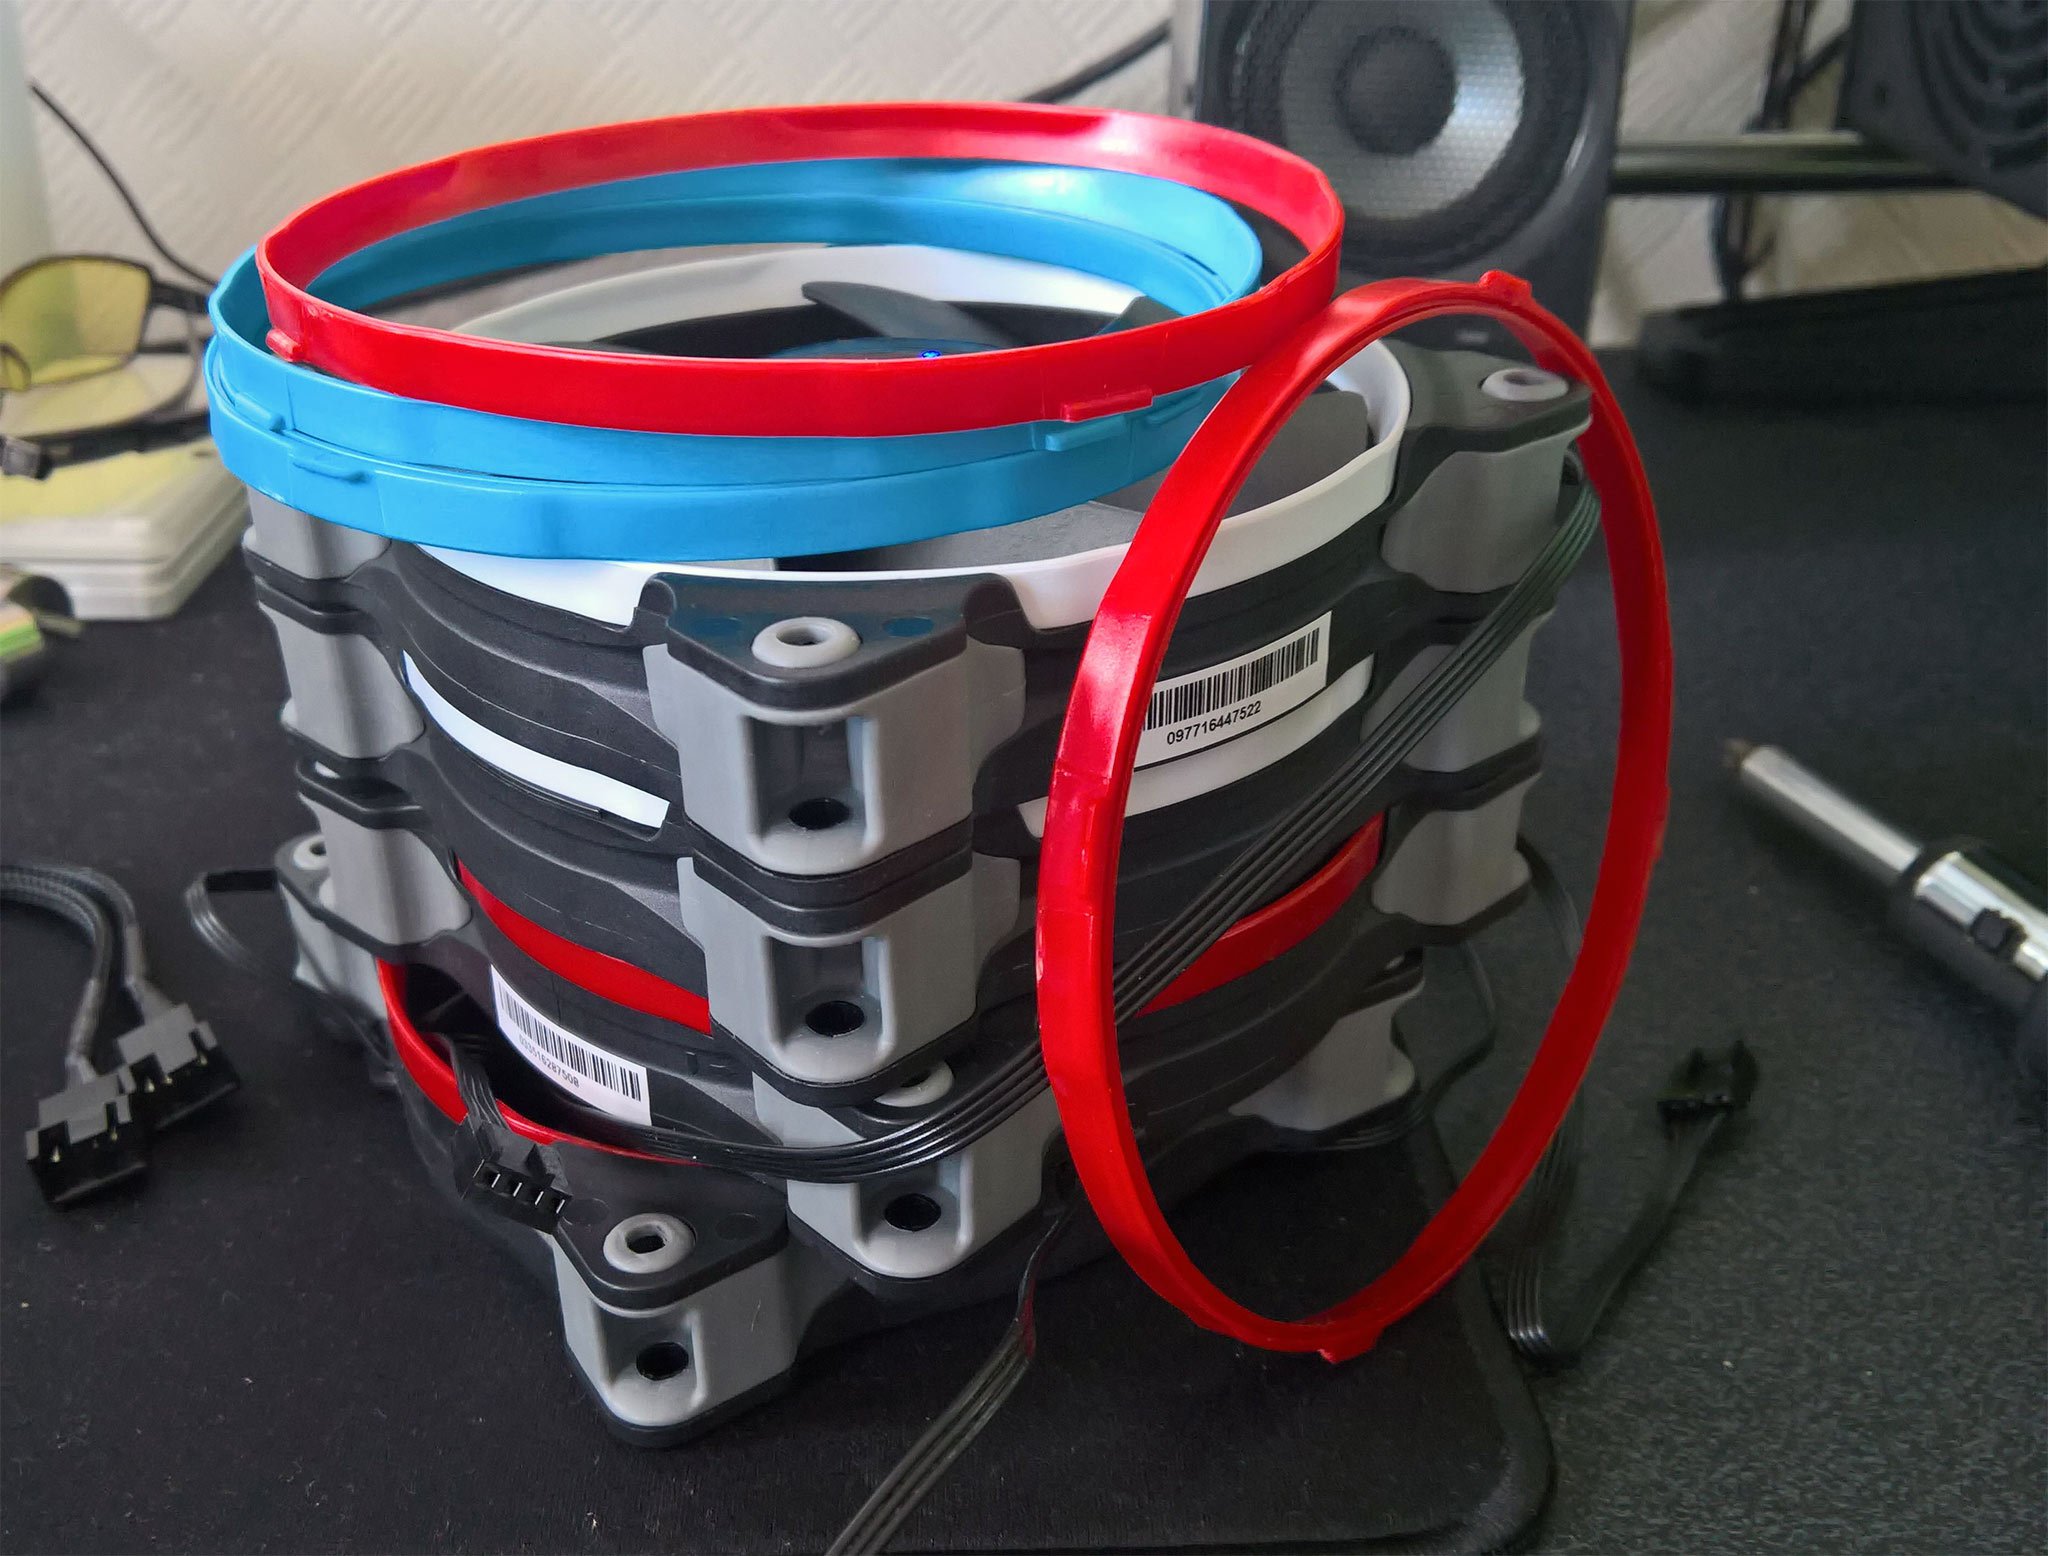
Adding case fans
For added cooling capacity (and room for overclocking or more stable operation), throwing in an extra fan or two is worthwhile. PC cases may come with fans pre-installed, but if not, it's simple to screw them into fan mounts. Just be sure to align them correctly and have the blades pointing the correct way. Fans can have small arrows on the side that show which way the blades spin and where airflow will be directed.
Note: some cases may require you to install fans before inserting the motherboard, especially for the top exhaust. Fans can either be plugged into a motherboard or into the PSU directly using an adapter. We'd always recommend the motherboard due to the ability to control the fans intelligently depending on system temperatures.
Fan headers can be located on the motherboard itself, where the 3 (or 4) pin connectors can be inserted.
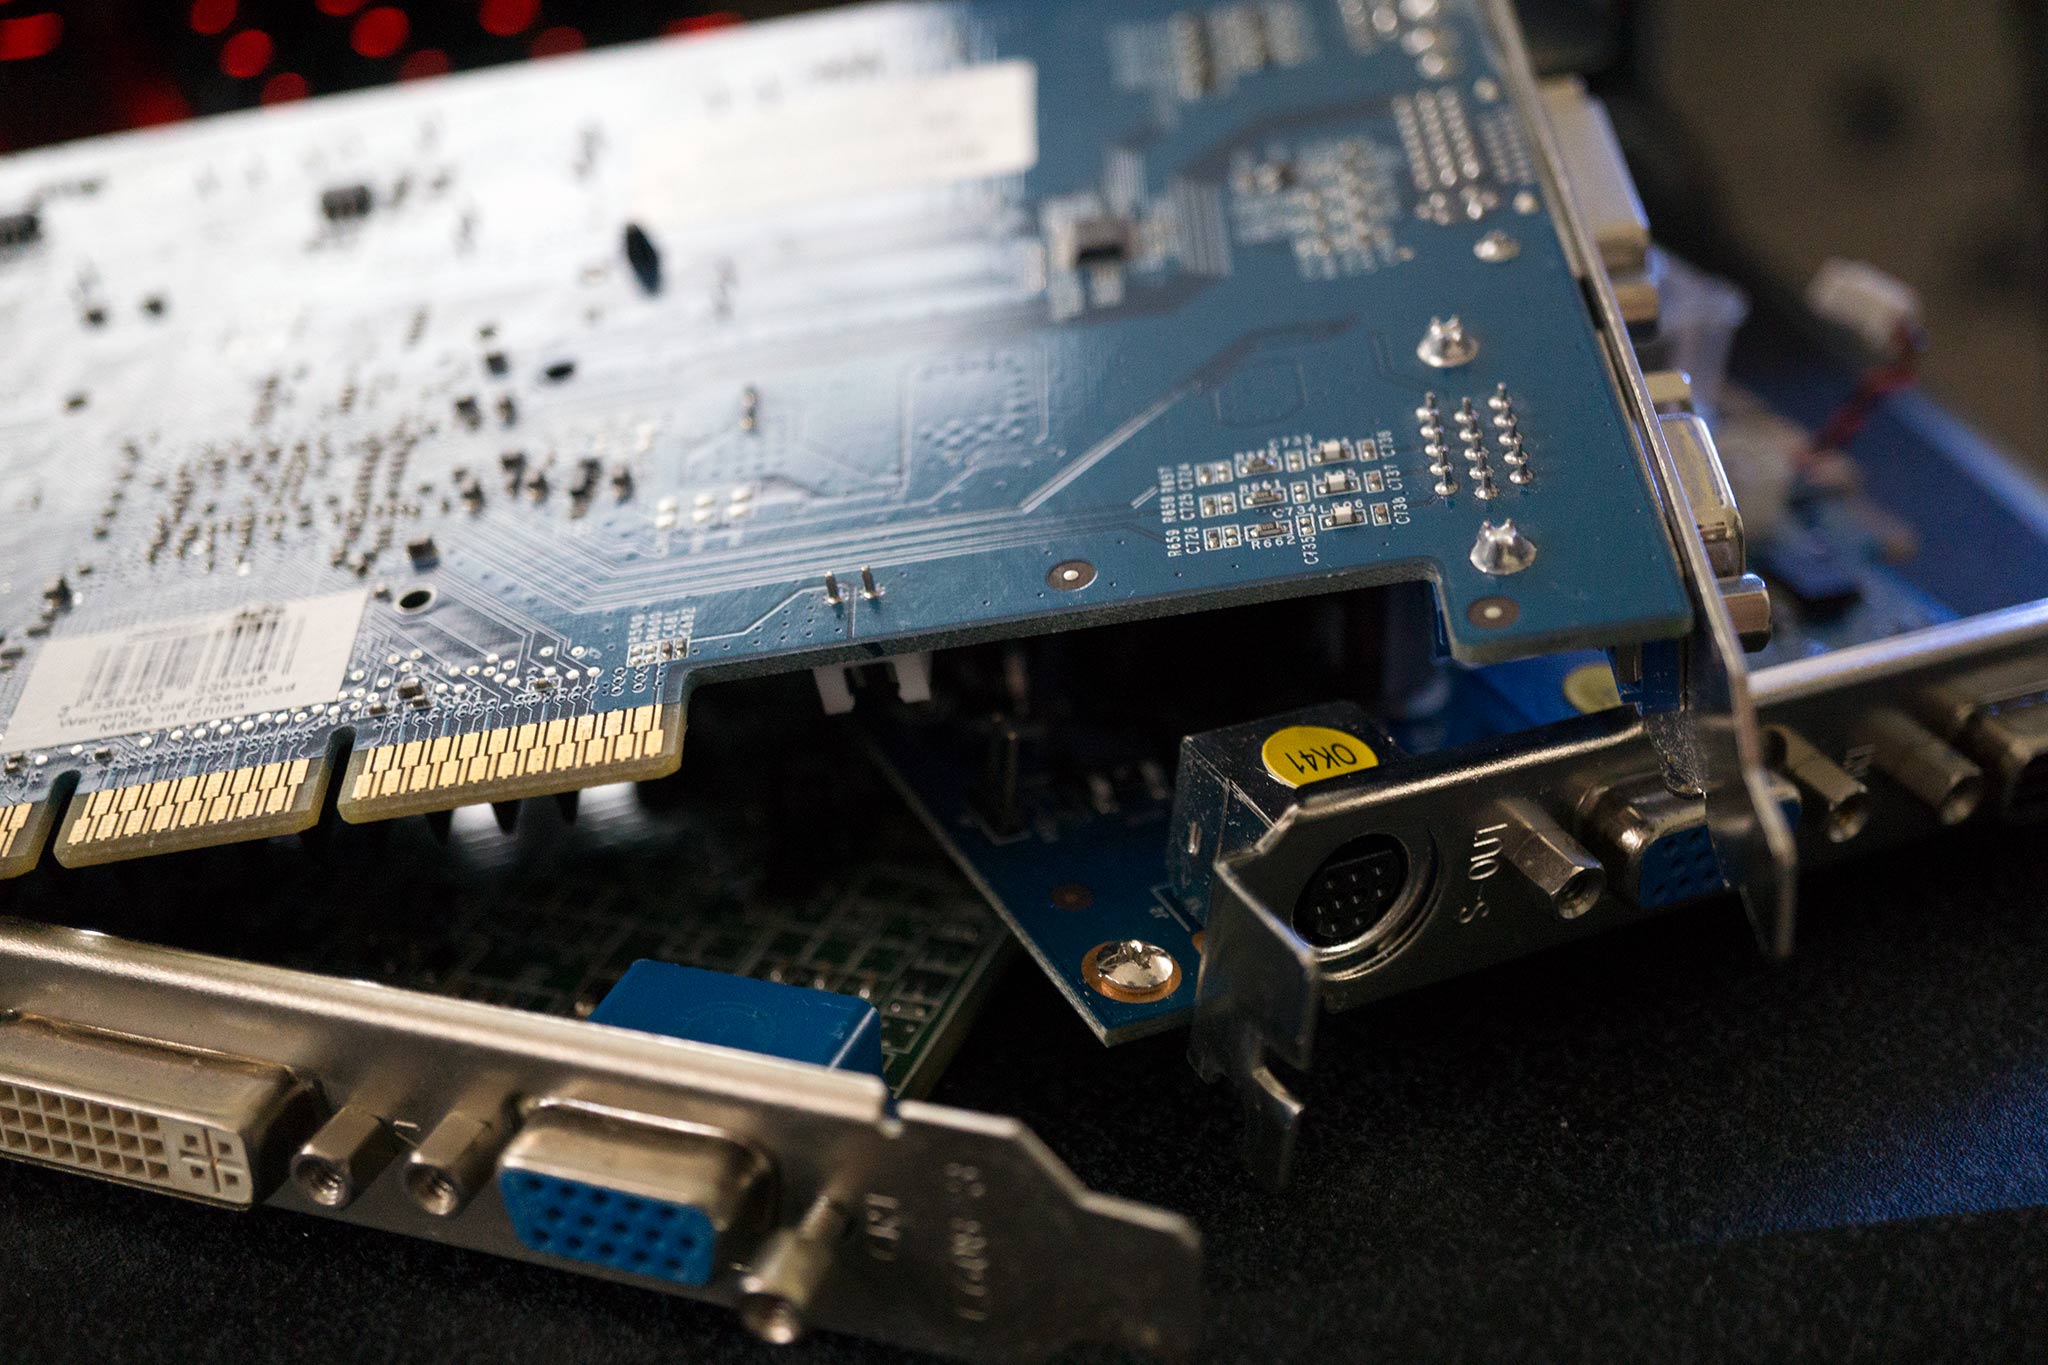
Installing a GPU
Need some extra power for gaming and intense workloads? The best graphics card is a must-have. As a bonus, it's straightforward to install a graphics card. We usually leave the GPU until last because of how much space they typically take within the chassis.
- Unscrew the rear PCI case brackets that align with the PCI slot you will use.
- Check that the motherboard GPU card latch is open.
- Line up the GPU to the PCIe slot on the motherboard.
- Carefully insert the card and push down once it has made contact with the slot, listening out for a click of the latch securing.
- Use the rear bracket screws to secure the GPU to the PC case for added stability.
- If the GPU requires additional PSU power, connect the necessary cables.
Upgrading a GPU Installing a GPU
GPU
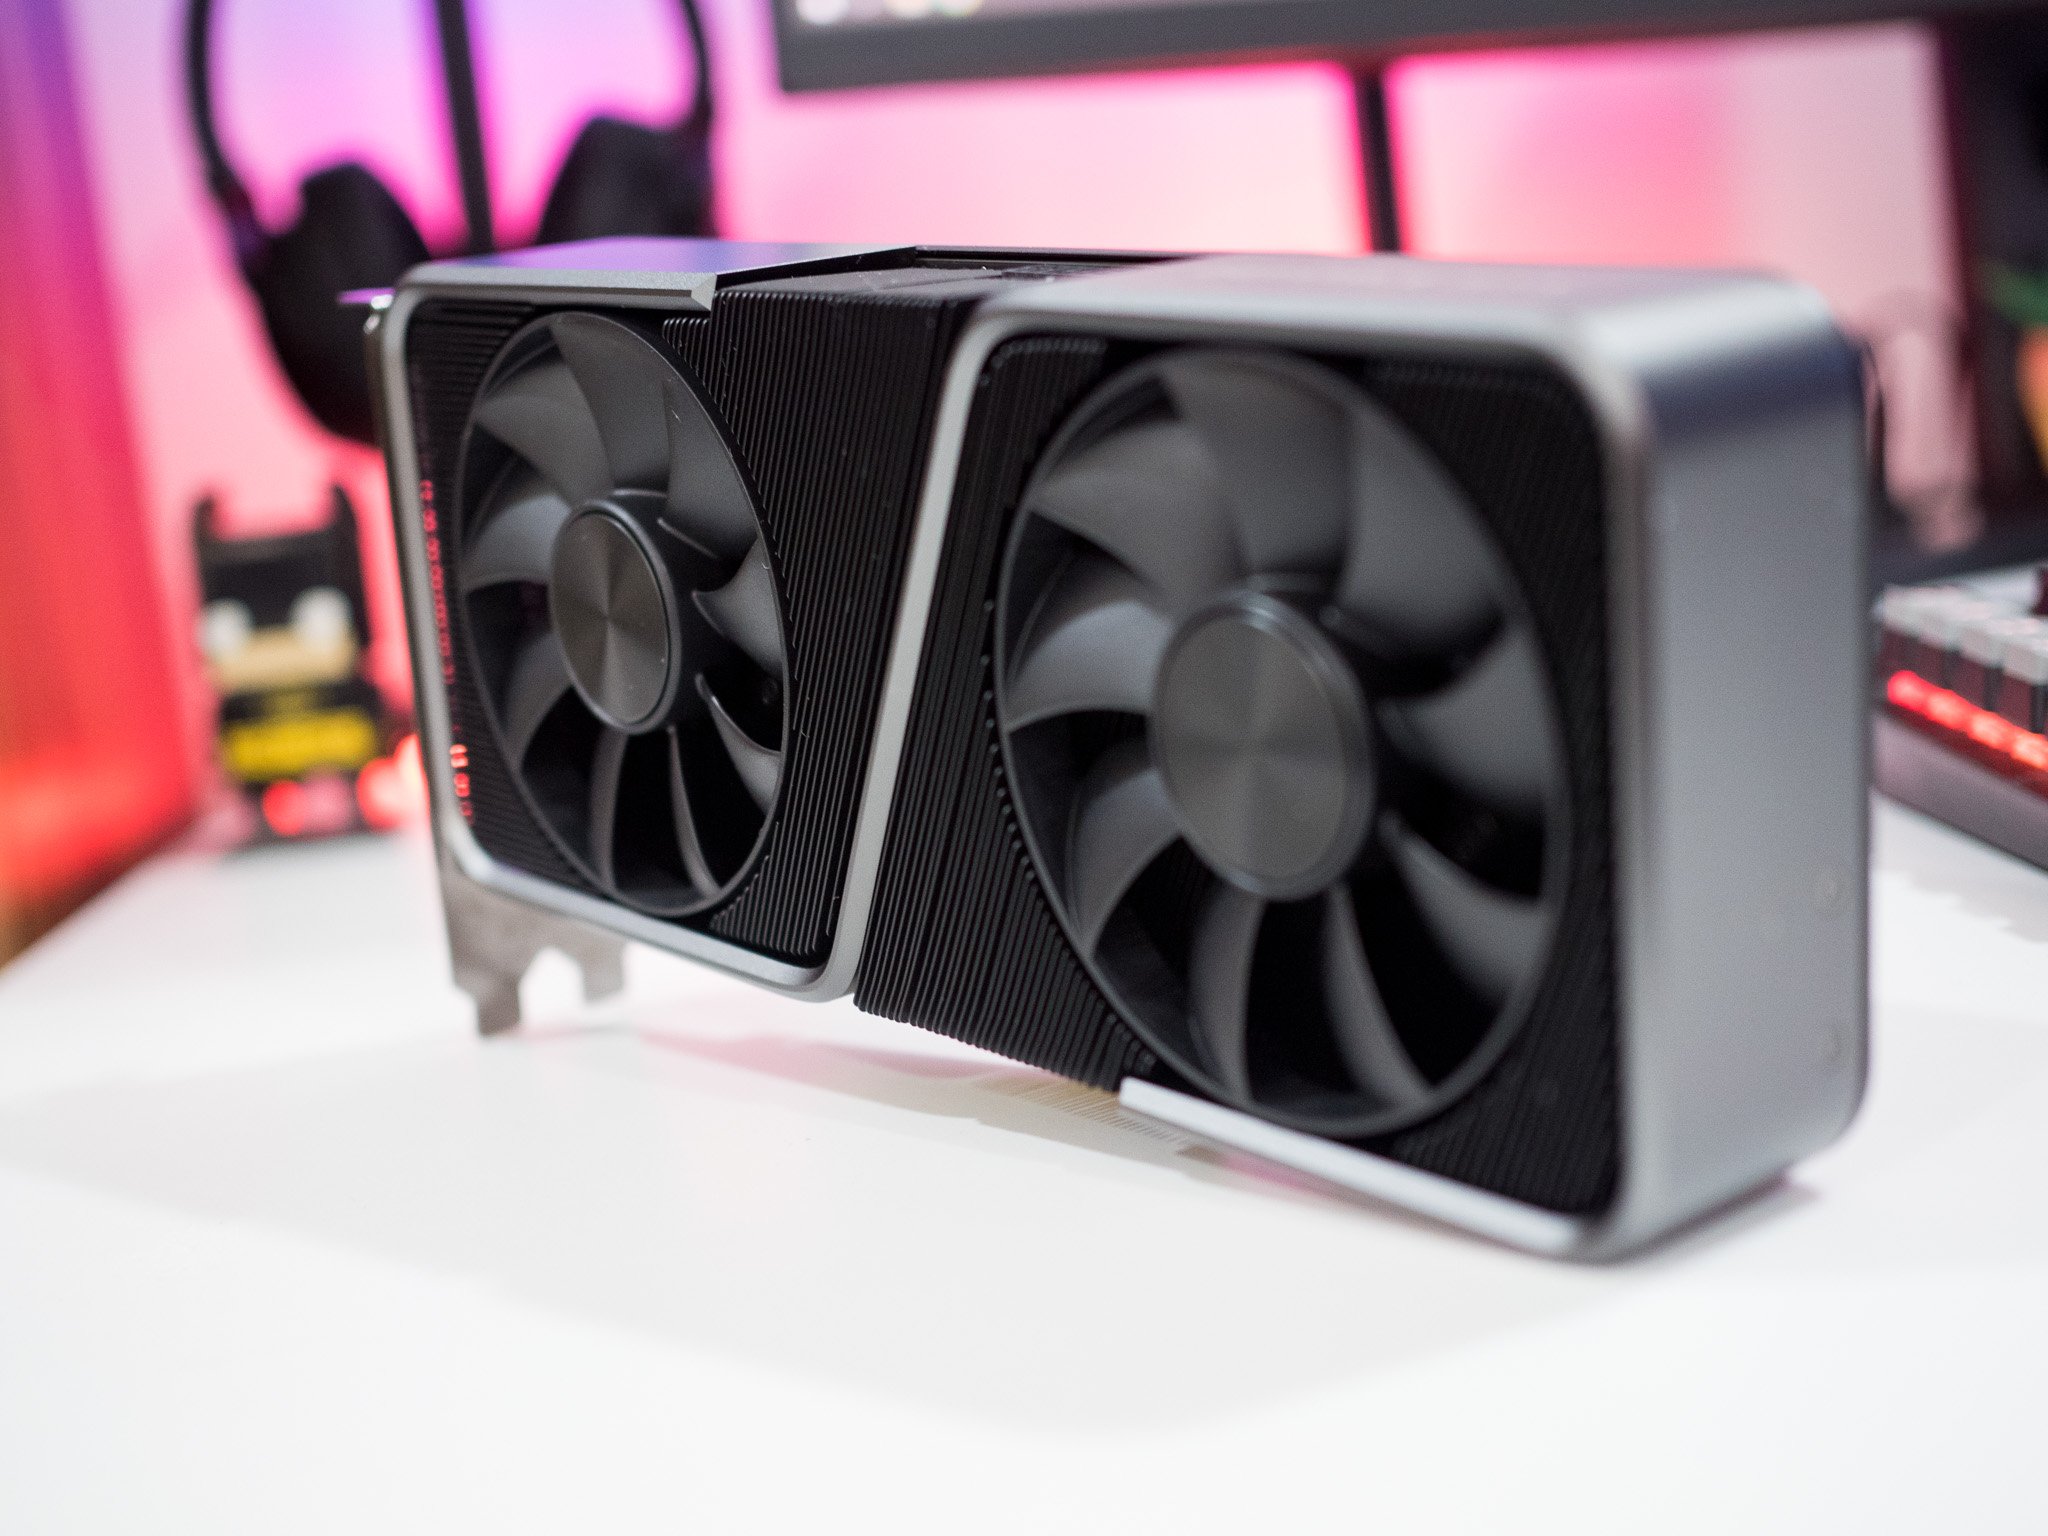
NVIDIA GeForce RTX 3080

Glorious graphics
Our PC build so far is best suited for 1440p and 4K gaming, and so we need a GPU that can match this level of performance. The NVIDIA GeForce RTX 3080 is an amazing GPU that uses NVIDIA's latest graphics technology.
It has 10GB of GDDR6X memory, can boost to 1710MHz or so, and can even do some 4K gaming if you don't mind seeing sub-three-digit frame rates. This is one of the best GPUs you can buy today.
Power up
All that hard work will now pay off. It's time to boot up the PC and make sure everything is working fine now that all components are inside the case. Switch on the PSU and hit the power switch. You should now be greeted by the BIOS POST screen, asking for an OS to be installed if one is not detected. You'll now need to follow OS installation instructions. If you run into problems, it's time to do a little troubleshooting.
Additional Equipment
As well as all your PC parts, we strongly recommend the following additional equipment.


0 comments:
Post a Comment