A headset can be an essential tool for communication, particularly when working from home, where you may need to block out surrounding noise just to get work done. Headsets are also particularly popular with gamers, who require the products to appreciate the atmosphere created by game developers and to speak to fellow teammates. With even the best PC gaming headset on your head though you still won't be getting the absolute best experience until you've set it up properly. Here's what you need to know.
How to set up your headset on Windows 10
To use a headset, you're going to have to plug it in. Simple, we know, but it's easy to get this step wrong if you're not familiar with available ports for audio on a PC. This can be achieved by hooking up the end of the cable on the headset to an available port on a PC or connecting it via wireless. Here are the options for headset owners:
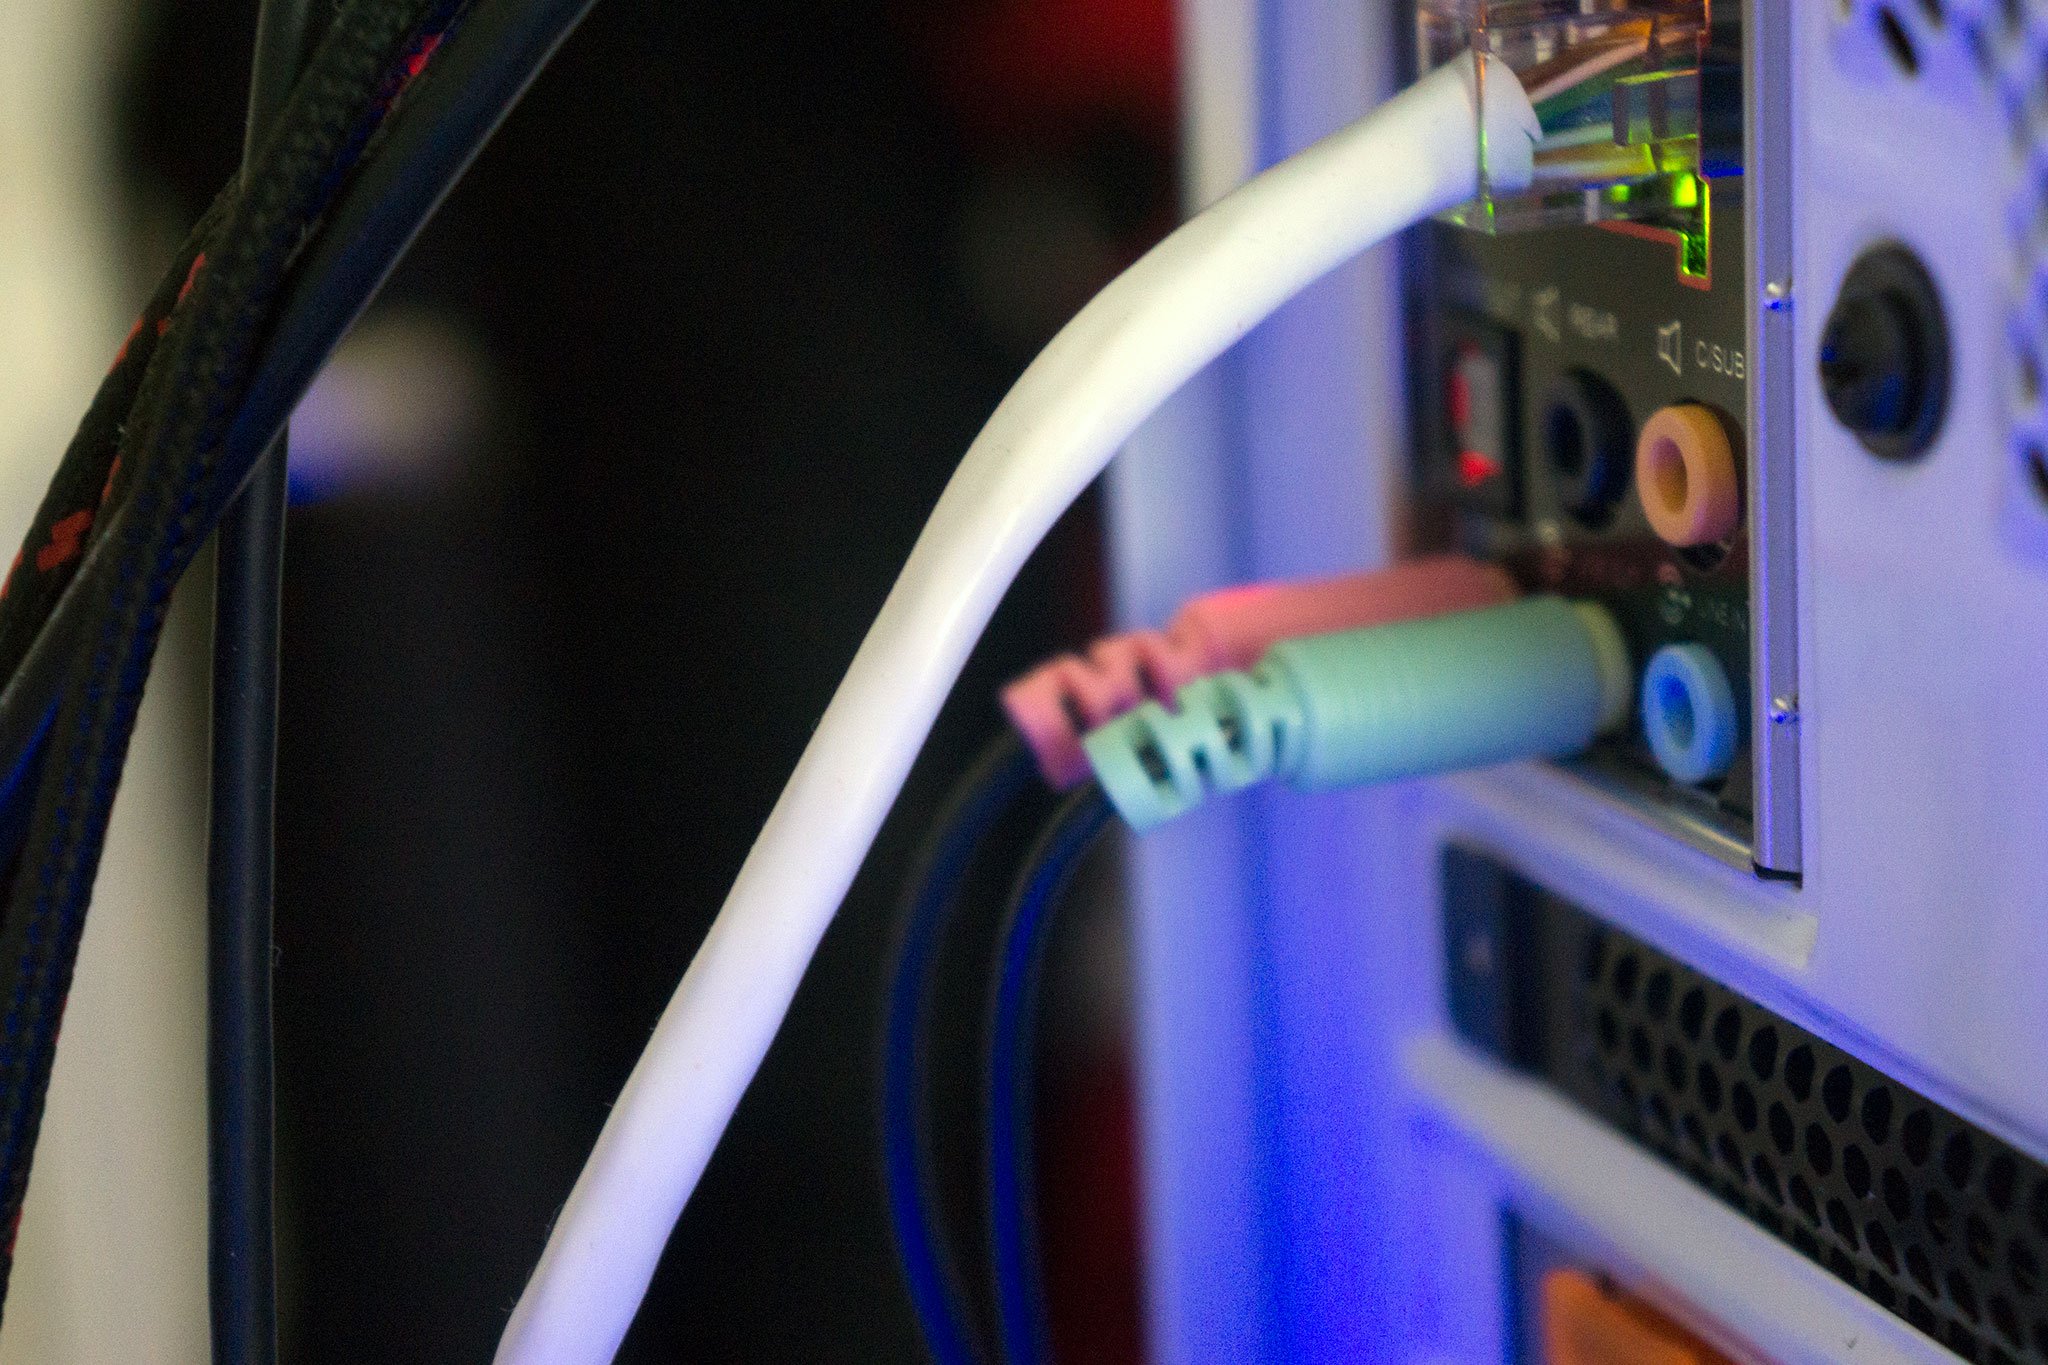
- 3.5mm jack: Older and more affordable headsets usually have the cable split at the end with two 3.5mm jacks, one for audio out and the other for the microphone. (Pink for the microphone, green for the headset.)
- USB: USB-powered headsets offer enhanced experiences thanks to inline amps, controls, and other features though in terms of quality there isn't a huge gap between USB and 3.5mm jacks.
- Wireless: Whether it be Bluetooth or requires a dedicated USB wireless receiver, these headsets remove all cables between and your computer, allowing you to sit more comfortably without fear of creating a tangled mess.
Depending on the case and motherboard installed on a desktop PC, there may be available ports on or near the front of the chassis, which could prove useful if you have a short cable or have no free ports on the rear. The most important factor in terms of sound quality will be the soundcard on your motherboard, comparing it against a dedicated digital-to-analog converter (DAC).
Checking sound output in Windows 10
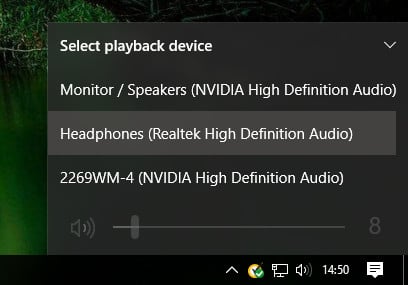
Once you have the headset connected to the PC, it's time to make sure Windows has sound levels and the like set up and configured correctly. Firstly, we need to check Windows has the headset selected as the default output device.
- Left-click the sound icon in the taskbar.
-
Select the sound device in the drop-down menu.
- Choose the connected headset.
This could have in brackets either USB or the brand and model of the onboard motherboard audio — it depends on which connection type the headset utilizes. It's possible to rename each entry on this list to make it easier for you to decipher which is which. (See below how to rename a connected sound output.)
Now we'll need to test the output to make sure we've selected the correct device and everything is working perfectly. You can do this by firing up some media on the PC, or utilize the test function in Windows.
- Right-click the sound icon in the taskbar.
- Select Open sound settings.
- Choose Sound control panel on the right.
-
Select the headphones (should have a green tick).
- Hit Properties. (You can rename this sound output right here to make it easier at switching.)
- Select the Advanced tab.
- Hit the test button.
If you hear sound through the headphones, you're good to go. If not, check if you have the correct device selected for sound output, and that the headset itself is plugged in (we've all be in the position where something doesn't work because it isn't physically connected).
Recording your own voice
After that, we need to select the microphone as the default input device and make sure the volume is turned up. To do this, we run through similar steps carried out for the headphones.
- Right-click the sound icon in the taskbar.
- Select Open sound settings.
- Choose Sound control panel on the right.
- Select the Recording tab.
-
Choose the microphone.
- Hit Set as default.
-
Open the Properties window.
- Select the Levels tab.
- Adjust the volume accordingly.
Be sure to fire up your favorite VoIP app (Discord is a great option) or recording software to test the microphone out. Some applications can take full control of the microphone and adjust levels accordingly, while others allow you to manipulate the volume within the software suite to save you from opening this recording window each and every time.
Troubleshooting Windows headset issues
Make sure you use the right ports
Is it plugged in? Have you utilized the correct port? For 3.5mm jacks, it's generally green for output and pink for input, depending on the available sound card. Mix those two up and nothing at all will happen. Newer motherboards come with numerous ports for surround sound, so you might need to hit up the manual for more details.
Auto detection could be playing up
OEM software could be interfering here. Should you have software like Realtek's HD Audio Manager, try disabling jack detection and see if that helps.
Re-installing drivers
If your headset isn't working, the problem might be in the drivers. Head to Device Manager and uninstall the drivers for the connected headset. Reboot the PC and connect the headset once again to let Windows reinstall them. Yes, it's the tried and true "turn it off and on again" process, but it works.
Select different formats
If you're still unable to get anything, try selecting a different format for input/output in the property window (use the headset steps above).
Don't be muted
Depending on the brand and model of the headset, it may support controls located on the cable. Volume sliders and mute buttons are easily accessible here, but be sure they're set for use.
Try a different headset/device
To check whether the issue is with the headset (and not your PC), try using it on another PC or device. You could also try plugging in another headset if you have one at hand.
Our top headset recommendations
Value Pick
HyperX Cloud Alpha
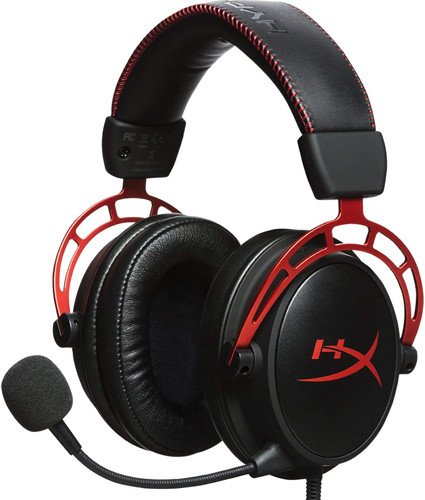
Solid build quality and sound
HyperX made sure the Cloud Alpha sounds great for PC gamers with a dual-chamber driver design for optimal audio performance. They're also built to last. In fact, you could throw them around and they'd still sound just as good. Multi-platform compatibility and price are but the icing on this sweet cake.
The Cloud Alpha sports a detachable noise-cancellation microphone and braided cable with some mediocre in-line controls. The controls are rather flimsy, but at least they're there for quick access while in-game. Overall, not a bad headset for the price.
For Serious Gamers
SteelSeries Arctis Pro + GameDAC
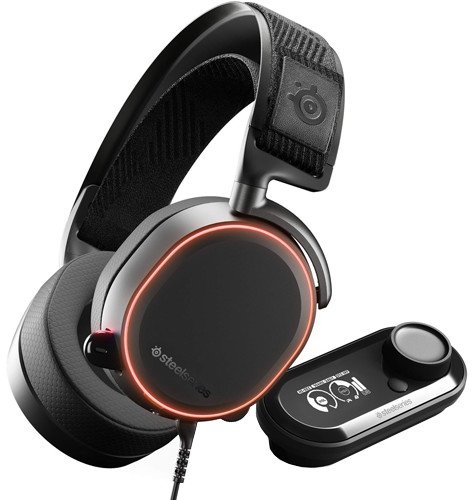
$250 at Amazon $250 at Best Buy
Amazing sound and comfort
The Steelseries Arctis Pro + GameDAC isn't the most affordable headset out there, but it's well worth the price. The excellent amp module allows for easy management of the device and the exceptional sound quality allows you to truly immerse yourself in-game.
The drivers housed inside the cups of the SteelSeries Arctis Pro + GameDAC are more than good enough for gaming, and the microphone handles communication with teammates. It's a quality Hi-Res certified headset for gamers and worth considering.
Entry headset
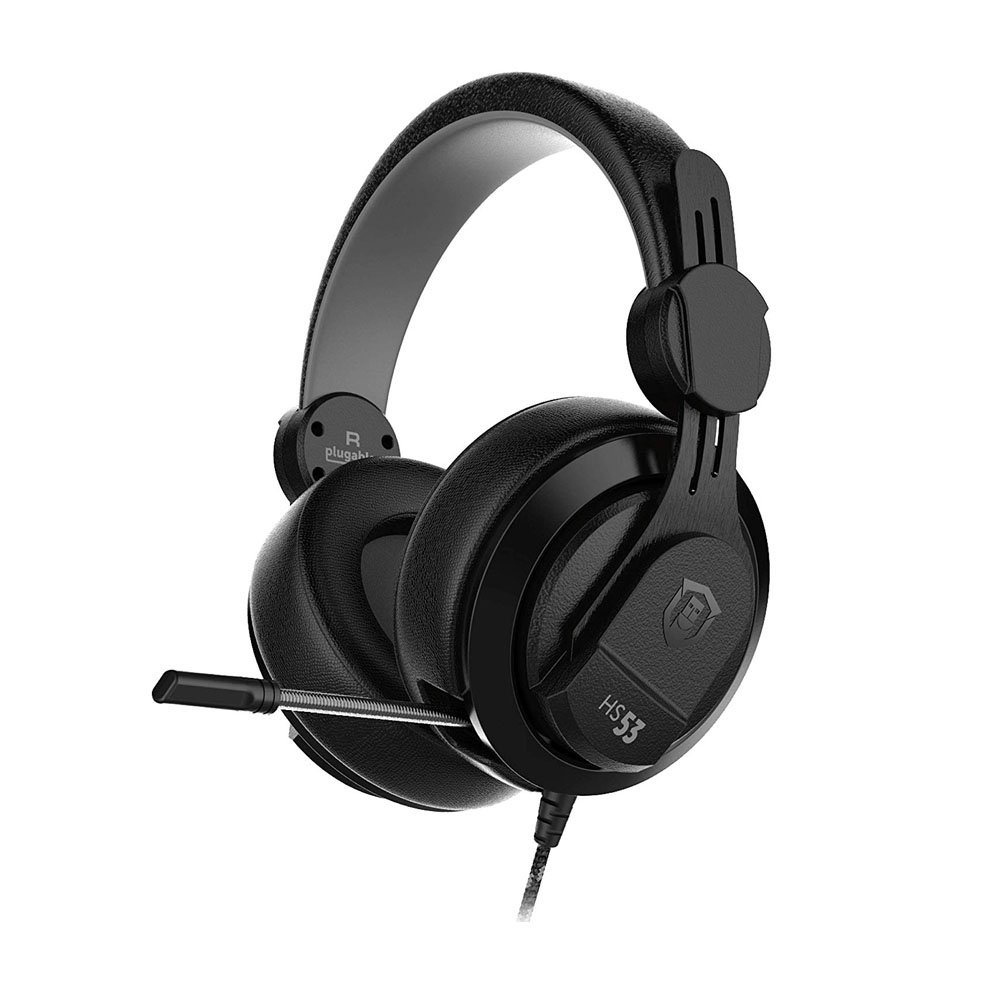
Plugable Performance Onyx HS53
Affordable gaming headset for PC
Plugable has made a $50 budget-friendly headset for gaming that's worth considering, even if you're not looking to save money on your audio.
The design fits within Astro's family, with large cups that cover the ears and nice big comfy memory foam cushions. The microphone isn't retractable or detachable but does have a neat trick where it'll auto-mute when you flip it up against the side of your head.






0 comments:
Post a Comment