Experiencing troubles with your Xbox One controller's 3.5mm headphone jack? It's an affordable and easy fix, only requiring the know-how to get under the hood and swap out the essentials. Get back to gaming and chatting fast with this 10-minute fix for your Xbox gamepad.
Products used in this guide
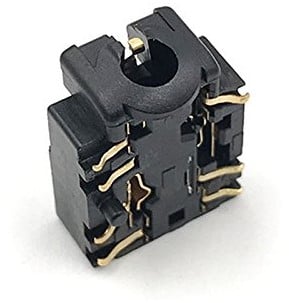
- Get your fix: Xbox One Replacement Headphone Jack ($6 at Amazon)
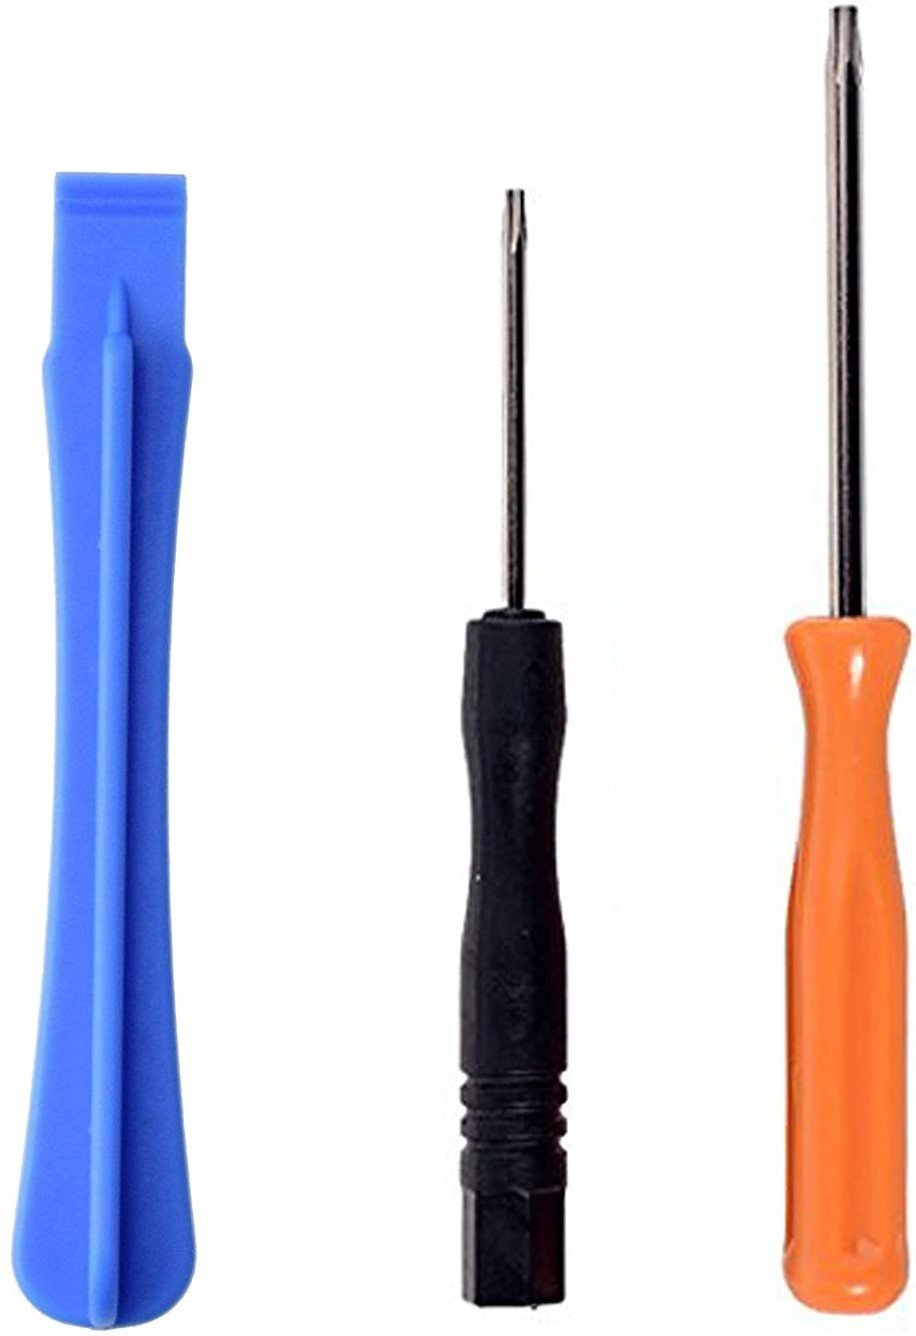
- Trusty opening tools: Xbox One Controller Tool Set ($8 at Amazon)
How to replace Xbox controller 3.5mm headphone jack
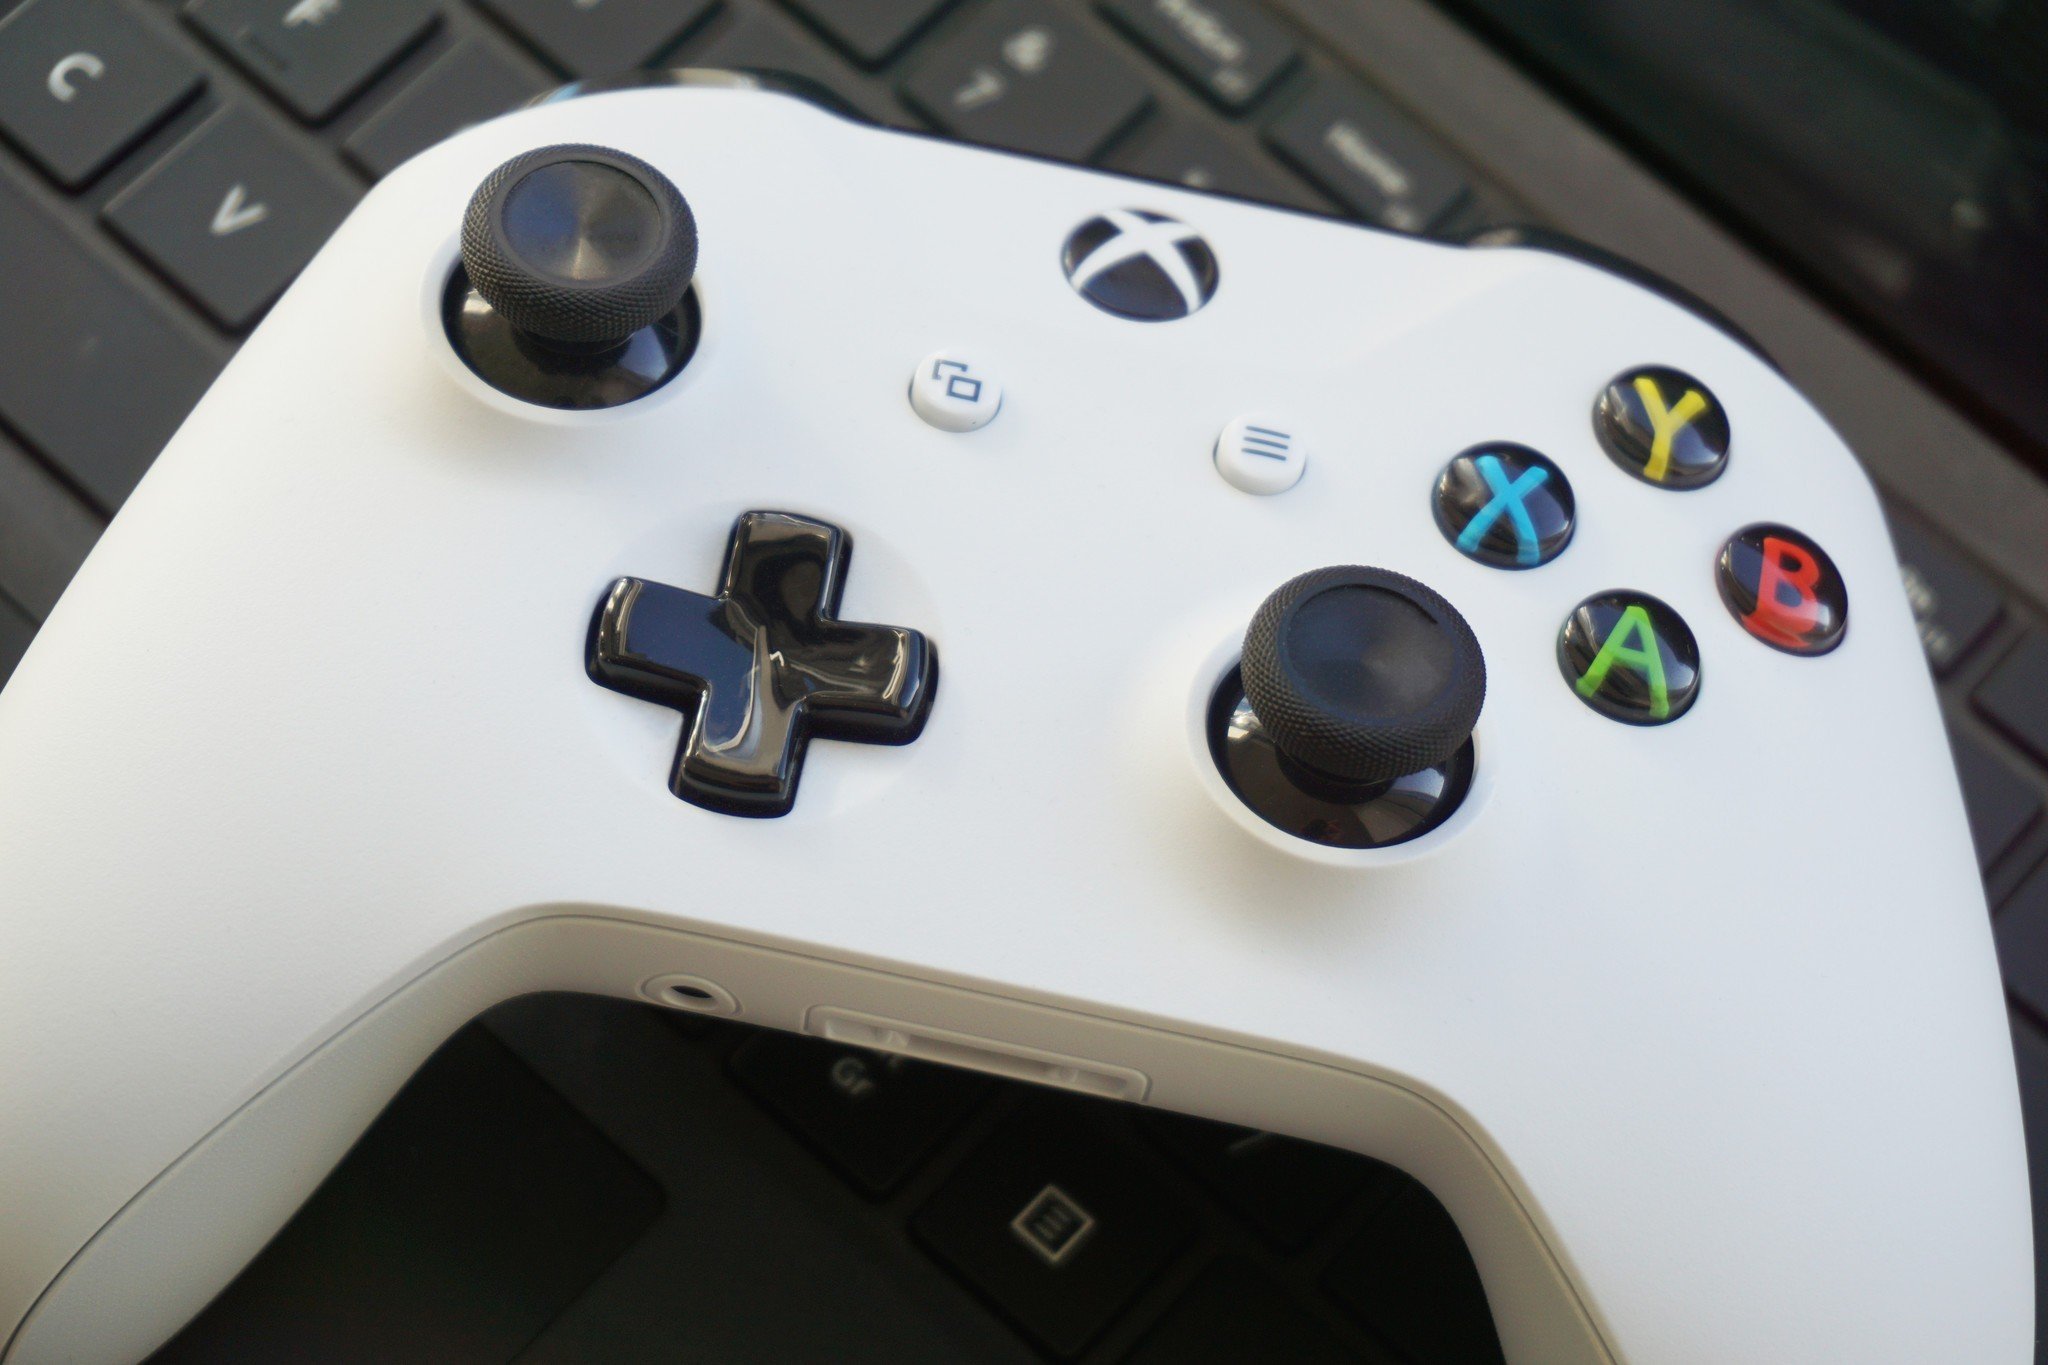
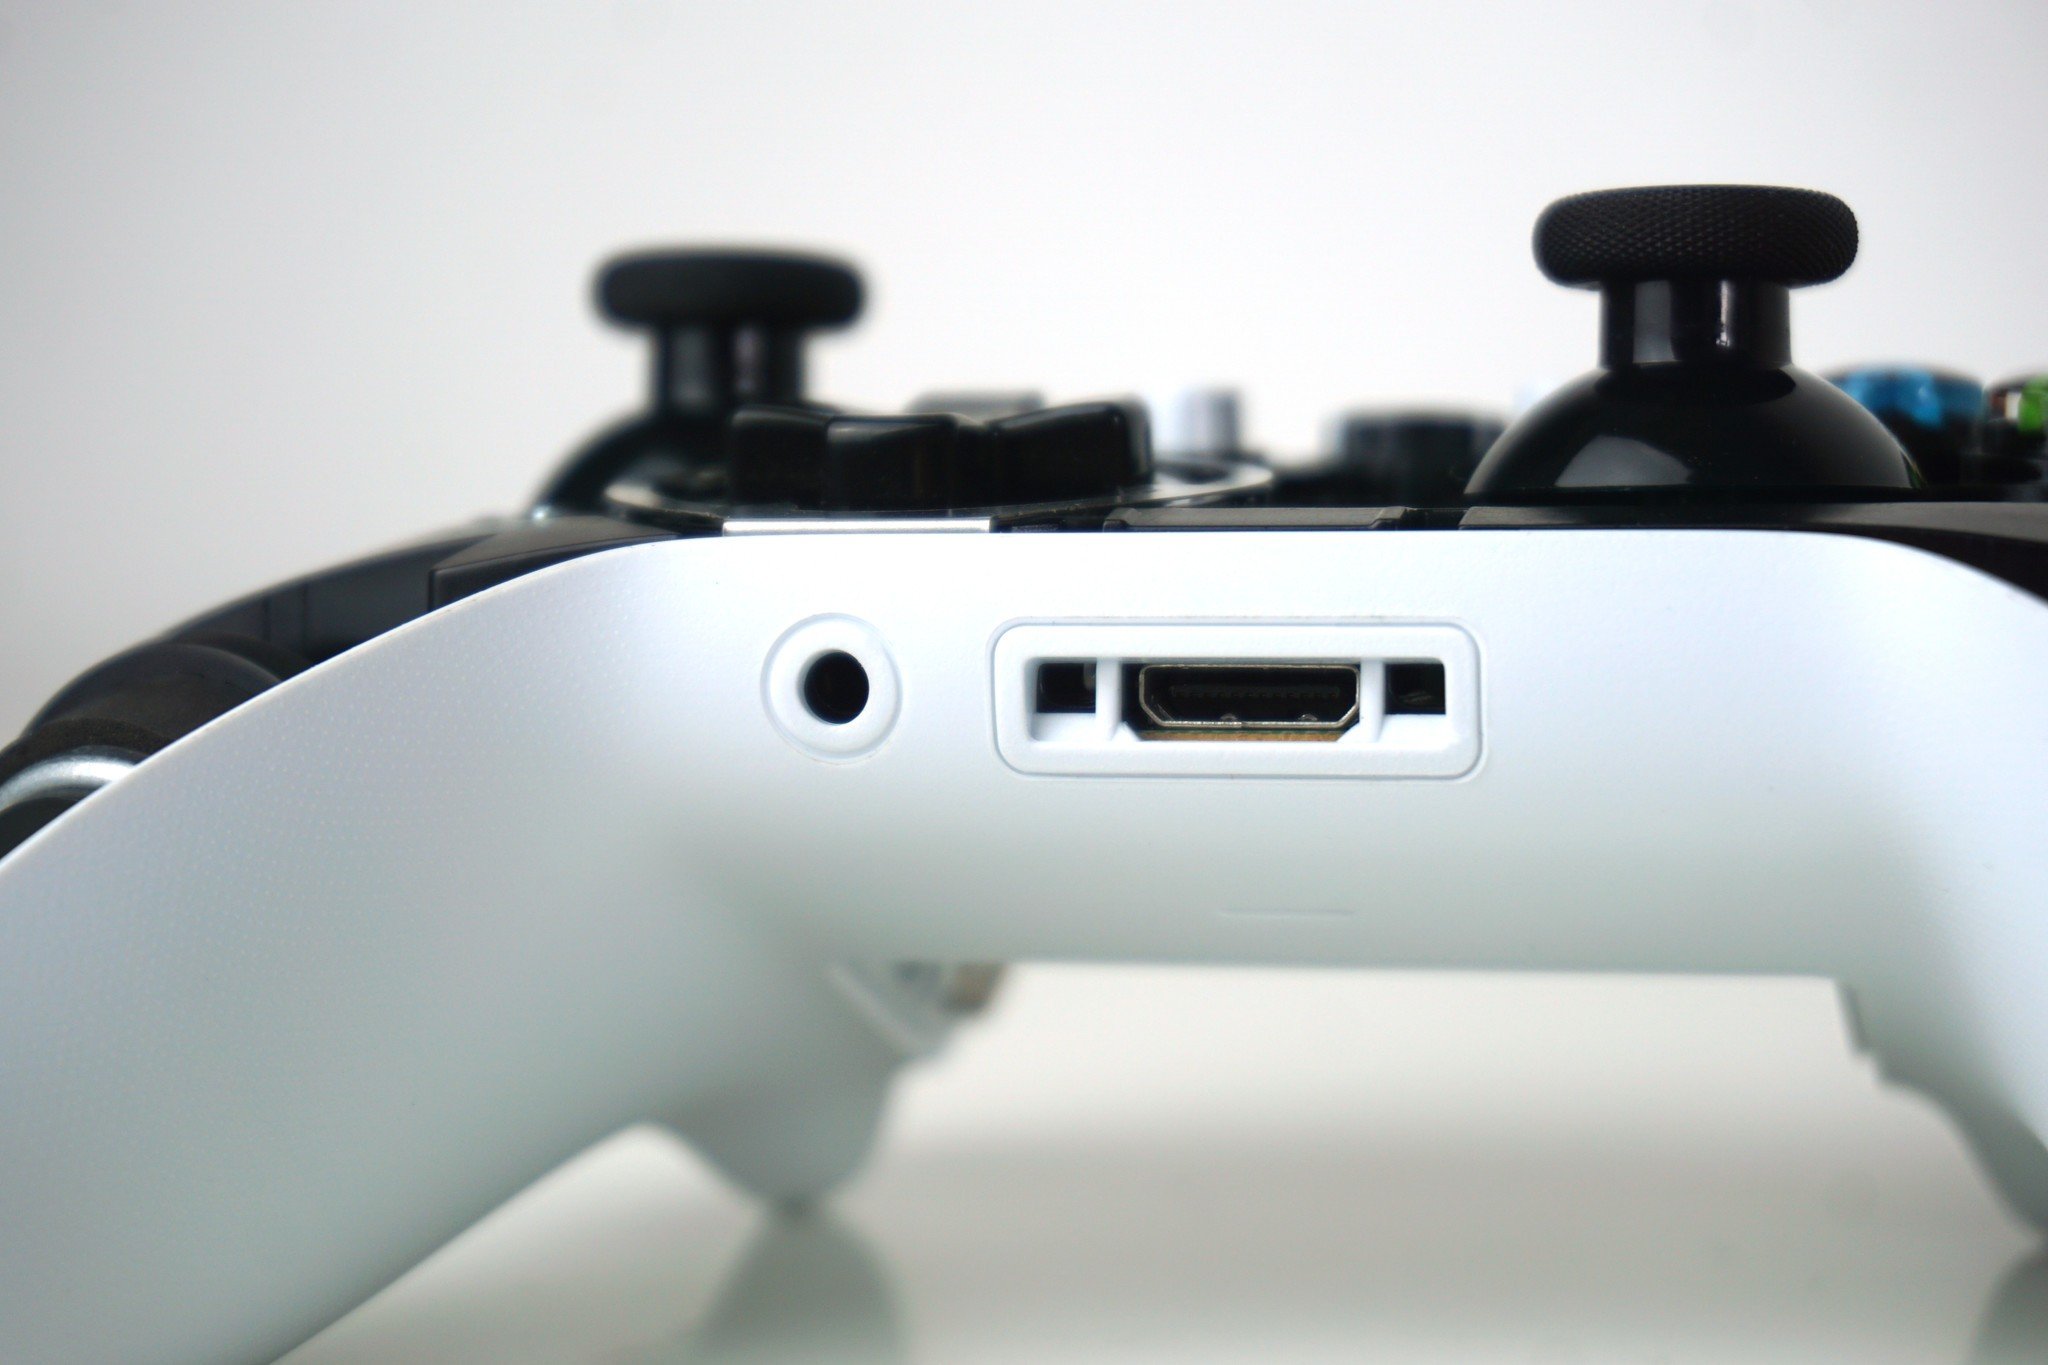
When encountering issues with your Xbox One controller's 3.5mm headphone jack, a full replacement of the jack is an easy fix. Xbox controller audio jacks aren't just cheap; installing them takes minutes with components in-hand. Using the right tools and expertise, swapping it out can mean huge savings over a full controller replacement.
These steps follow the process on Microsoft's latest third-generation controller design. Keep in mind that performing modifications on Xbox One controllers can void any warranties.
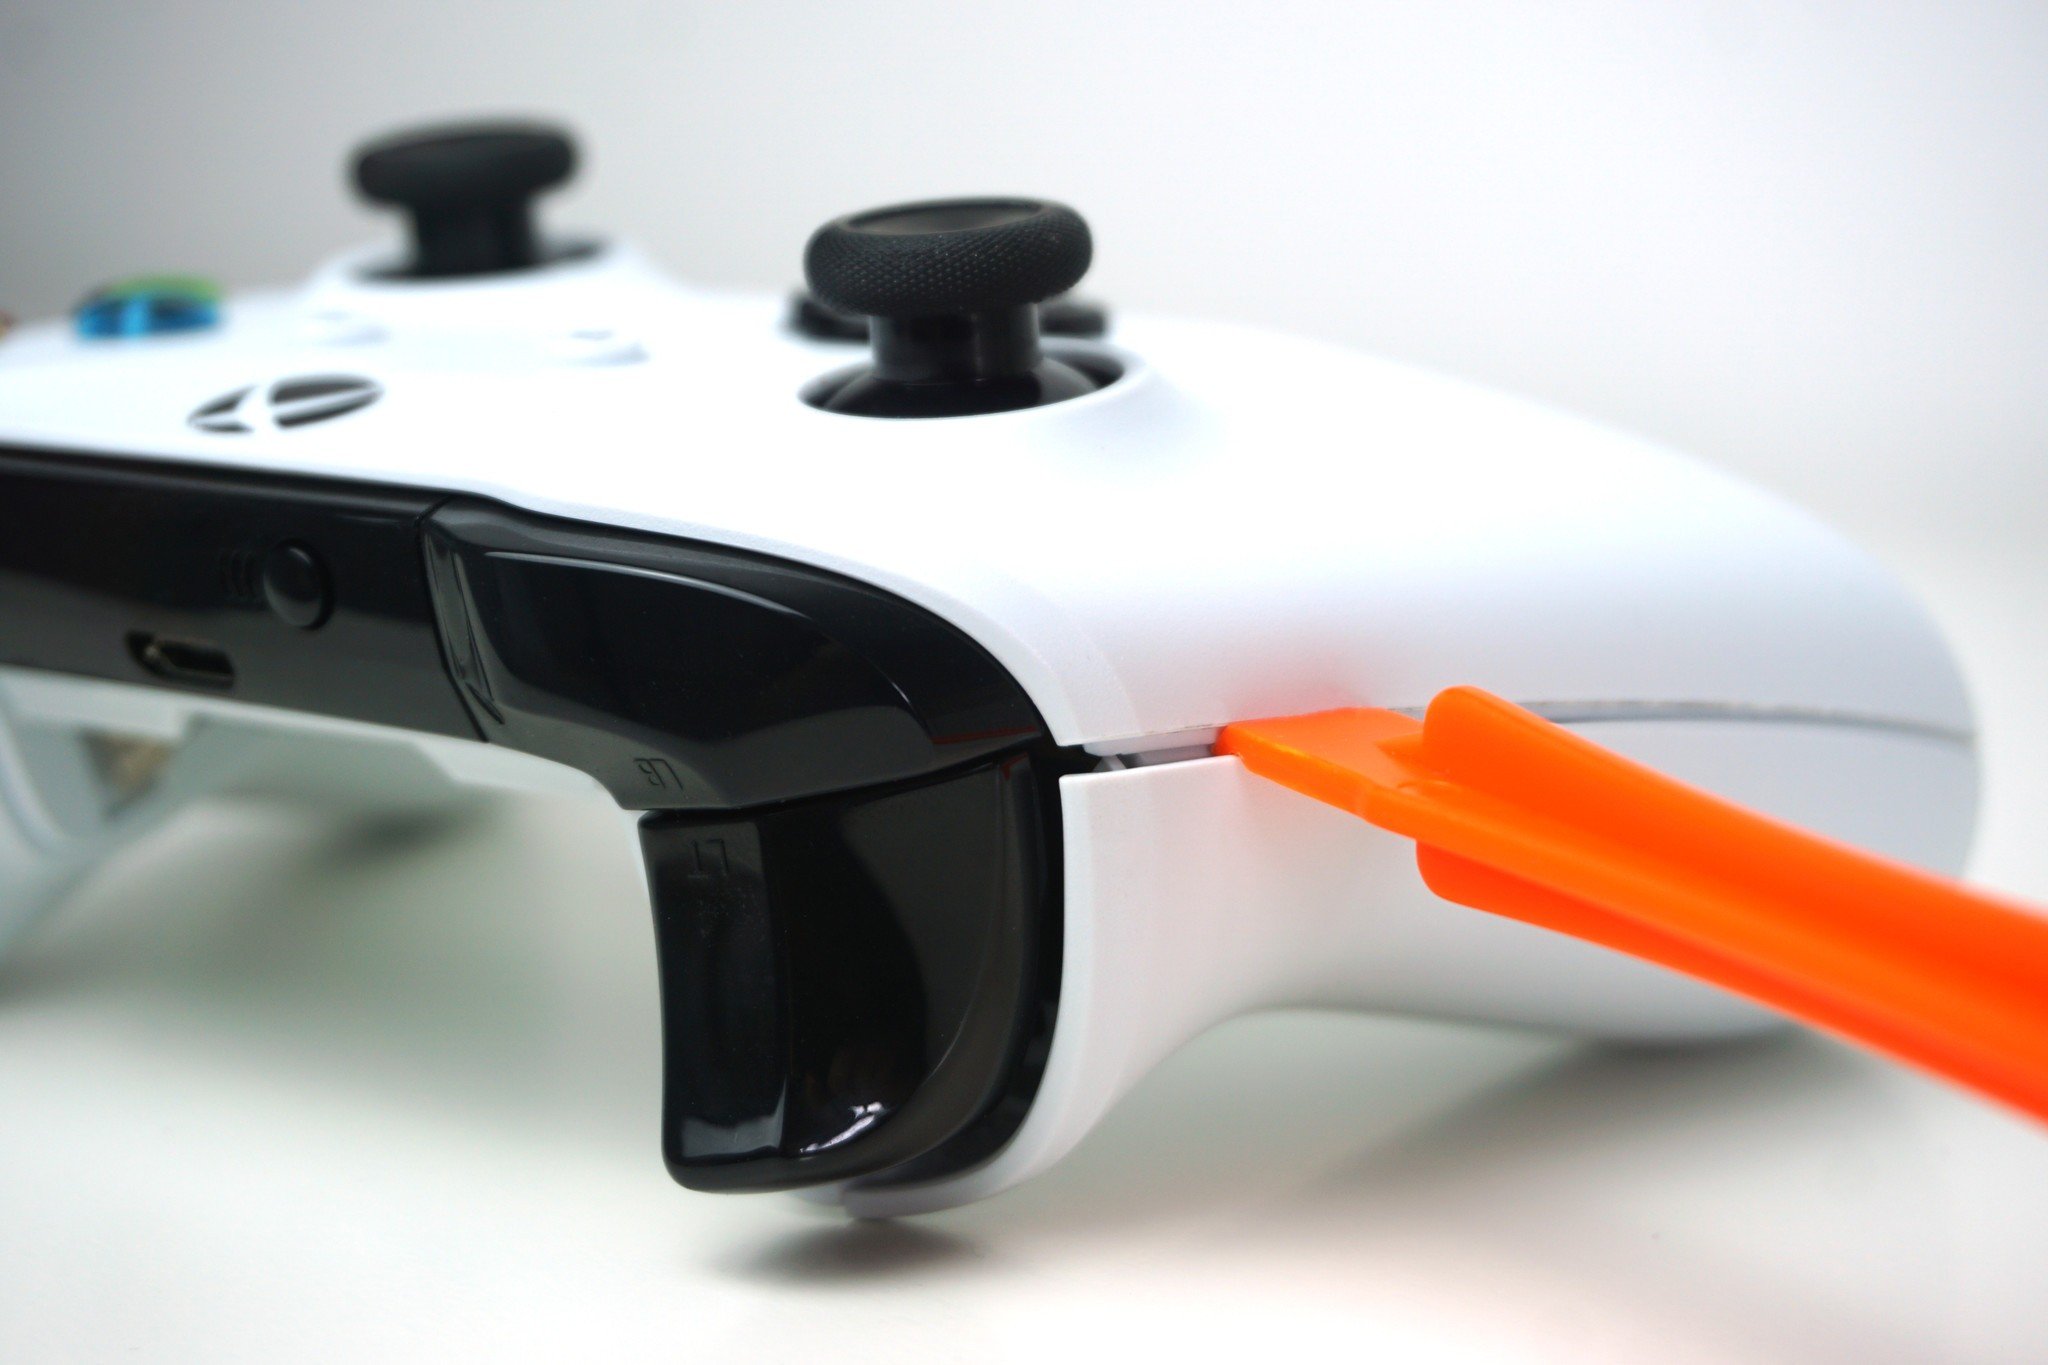
- Insert the pry tool between the controller grip and faceplate, starting near the trigger.
- Follow the outer seam with the pry tool, breaking the grip panel away until detached.
-
Repeat to remove the second grip panel.
- Remove the controller battery door.
- Remove batteries from the controller.
-
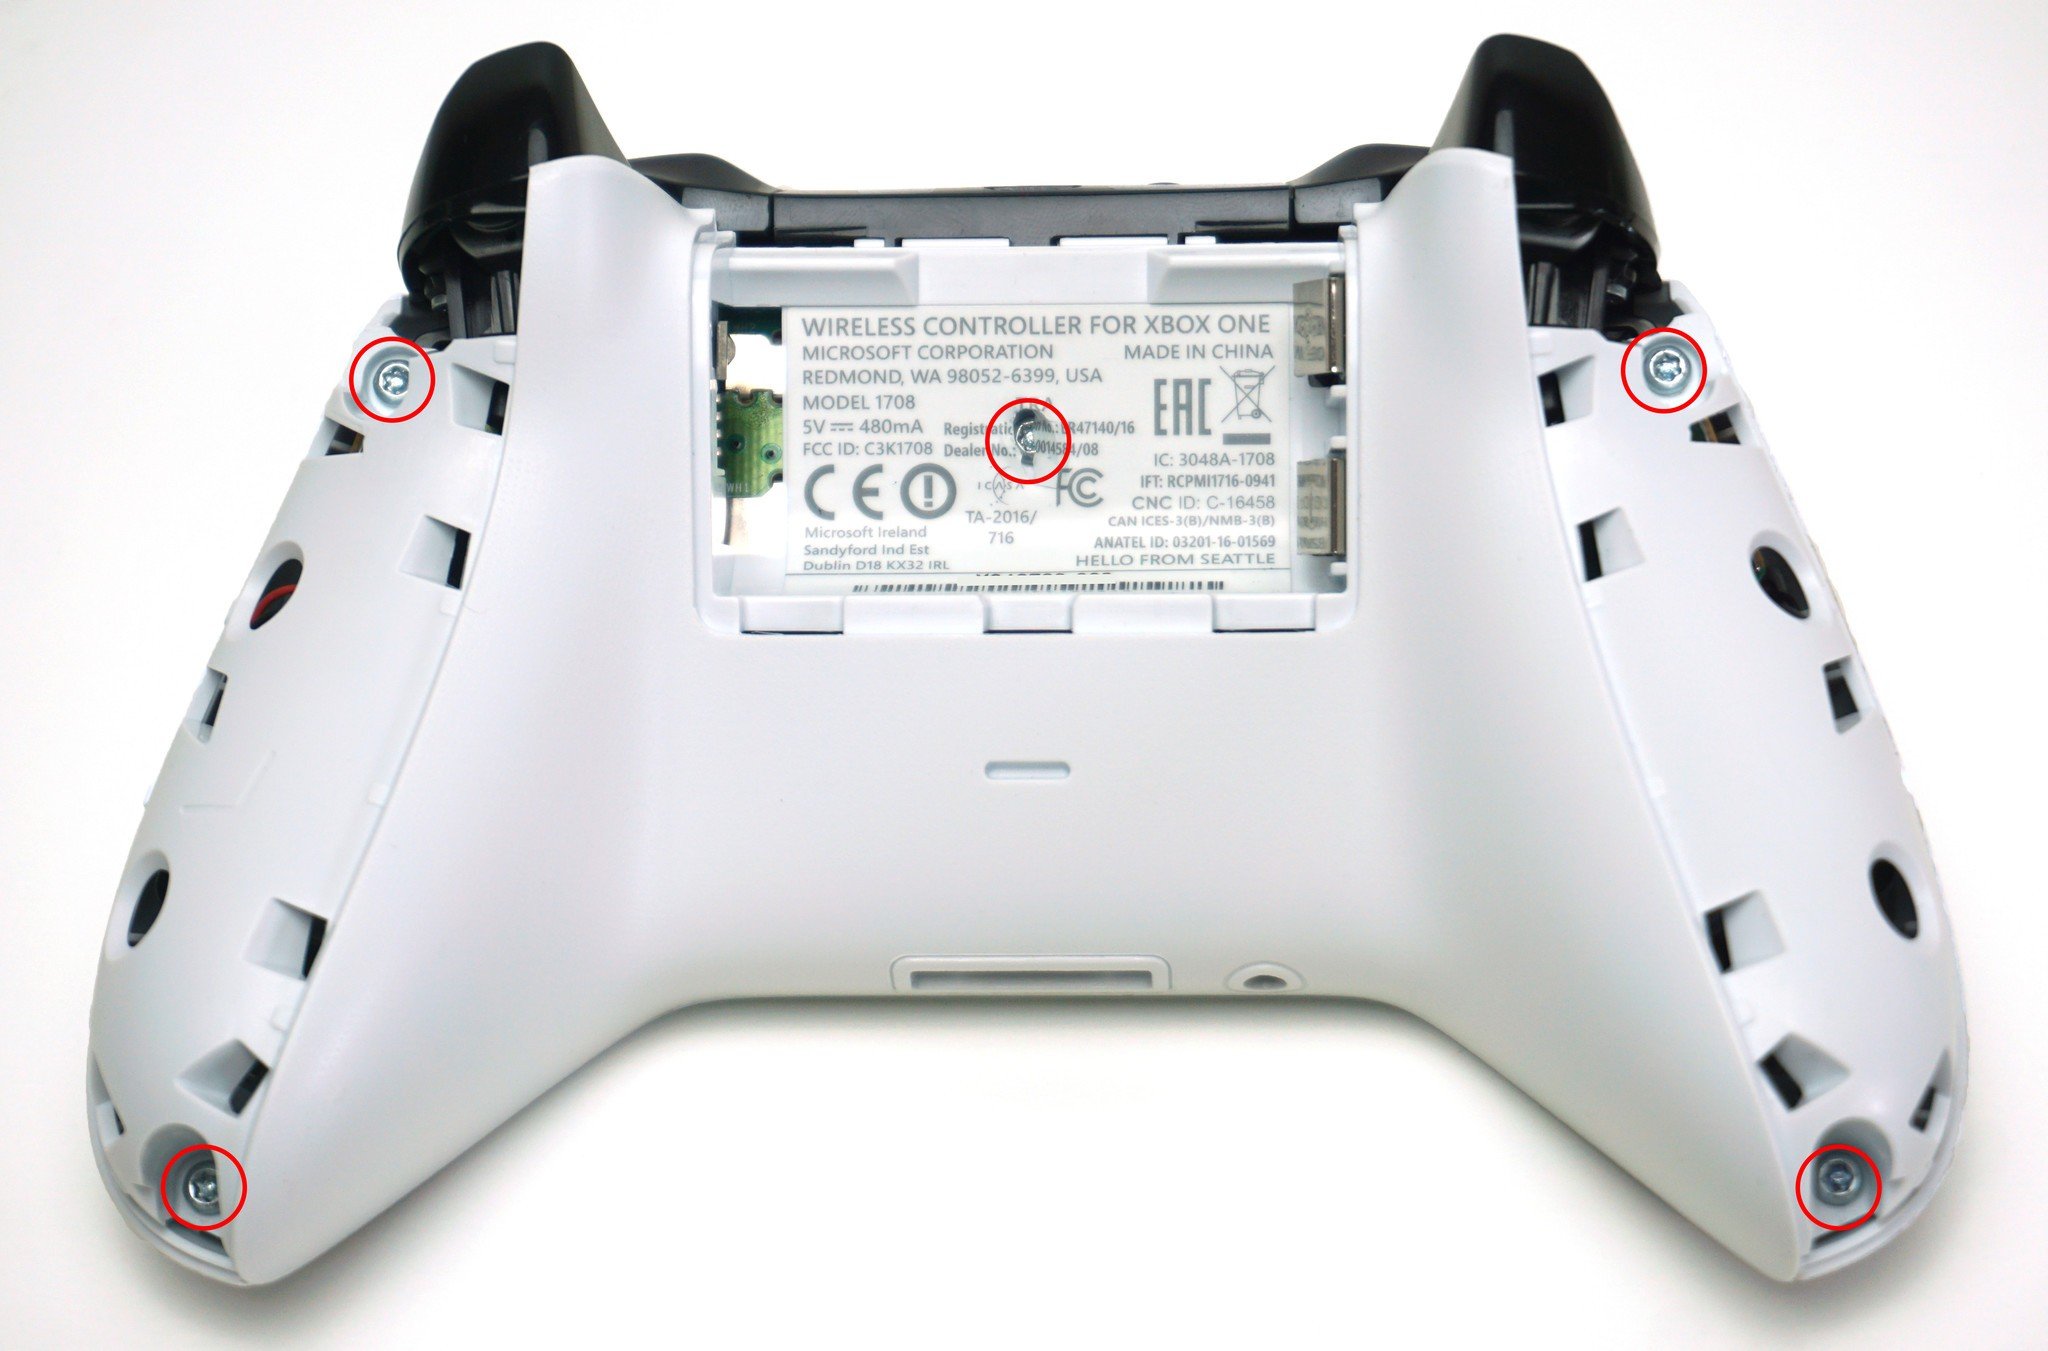
Break the sticker inside the battery compartment to expose a screw.
- Remove all five rear screws using a T8 Security Torx screwdriver.
- Lift the front faceplate from the controller housing.
-
Remove the rear controller shell.
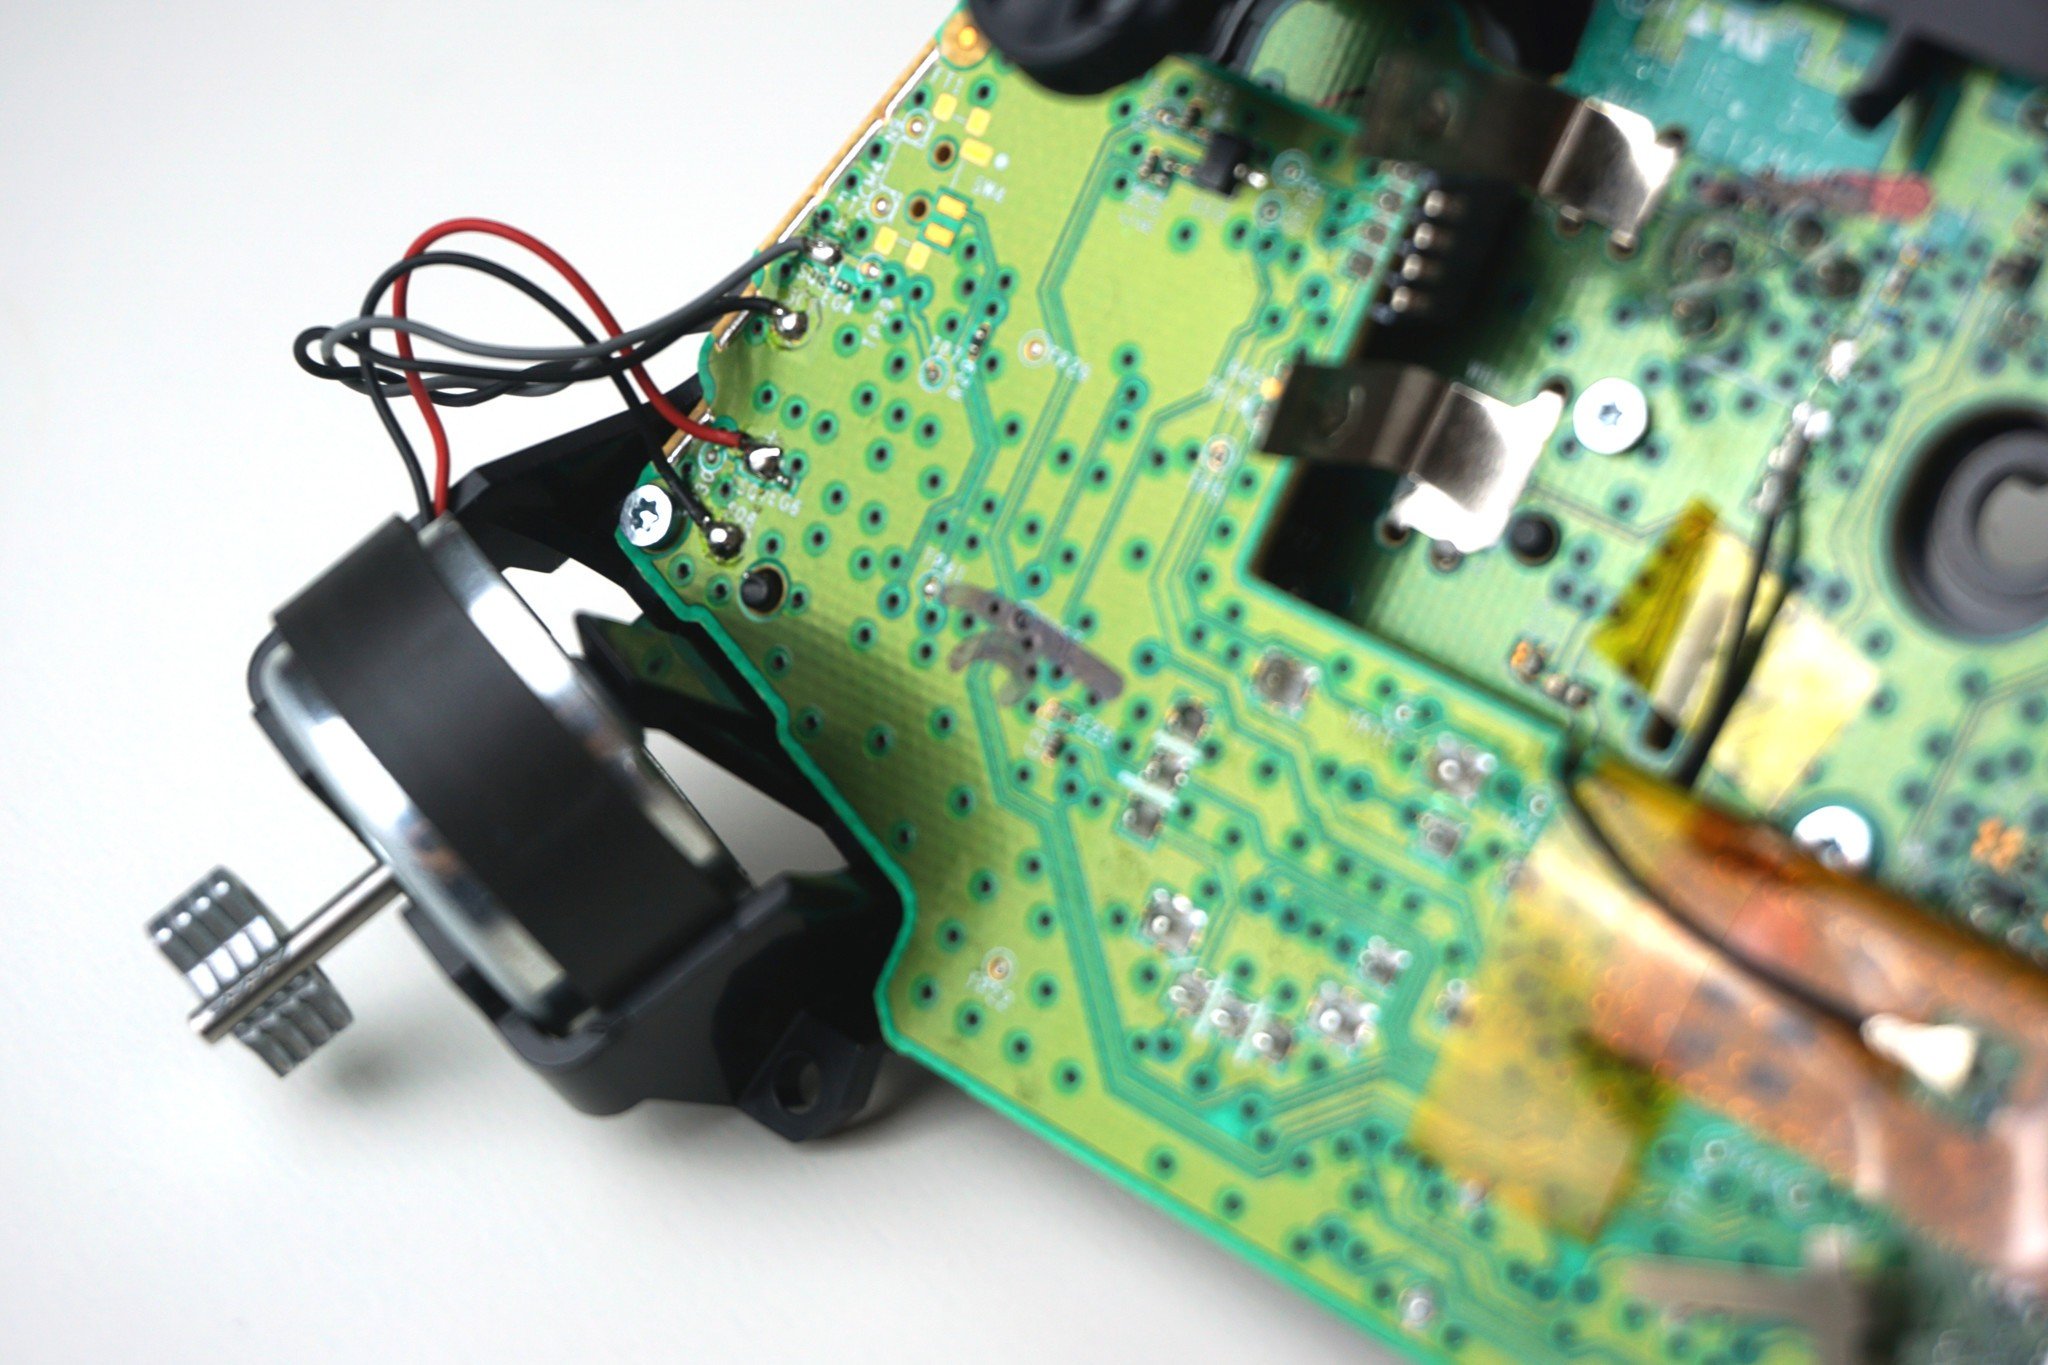
- Remove the two rear screws above the vibration motors, using a T6 Torx screwdriver.
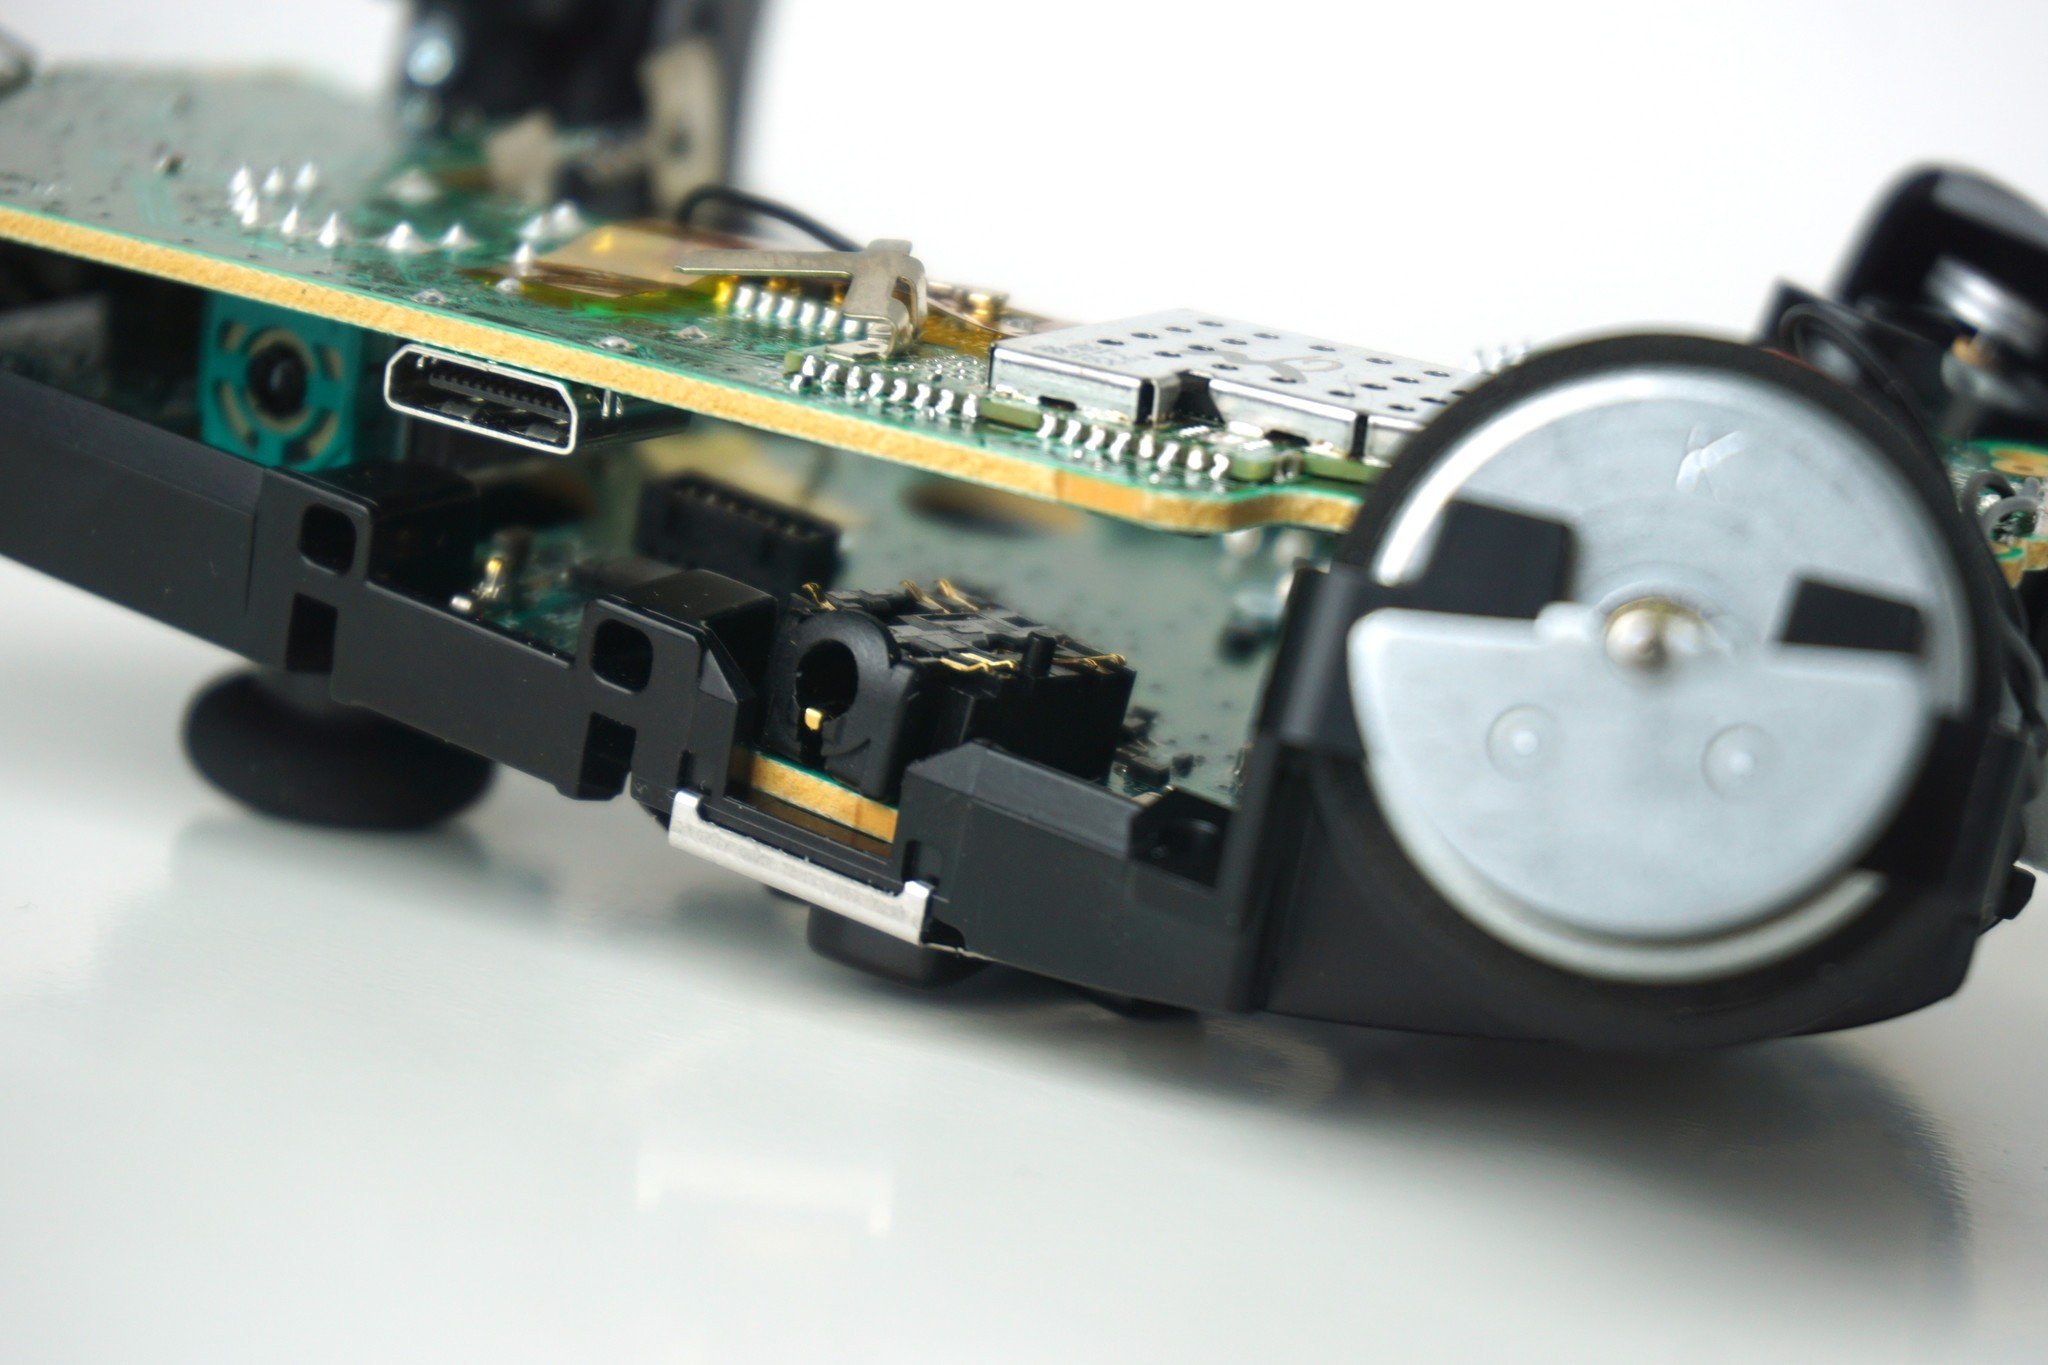
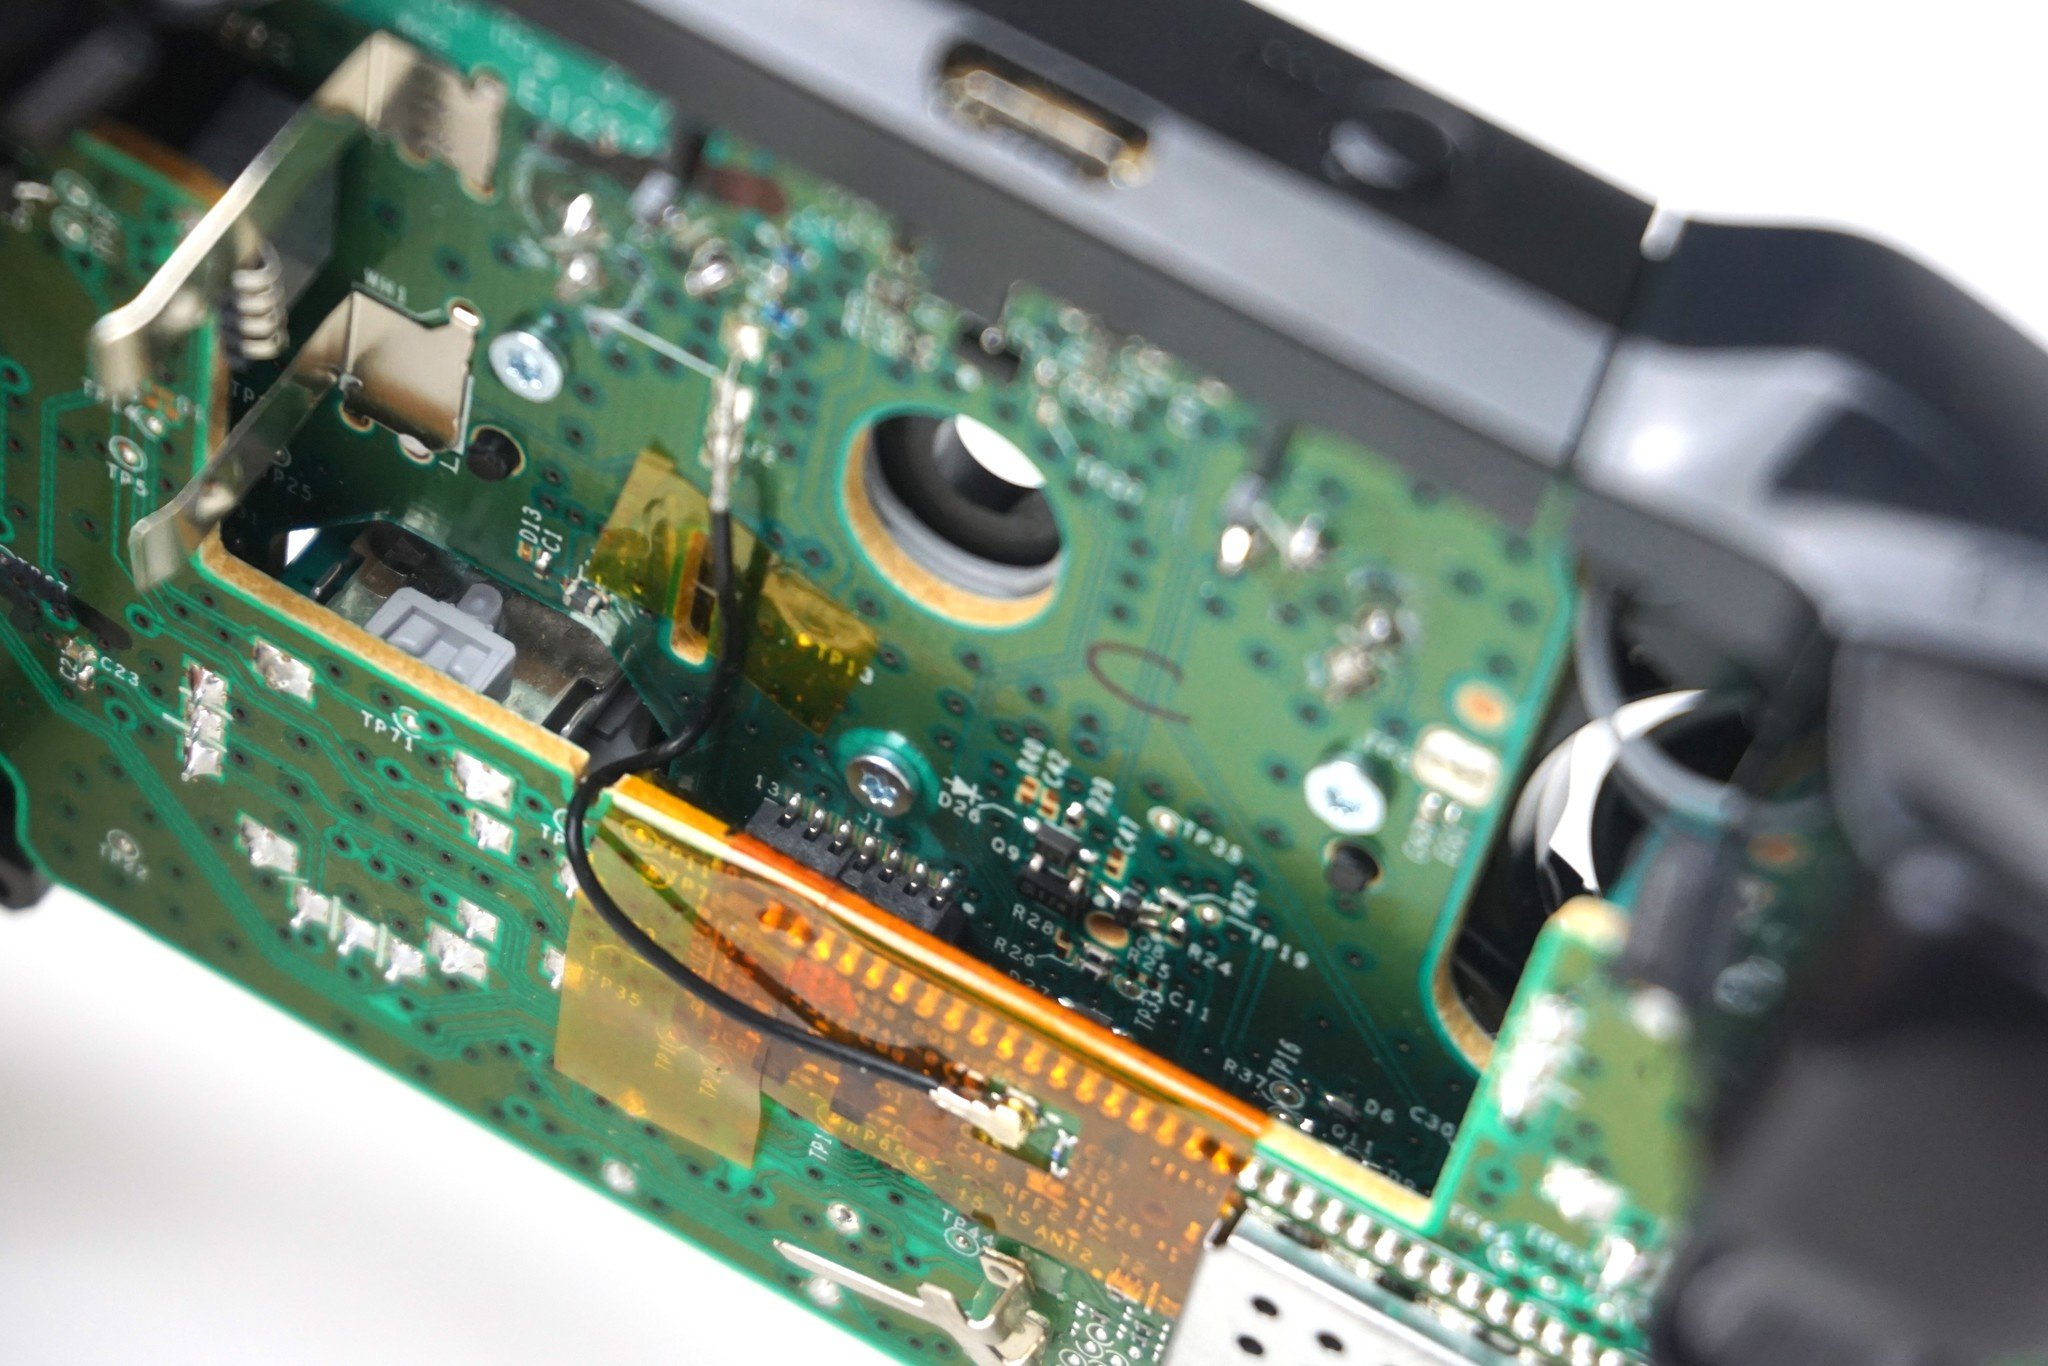
- Separate the rear board from the top board. Work the boards apart from the middle, disconnecting the 14-pin connector.
-
Nudge the headphone jack until it falls from between the boards.
- Insert the new headphone jack. Ensure the port is correctly oriented and seated, with connectors facing the rear board.
-
Press the two boards together, ensuring the 14-pin connector is reconnected. The new headphone port should now sit firmly in the controller.
- Screw back in the two rear screws using a T6 Torx screwdriver
- Lay the controller internals back into the rear shell.
-
Re-attach the controller faceplate.
- Screw back in all five screws using a T8 Security Torx screwdriver.
- Re-attach the two controller grip panels.
- Re-attach the battery door.
After completing the headphone jack repair process, existing 3.5mm headphones should function through the port.
If you're unable to hear sound via headphones, we recommend re-opening the controller to ensure the jack is correctly seated and its connectors align with the controller board. Also, ensure the two controller boards are connected via the 14-pin connector, creating that snug fit to hold the jack in position.
Our top equipment picks
Fixing your Xbox One headphone jack is a breeze, with replacements up for grabs at just a few dollars. While it's not a Microsoft-certified fix, it saves a ton on an all-new wireless controller.
Fix it up
Xbox One Replacement Headphone Jack
Wired up and ready for action
Hook yourself up with a replacement 3.5mm headphone jack for your Xbox One controller. This third-party component packs identical features for dirt cheap.
With the Xbox One controller's internals locked behind pesky clips and screws, this compact tool kit wraps all you need into one package.
Handy tools
Xbox One Controller Tool Set
Put the power in your hands
This three-piece toolset is ideal for Xbox One modifications, bundling a T8 Security Torx screwdriver, T6 Torx screwdriver, and plastic pry tool. It's all you need to go under the hood with your Xbox controllers.



0 comments:
Post a Comment