This is tutorial to edit photos with text using computer program GIMP. This explains the basics of writing and editing text you can apply over all your photos you they can accompany your text documents you are working on. This is the eighth aka the final part of GIMP for Authors the series. I am happy to publish this one. Enjoy editing!
(One minute video showing text editing in GIMP photo editor)
Subscribe to UbuntuBuzz Telegram Channel to get article updates directly.
Font Choices
Fonts (also called typefaces) you can use in GIMP depends whether those fonts are available in your system or not. On a standard Zorin system, fonts available are Liberation, DejaVu, Ubuntu Fonts, FreeSerif/Sans among others comparable to Times New Roman, Arial, Bitstream Vera, and others on Microsoft system. To get a certain font on your system, you should install the font file which usually its filename ended with extension .ttf or .otf.
Writing
- Use Text Tool.
- Click on any point on canvas.
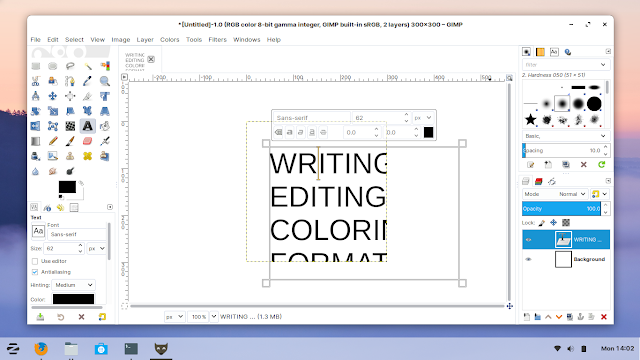
- You are ready to type in the textbox appearing.
- Type something.
- Format it.
- Color it.
- Escape Text Tool.
- Move text around.

Editing
- Make sure you are in the text layer.
- Use Text Tool.
- Click on the text.
- Textbox appears and follow Writing section above to edit text.
Change Font
- Do edit text
- See the first box within the floating thing appears? That is font selector.
- Erase text in that first box and type the name of font you wish.
- Press Enter to select it.
- Font changed.
Formatting
- While writing, using cursor, block a certain portion of text.
- To change font, select one from font selector by typing its name such as from Sans-serif to Liberation Serif (comparable to Times New Roman).
- To change text size, change size value such as from 12pt to 100pt.
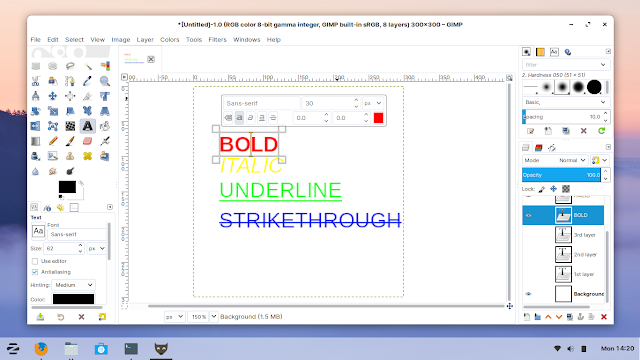
- Click a to make it Bold.
- Click a to make it Italic.
- Click a to make it Underlined.
- Click
ato make it Strikethrough.

Coloring
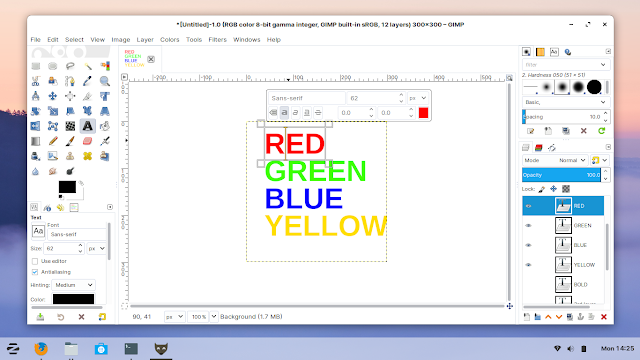
While block selecting text, pick one color from its color selector.

Exercises
Using techniques from 7th part of this series, try to make picture like above by combining text and photo. Play with Opacity to make the transparency. Hint: you will have 7 layers as you have 7 separate text above. Happy exercising!
End of Series
This is the 8th or the last part of this GIMP for Authors The Series. I wish these all beneficial for you. I am very glad to finish this series while in Corona pandemic and in the middle of my busy teaching times with Telegram and Jitsi. See you in the next unique series!
This article is licensed under CC BY-SA 3.0.
Originally posted here: https://ift.tt/3fzzCYr


0 comments:
Post a Comment