Facebook Gaming is experiencing strong growth, so if you're considering streaming there, here's how to get started.
Based on recent reports, Facebook Gaming is now the number three streaming platform for gamers behind Twitch and YouTube. It's not surprising given the enormous global reach that the social media goliath has, but Facebook Gaming has a ton of potential for streamers. The platform is still fairly green, but monthly updates and an open relationship with its community means its an enticing place to stream. Here's what you need to know to get started.
What you need
- Facebook account
- Facebook Gaming creator page
- PC with capture card if you're streaming console games
Before you begin streaming on Facebook Gaming
It's black and white; You need a Facebook account. Unfortunately, right now, you're not able to have a gaming creators account without also having a personal Facebook account to link it to. So, while you're not required to interact with your personal profile in any way (indeed, mine is completely locked down), you still have to have one.
If that's something you're not comfortable with, then this is the end of the road. Hopefully, one day Facebook will allow a disconnect of the two parts of its platform.
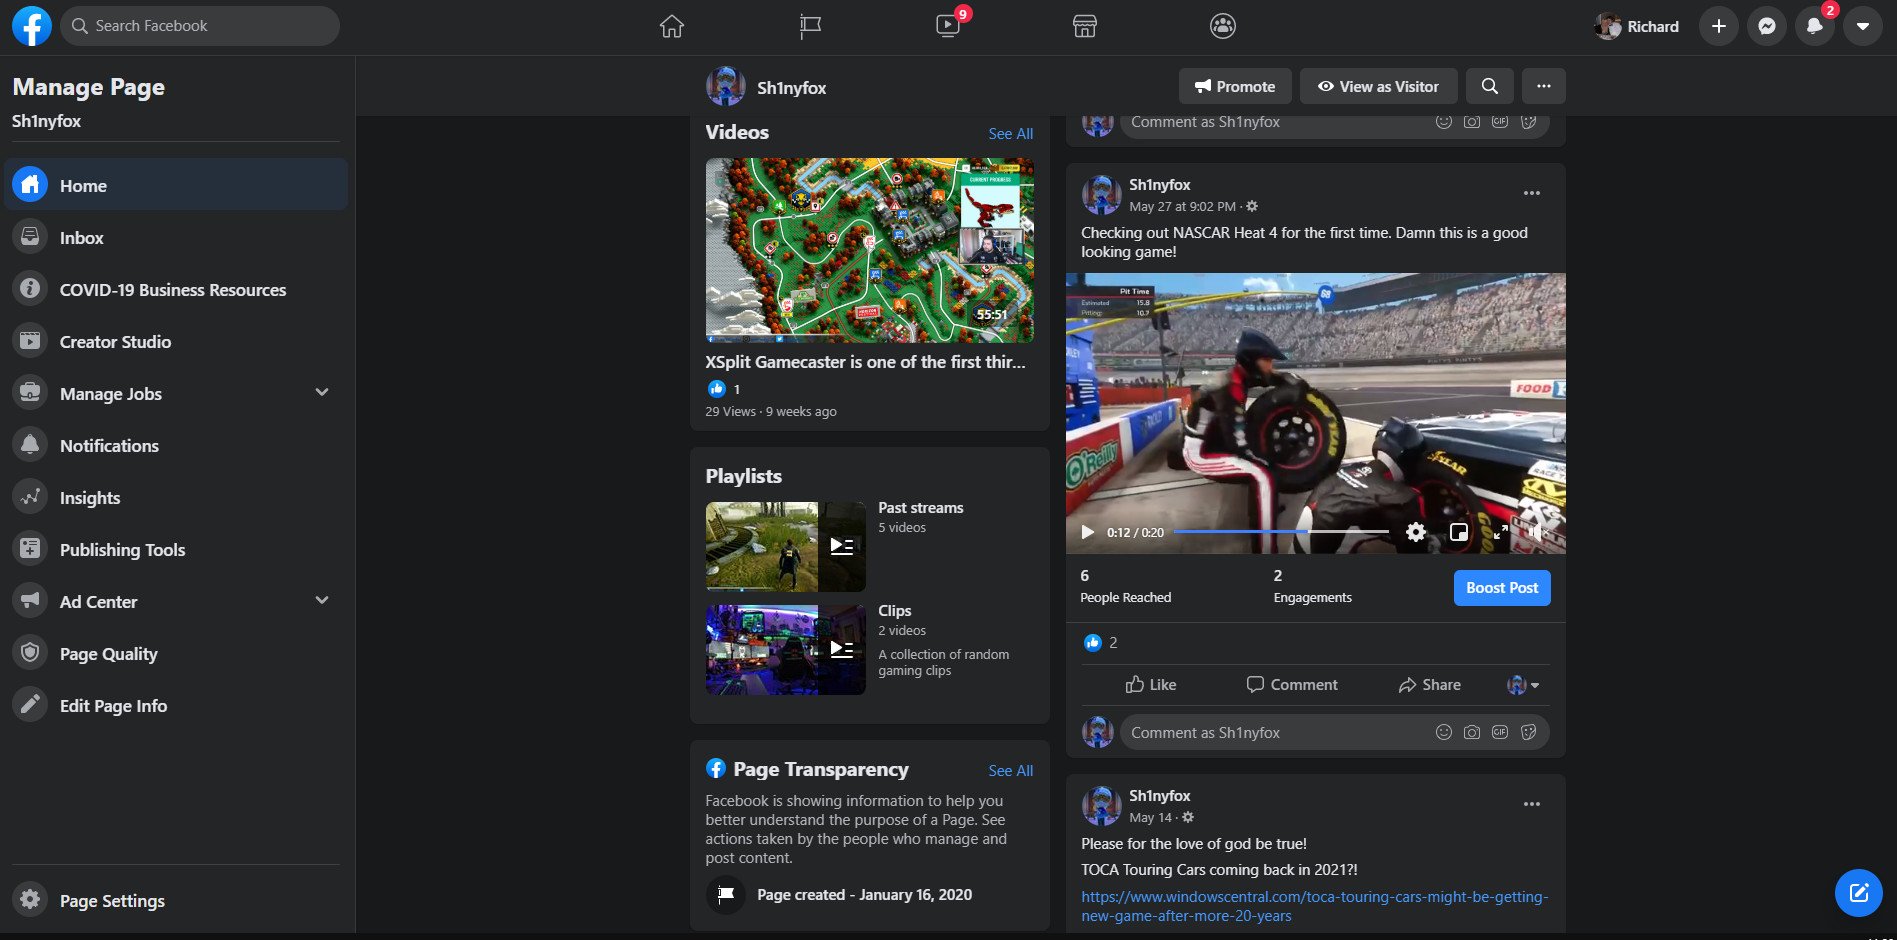
What you do need to go along with your streaming is a Gaming Video Creators page. This is the hub for your stream, similar to how you'd have a profile page on Twitch or Mixer. Here's how to get one of those.
- Login to your personal Facebook account.
-
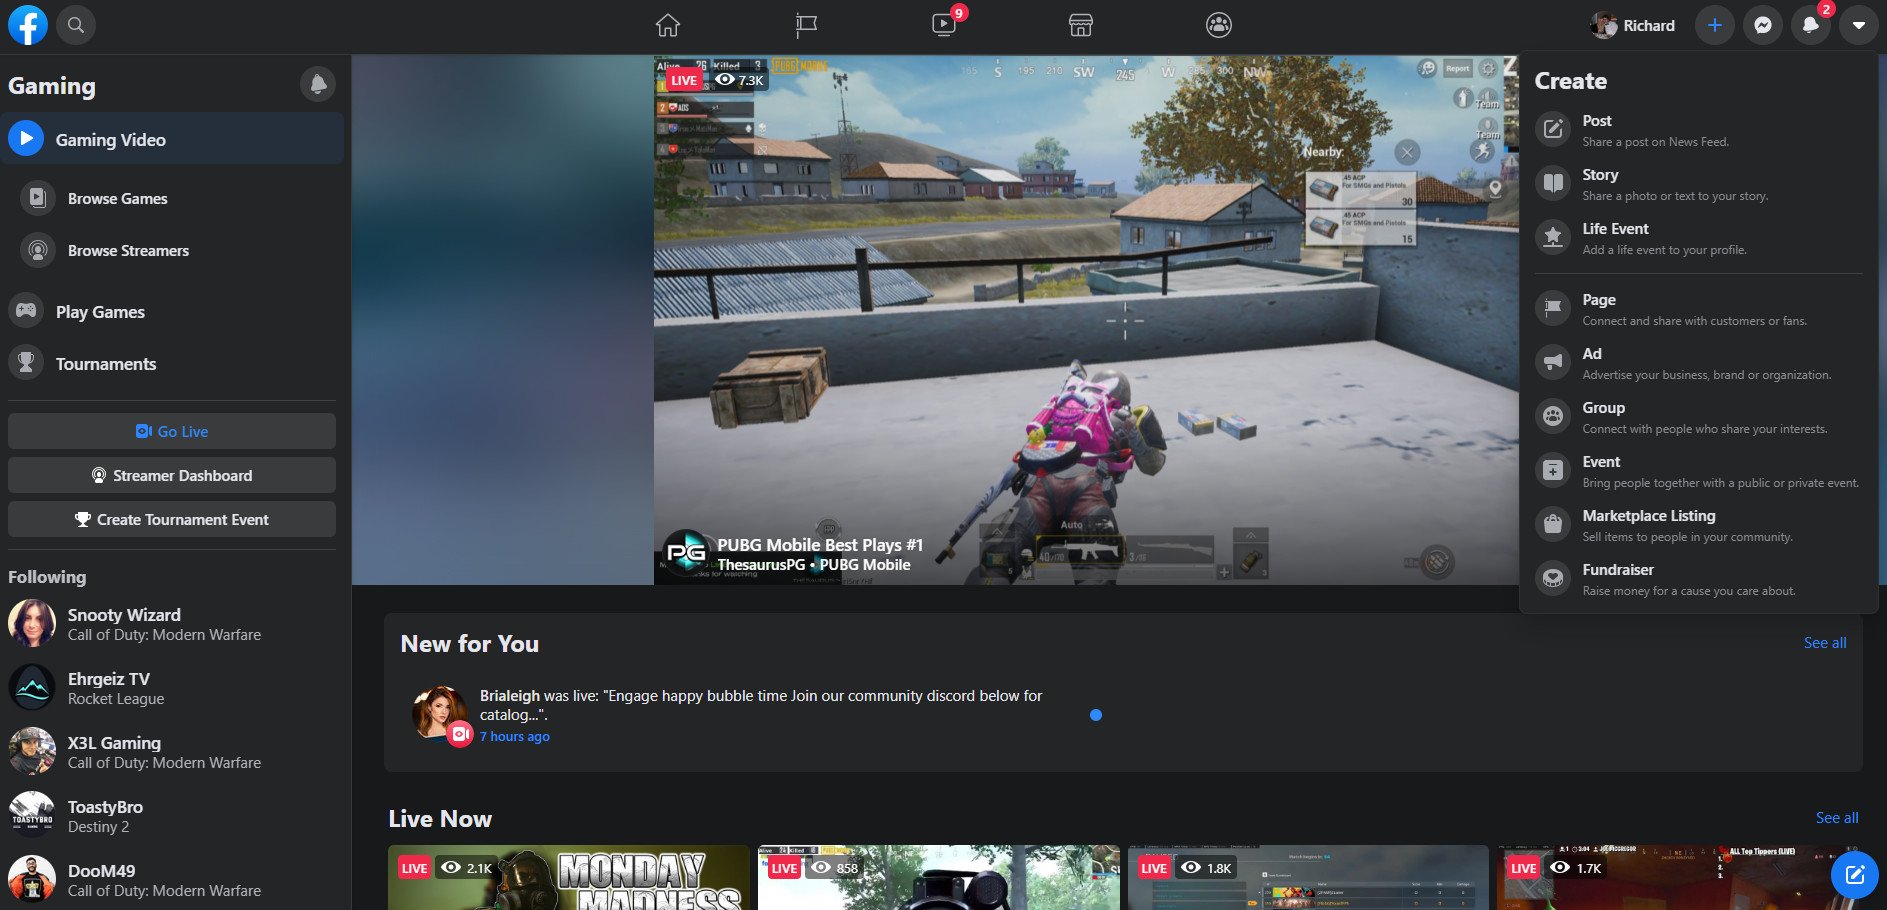
Click on create.
- Select page.
-
Give your page a title.
- For category, choose Gaming Video Creator.
The remainder of the steps are straight forward and just ask if you want to upload an avatar and a cover image before you publish your page.
Pages aren't the same as your regular Facebook profile, and there's a lot of settings you can get into. It can be daunting, but part of that is because it's built on Facebook's business platform, but equally, you have a ton of control over it.
You have a social feed as you do on a regular Facebook page, but perhaps one of the key features for streamers is the Spotlight block towards the top that allows you to feature up to five videos.
Facebook diverges from Twitch and Mixer in allowing you to upload non-Facebook made content to your page as you can on YouTube. And if you're not keen on having a Discord server, you're able to set up Facebook Groups linked to your page. There's a lot of flexibility in setting up your page, and the best advice is to just jump in and start poking around.
How to set up your Facebook Gaming stream
If you've been exploring streaming from your console, either to Twitch from a PS4 or Mixer from an Xbox One, there's one fundamental difference with Facebook. Currently, you're going to need a PC to stream from, whether you play PC or console. There's a mobile app in development that will allow mobile game streaming, but it's in a limited release right now while it's being developed.
That means you're going to need to set up some broadcast software, such as XSplit, OBS, or Streamlabs OBS. Fortunately, we've got guides to help you get to grips with those.
- How to get started streaming with XSplit
- How to get started streaming with OBS
- Getting started with Streamlabs OBS
In some cases, like Streamlabs OBS, you can simply sign in with Facebook, and the software will do the rest. Regular OBS will want your stream key before you can go live.
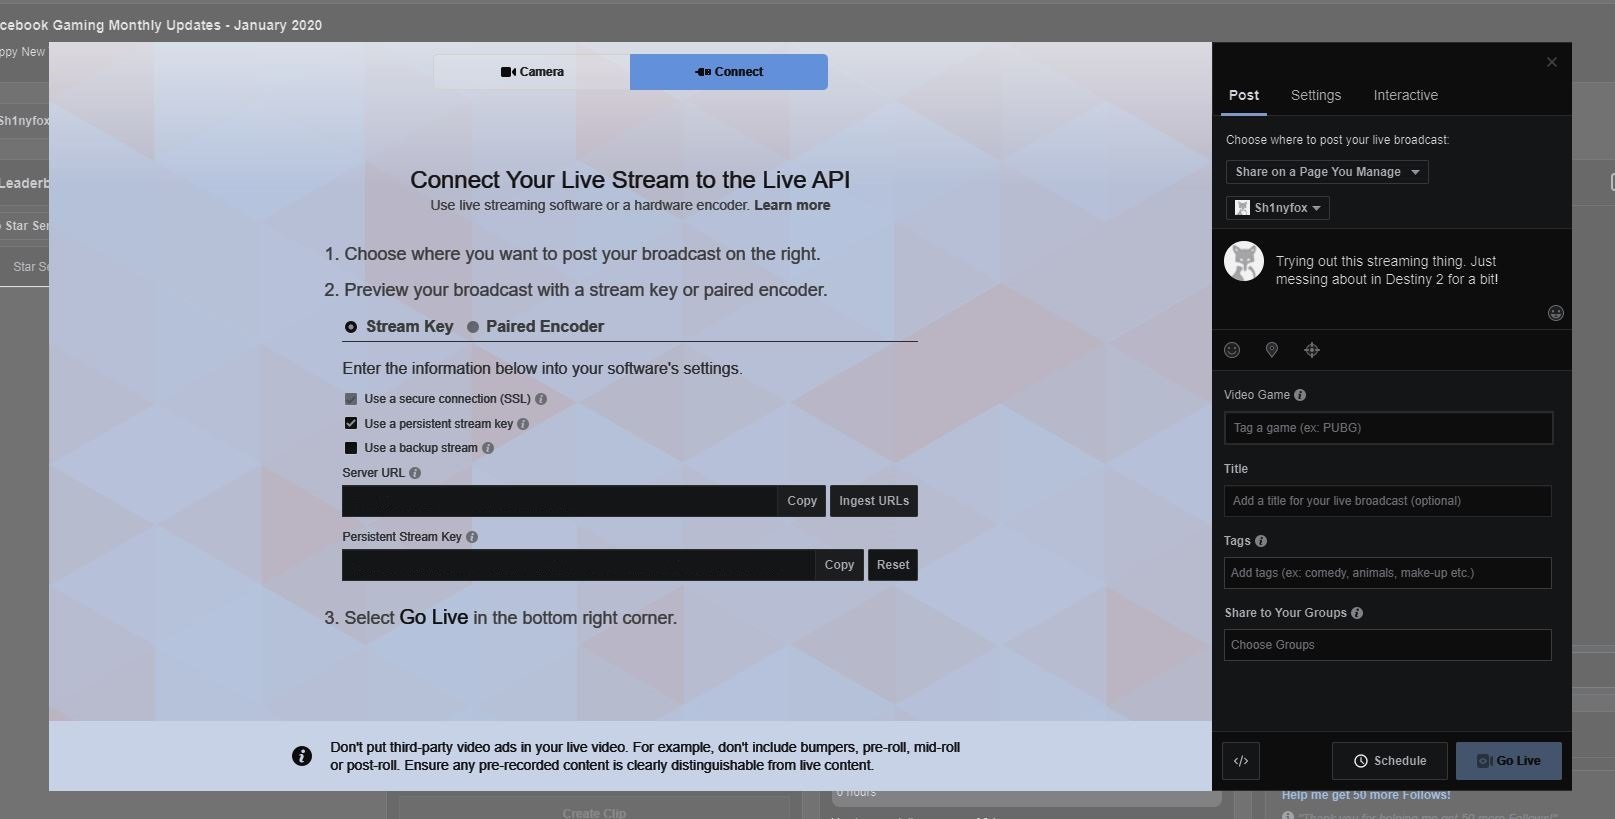
This is another area Facebook differs from other streaming platforms. Your stream key will change every time you set up a broadcast unless you say you want a static one. Which you probably do. Here's how to get that.
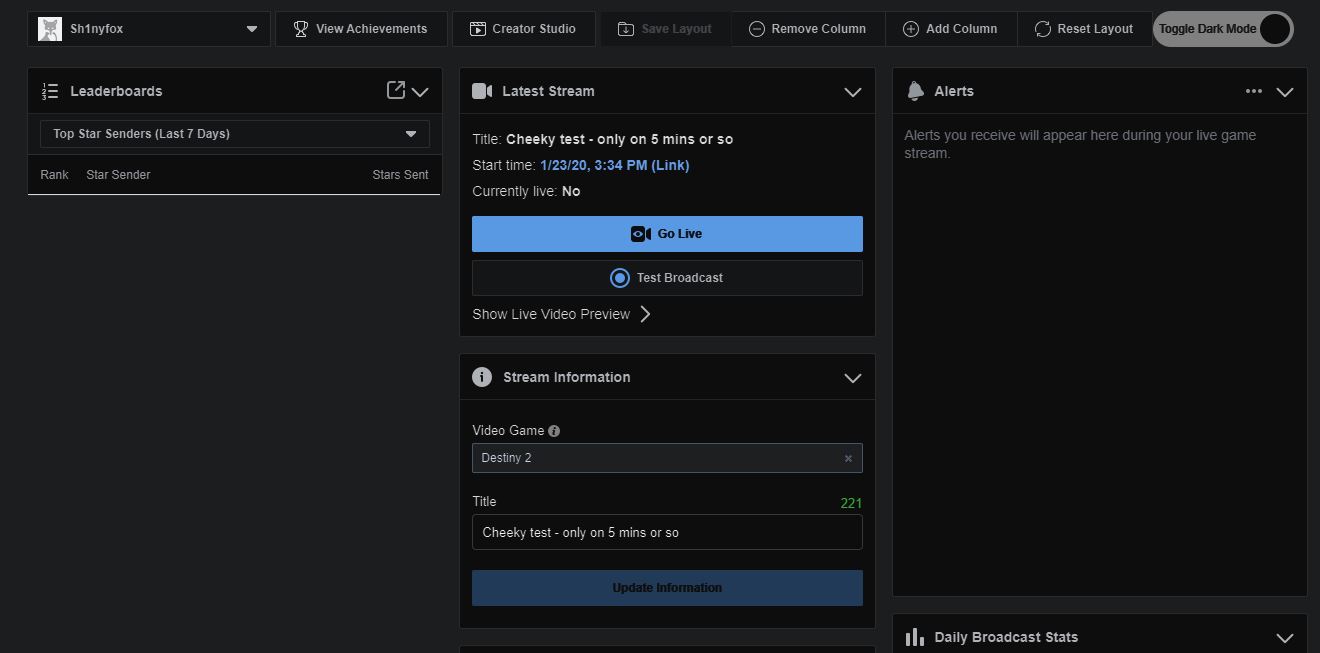
- Go to your streamer dashboard.
-
Under the latest stream section, click on go live.
- Click the connect tab.
-
Check the box next to use a persistent stream key.
You can now copy your stream key (and DO NOT give it to anyone else) and paste it into your streaming software. Even if you're not using a persistent key, the steps above will still be required, but you'll have to do it every time you stream if you don't check the box on step 4.
The connect tab in your dashboard can also be used every time you're planning to go live to add a title, game, and some blurb to your stream for your viewers to see. Some streaming software, like SLOBS, will allow you to do some or all of this from there, so you may not need to bother.
So now you've got your page and your stream key set up, and you've got your preferred streaming software ready to roll. You can now hit that "Go Live" button and get to it.
The Facebook Gaming Level Up Program
Worth mentioning for newcomers to Facebook Gaming is the Level Up program. It's a little similar to Twitch's affiliate program in that it's the first point you're able to monetize your content on the platform. But it's not just about making money. Level Up members get access to some features before the general population. One recent example being access to the higher resolution 1080p60 transcoding that just launched to everyone.
It's also a pretty solid milestone to shoot for, and it's not out of the reach of anyone. One hundred followers, meeting the monetization criteria, and some fairly basic streaming activity is all you need.
For more, check out Facebook's full FAQ.





0 comments:
Post a Comment